
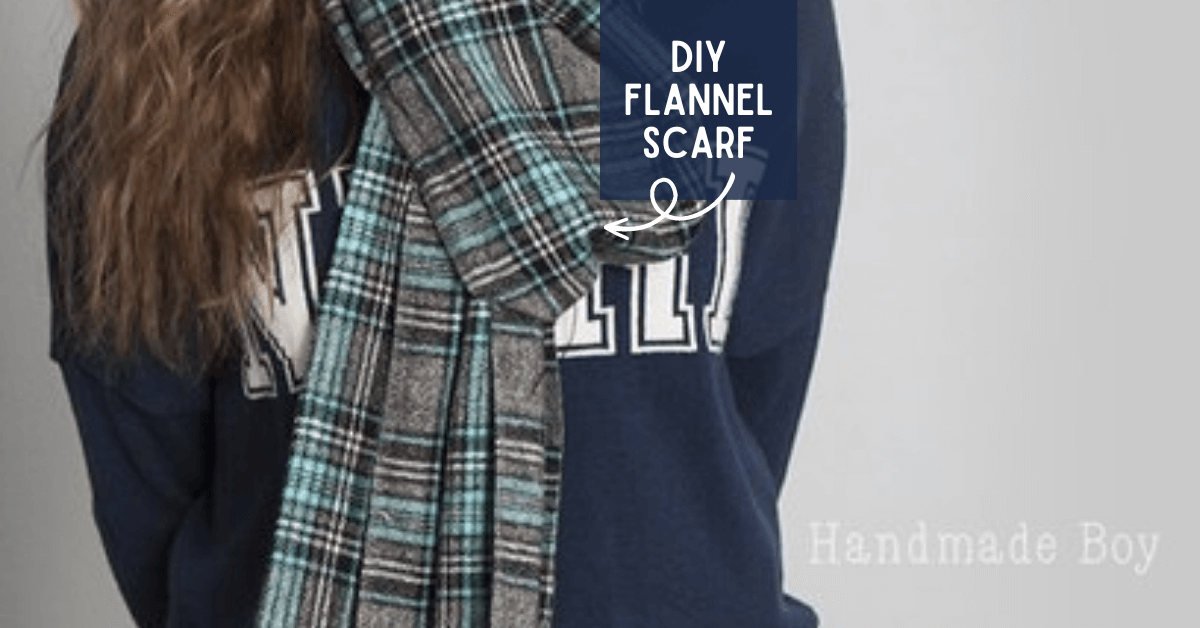
How to Make a DIY Flannel Scarf
Hey, guys! It's Kelly from Handmade Boy and today I have for you a super quick, cheap DIY flannel scarf!
Sew a DIY Flannel Scarf
This cozy flannel scarf is a cinch to whip up! It's perfect for teachers' gifts, friends, co-workers, adults and children. And I won't tell if you make one, or five, for yourself.
Flannel Scarf Fabric & Supplies
- Flannel (amount determined by desired size of scarf)
- Sewing machine and basic supplies
- Quilter's ruler and scissors
- Iron
- Seam ripper
Flannel Scarf Tutorial
Scarves Step 1: First, determine how large you want your flannel scarf to be. The recommended guide is to make your scarf as long as the wearer is tall. For a general adult-size scarf, 6' is good because most women like a long scarf to loop and style with. For children 5-8 years old, I would recommend around 4' and for children, 9-13 5' would be a good length. 6"-9" wide is the most common width.
My scarf is 7" wide and 6' long. Because most flannel is 42-44" wide, you will need to purchase 2 yards of flannel. You can get 6 scarves out of that 2-yard cut. If your flannel cost $10 a yard, that is just under $3.50 per scarf. You can make a scarf for your child's teacher, the bus driver, the mailman, and even the barista at the coffee shop.
Scarves Step 2: Now that the math part is over, let's get to sewing.
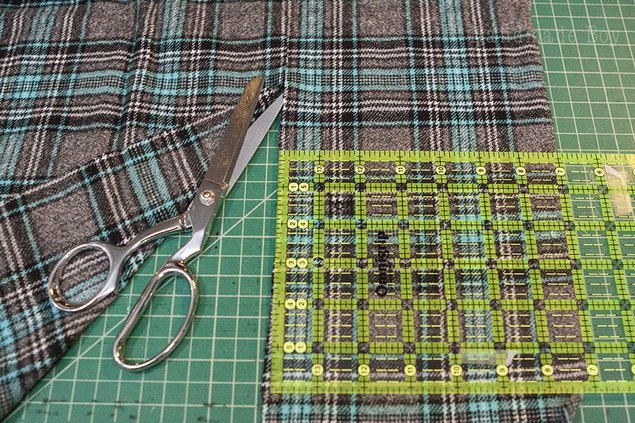
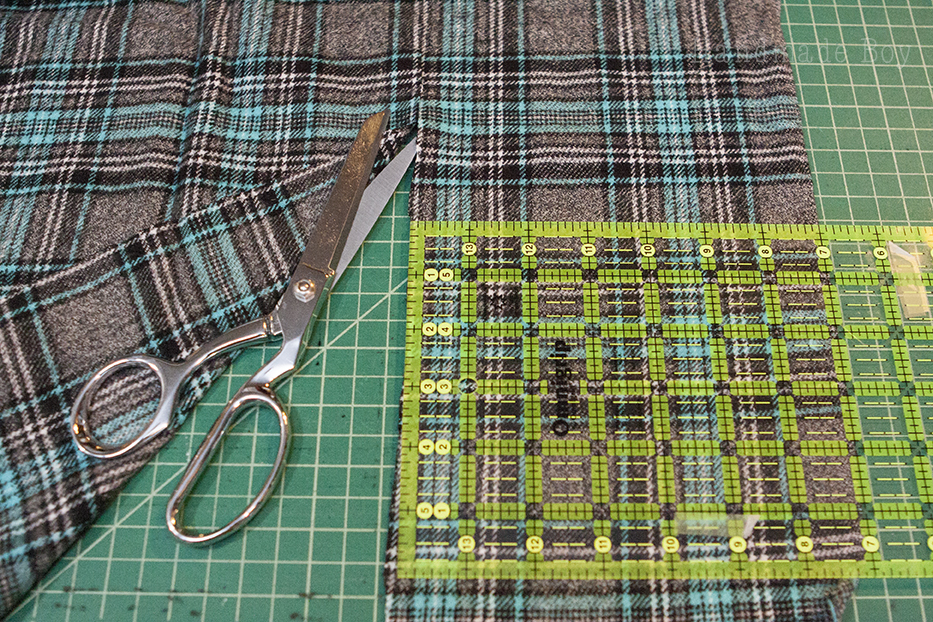
Cut your flannel to size. In my case, 7" wide by 6' long. I like to cut my flannel with scissors so I can follow the lines in the patterns.
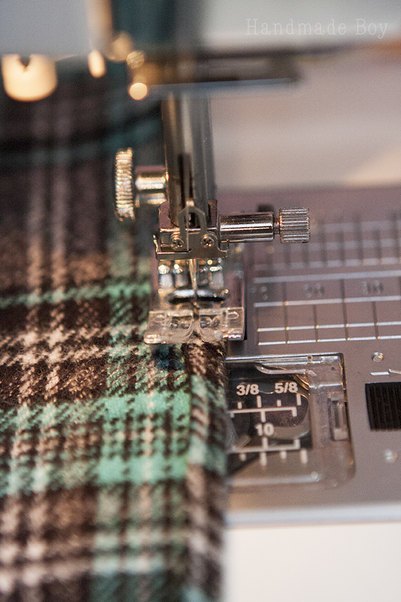
Scarves Step 3: Fold the long cut edge over 1/4", press, and stitch in place 1/8" from the cut edge.
If you want to fringe your ends, do not sew the last 3" of the long side on either end. Be sure to backstitch at the beginning and end.
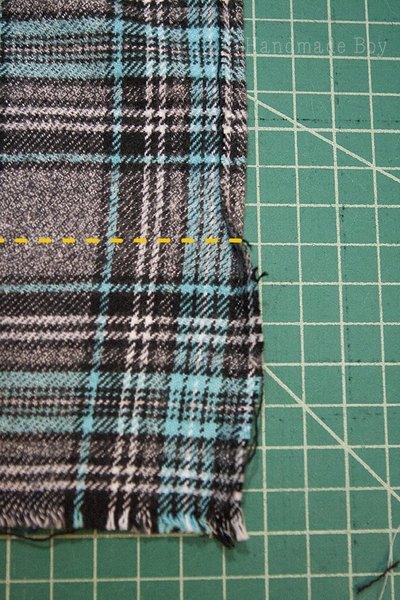
Scarves Step 4: Sew a line across the width of the scarf 3" from the end on each end of the scarf. (yellow dashed line in photo below)
This will be referenced as your stay stitch line later in the tutorial.
Scarves Step 5: Now the fun part! We are going to fringe. (If you don't want fringe, just fold the end over and hem with a 1/4" hem the same way the sides were hemmed.)
Flannel is made by weaving lengths of different colored threads together to create a pattern. We are going to take the tip of the seam ripper, snag and pull out the threads that go across the width of the scarf. You can usually work 2-3 threads at a time.
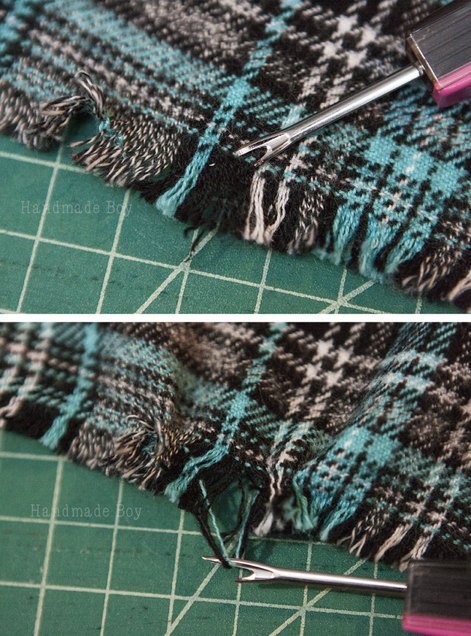
Scarves Step 6: Snag and pull the threads out until you are a few threads away from your line of stay stitching.
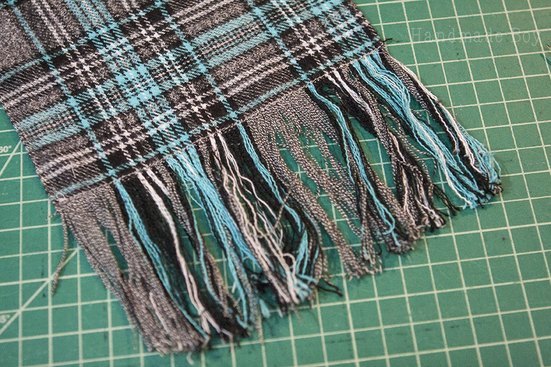
Scarves Step 7: Fringe the other end and you're done! Seriously easy, right!! And now you have a super cute, trendy DIY flannel scarf!

