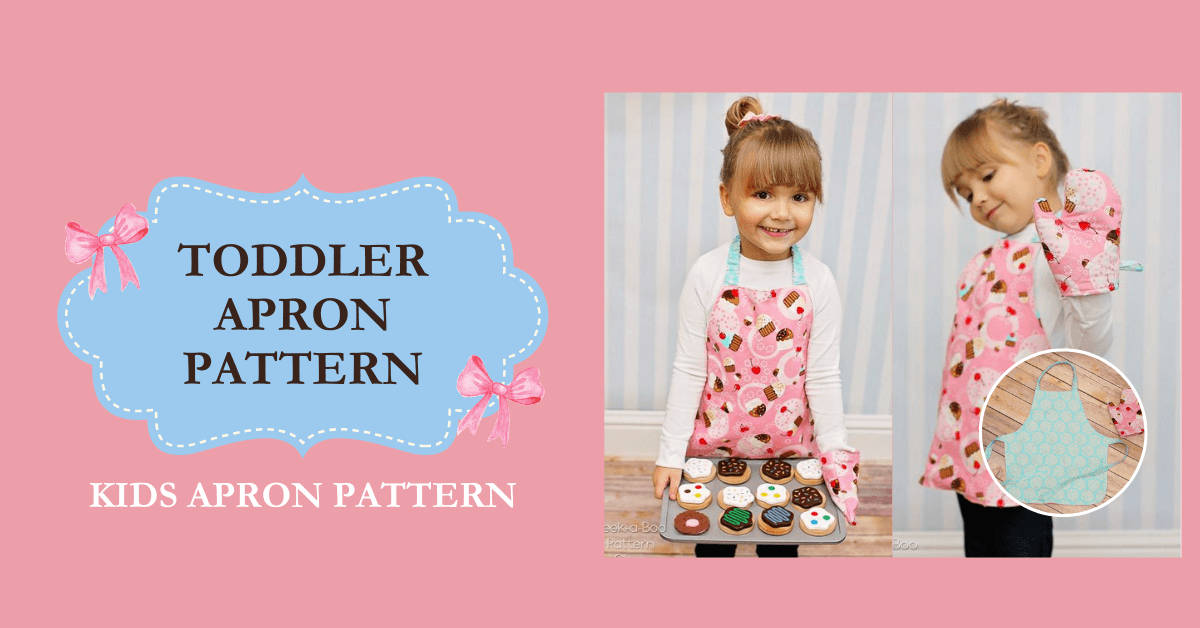
FREE Toddler Apron Pattern | Kids Apron Pattern
If you have a little one who loves to help in the kitchen or get creative with arts and crafts, a toddler apron is a must-have. Not only does it protect their clothes from spills and stains, but it also makes them feel like a mini chef or artist.
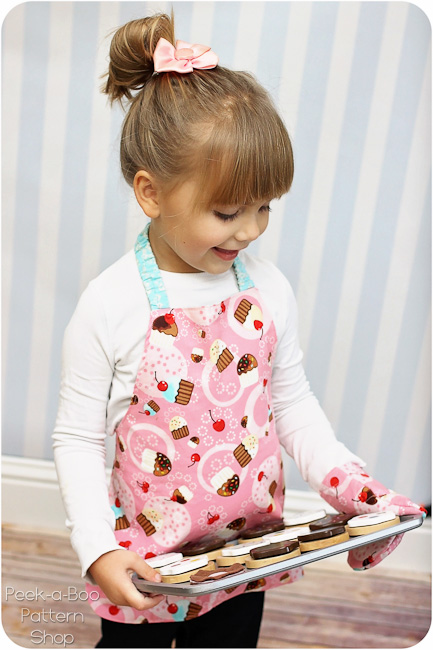
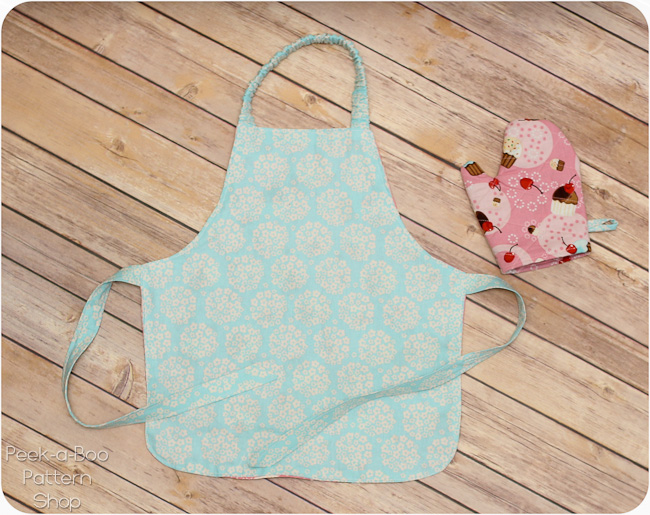
In this blog post, we'll provide you with a free pattern that you can easily follow to create an adorable and functional apron for your child. Our reversible apron is perfect! It ties at the waist and has an elastic neckline for easy on/off. Whether you're an experienced seamstress or just starting out, this pattern is beginner-friendly and requires minimal sewing skills. So grab your fabric, thread, and sewing machine, and let's get started on making the perfect accessory for your little one! 🙂 My little girl loved this.
Free Toddler Apron Pattern
The Toddler Apron Pattern is free when you Subscribe to our Email Newsletter or Join our Facebook Group. Coupon Code is found in New Subscriber E-mail and/or the first post in our Facebook Group. Download your FREE Pattern. The pattern should be printed at 100%. You must tape the 2 pieces together along the dashed line.
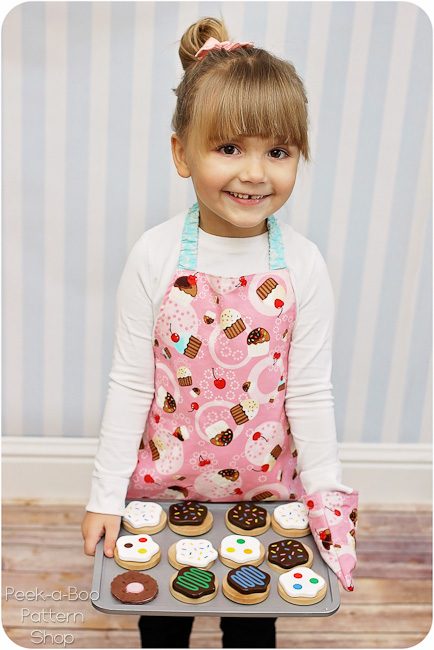
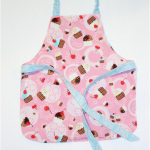
The Free Kids Apron Pattern is perfect for pretend play. It's also great for using in the real kitchen too!
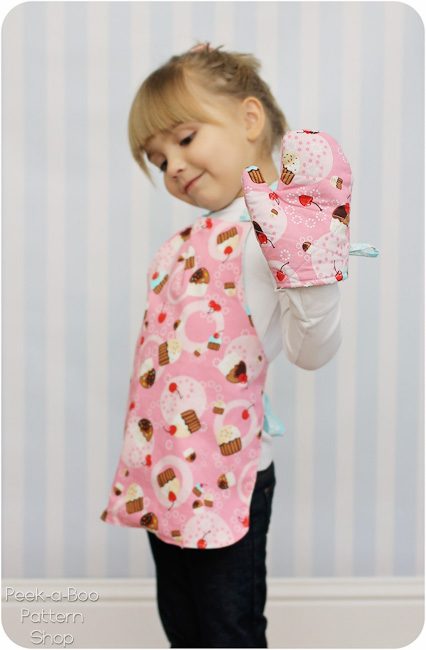
The oven mitt mentioned in the text is not designed for use with hot items and is intended for play purposes only. It's important to keep this in mind to avoid any potential accidents or injuries.
This set of clothes is designed for children who are almost 2 years old, which means it may be a bit short for Anne who is nearly 5. If you're making clothes for an older child, it might be necessary to add some extra length to the pattern. Making adjustments based on the age and size of the child is important to ensure a comfortable fit and proper functionality of the clothing.
So much fun for cooking up some pretend goodies 🙂
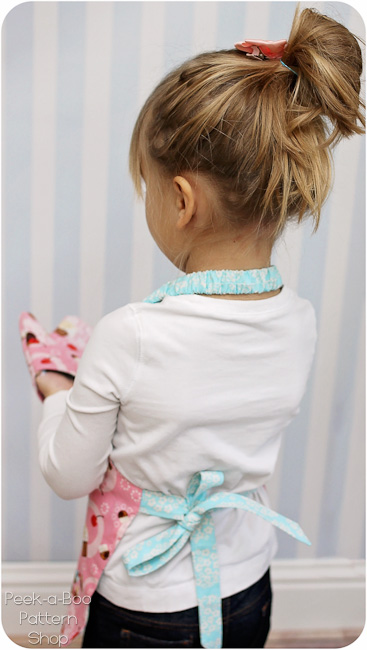
The neck is elastic to it’s easy on/off and it ties in the back. As with any item with ties/neck straps this should be used with parental supervision.
And bonus it’s even reversible!
Ready to sew the toddle apron pattern? Let’s get started!
Toddler Apron / Oven Mitt Materials:
- Sewing Pattern: The Pattern is free when you Subscribe to our Newsletter or Join our Facebook Group. Coupon Code is found in New Subscriber E-mail and/or the first post in our Facebook Group. Download your FREE Pattern. Pattern should be printed at 100%. You will need to tape the 2 apron pieces together along the dashed line.
- Fabric: 2 Pieces Each - Half Yard of Fabric (2 coordinating fabrics - you will need additional fabric if you plan to lengthen it). Quilting Cotton works well.
- Elastic: 3/4″ elastic
- Interfacing: 1/4 yard lightweight fusible interfacing
- Fleece or Terry Cloth: 1/4 yard fleece or terry cloth for oven mitt lining
What fabrics work best?
When making a toddler apron, it is best to use durable and easy-to-clean fabrics. Fabrics like cotton, denim, or canvas are great choices as they are sturdy and can withstand frequent washing. Avoid using delicate or sheer fabrics that may easily tear or stain.
DIY Play Oven Mitt Instructions
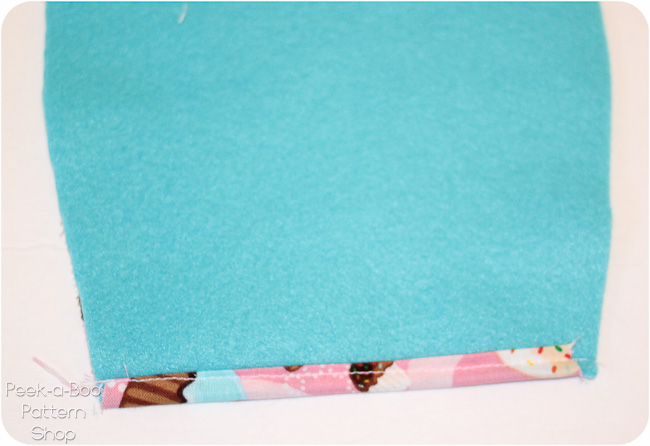
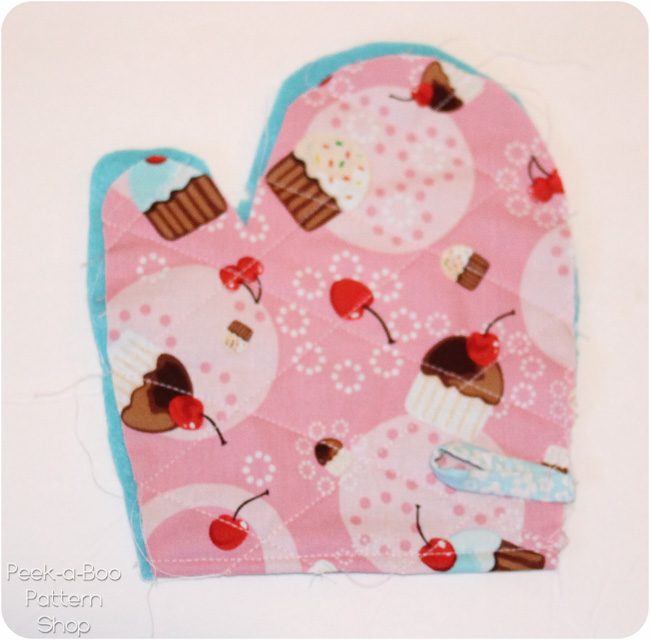
Oven Mitt Step 1: Trim 1/2″ off the bottom of your fleece/terry cloth layer. Fold the bottom edge of the outer layer over 1/4″ two times and topstitch in place.
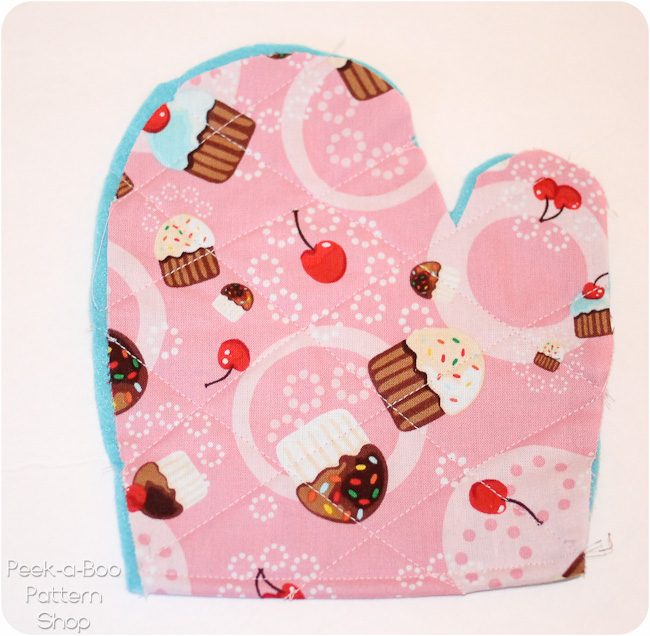
Oven Mitt Step 2: Working from the right side sew the outer layer and fleece/terry cloth together with a few diagonal rows of stitching to create a quilted effect. I made my lines about 1.5″ apart from each other.
Oven Mitt Step 3: With right sides together (RST) sew the long edges of the hanging loop together. Turn right side out with a safety pin.
Oven Mitt Step 4: Fold the hanging loop in half and position both tail ends along the raw edge towards the bottom of the oven mitt and baste in place.
Oven Mitt Step 5: With RST sew the 2 oven mitt pieces together using a 1/4″ seam allowance. Turn right side out and you’re done! 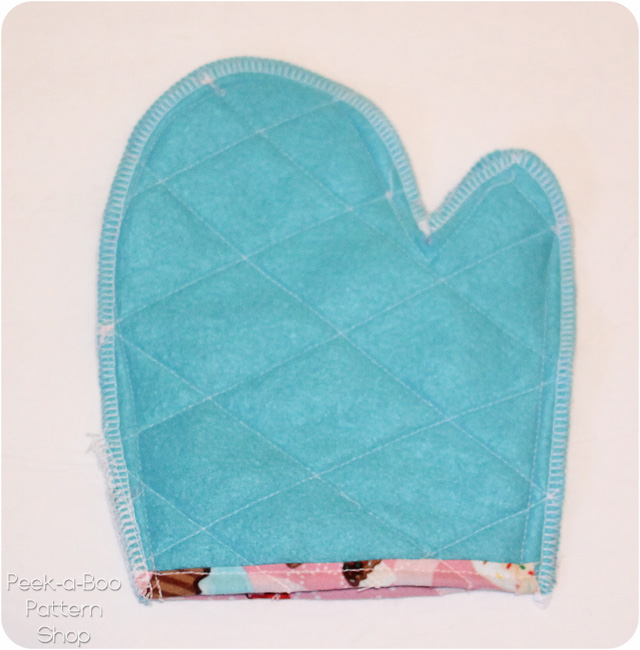
DIY Kids Apron Pattern Instructions
These aprons are a great choice for a beginner and easy to customize. You can make them out of patchwork, add a ruffle, or front pockets too. Make sure to print off your sewing pattern, make some straight cuts of the pattern pieces, and lets get sewing!
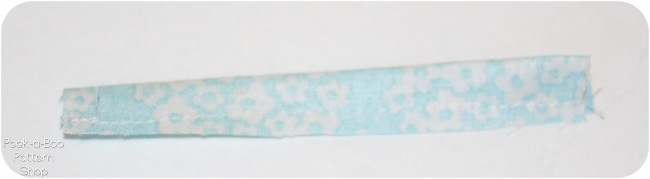
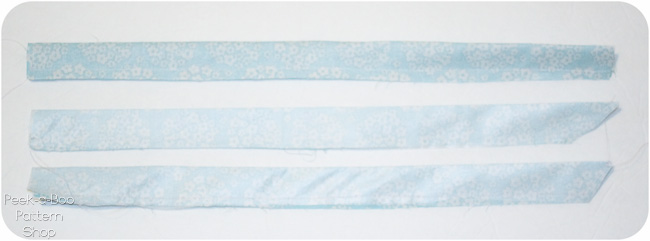
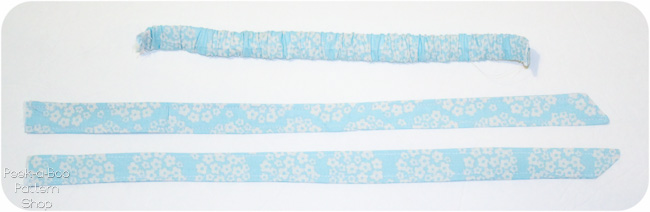
Step 1: With RST sew the long edges of the neck strap together. With RST sew the long edges and one short edge of each waist tie together. Use a 1/4″ seam allowance for this step. for the waist ties I like to sew across the short edge at an angle to create a tapered point. For a little extra stability I like to add a strip of fusible interfacing to the waist ties. Turn right side out.
Step 2: Slide your 3/4″ through the neck strap with a safety pin and secure at each end. Topstitch around all edges of the waist ties.
Step 3: Baste the raw edges of the waist ties to the apron 1/2″ below the arm cutout edge. Baste the raw edges of the neck strap to the upper edge 1/2″ in from the arm cutout edge. 
Step 4: With RST sew the 2 apron pieces together using a 1/2″ seam allowance and leaving a 4″ gap at the bottom. 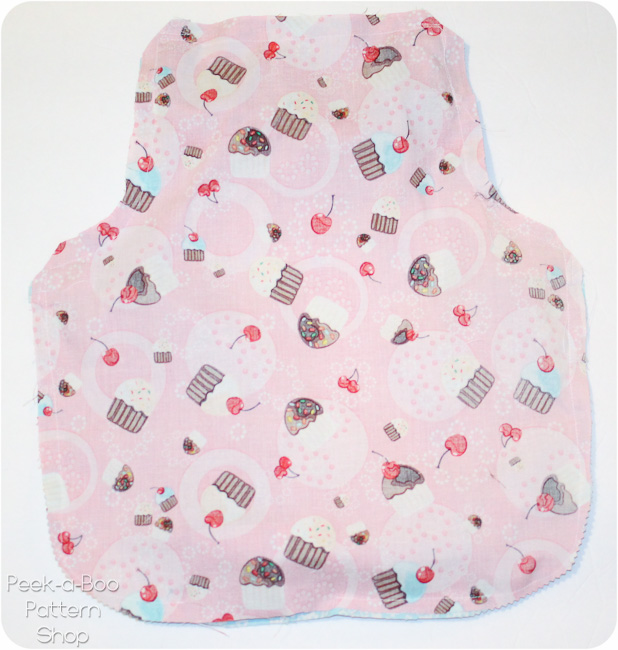
Step 5: Turn right side out and press flat. Tuck in the raw edges at the bottom and topstitch around the entire apron.
And you’re done! I hope you had fun with the toddler apron pattern. Creating a toddler apron can be a fun and rewarding project. Whether you're an experienced seamstress or just starting out, there are plenty of patterns available to help you create the perfect apron for your little one. From cute animal designs to simple and practical styles, there's something for every taste and skill level. By following a pattern and using the right materials, you can easily make a toddler apron that is both functional and adorable. So why wait? Get started on your toddler apron project today and watch your little one's face light up with joy when they see their new apron!
As always, make sure to join our Facebook Group to share what you make and ask questions. Also, follow us on social media - including Pinterest and Instagram. Before you leave, check out some of our other free tutorials. We also have a variety of other free apron patterns from around the web that we've put together if you're looking for something for an adult. Happy sewing!