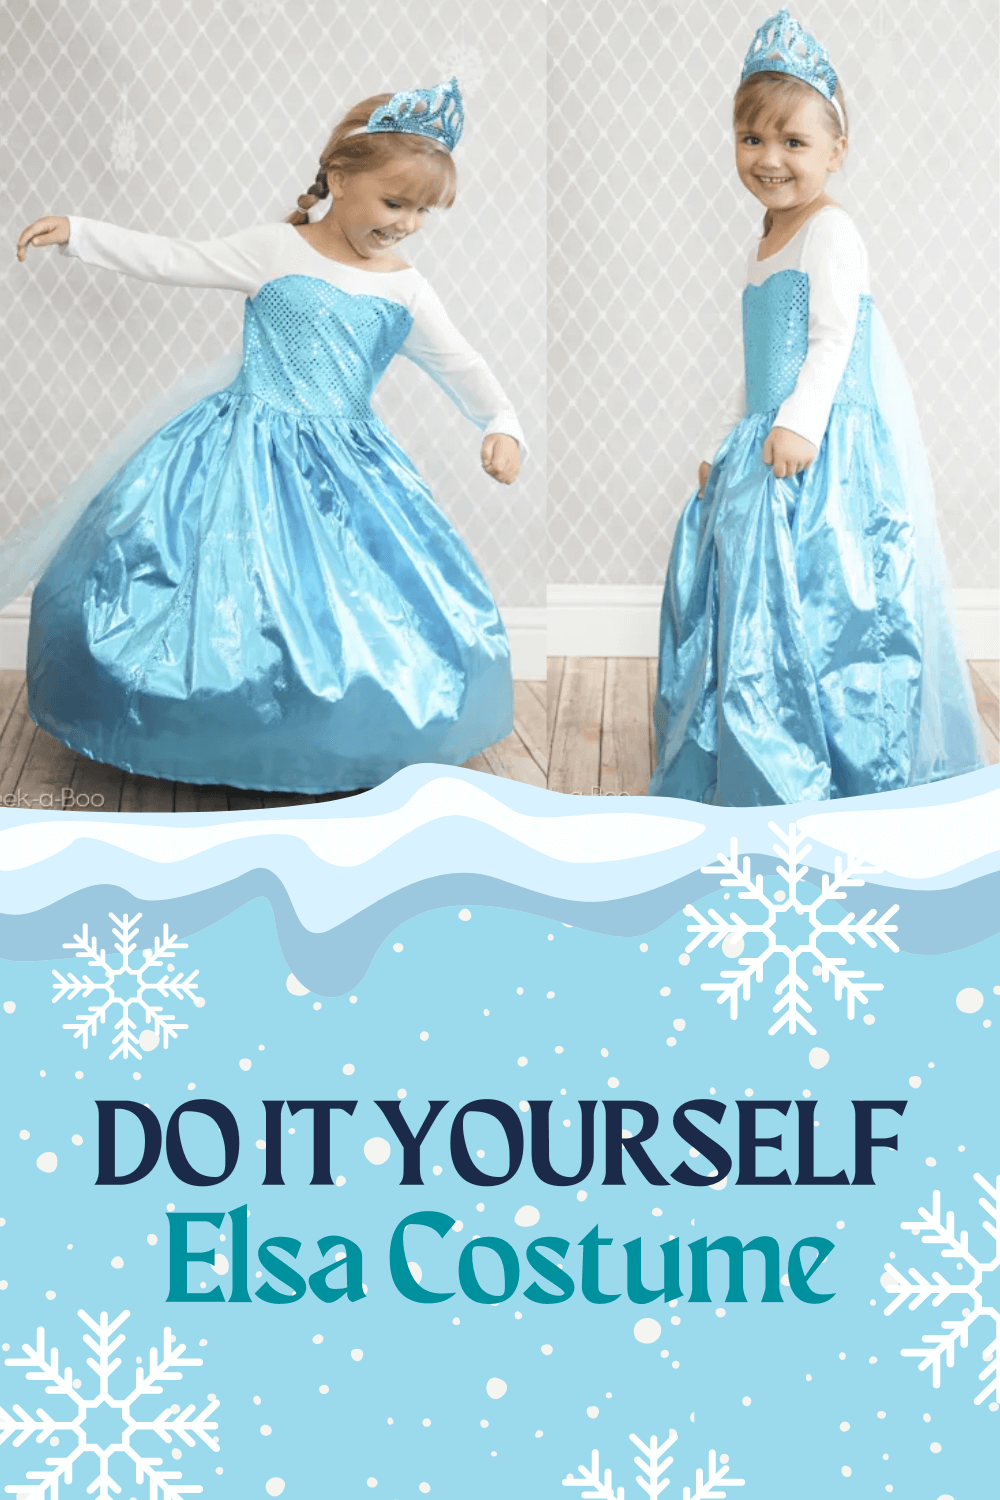
DIY Elsa Costume Inspired by Frozen
Make your little girl's dreams come true with this DIY Elsa Costume. This Ice Queen was all the rage when my daughter was little and it keeps coming back. Elsa makes a perfect pair with our costumes for Kristoff and Elsa which we show you below. Now all you need is a reindeer.....or two girls so you can make Anna as well.
DIY Elsa Costume & Dress | DIY Frozen costumes
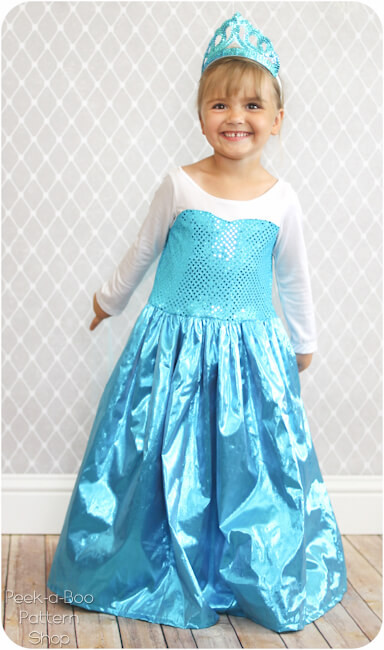
The Elsa Costume is long, sparkly and has a train...what's not to love?!
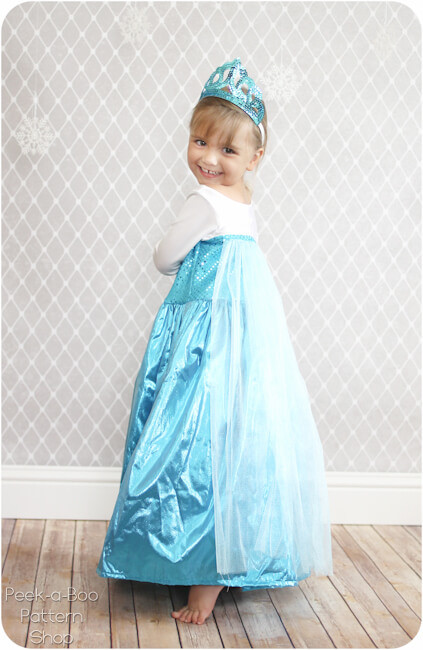
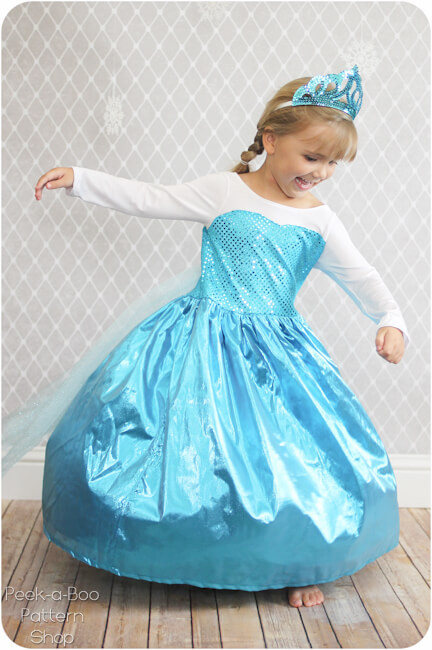
And of course, the Elsa dress is perfect for twirling!
Magical powers not included :)

I was pleasantly surprised by how easy the Elsa Costume was and Anne adores her dress! It's definitely going to get a ton of use and with the stretchy knit bodice it's easy on/off and the costume will fit her for a couple of years.

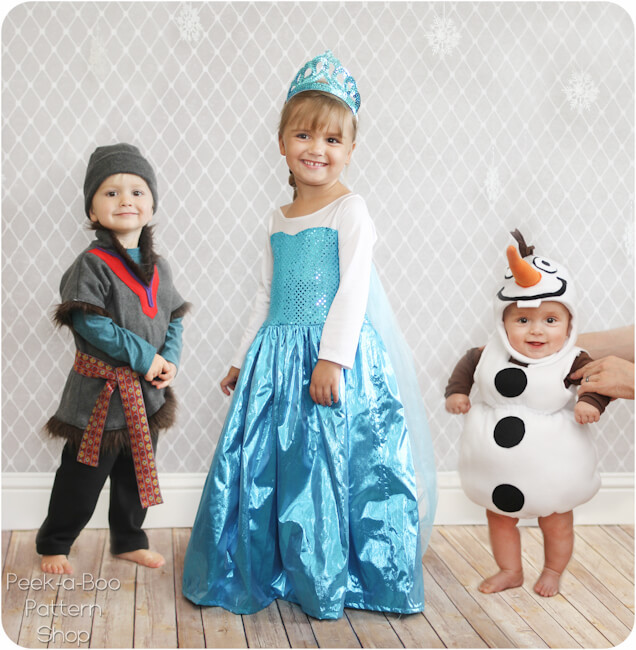
Other Frozen Costumes
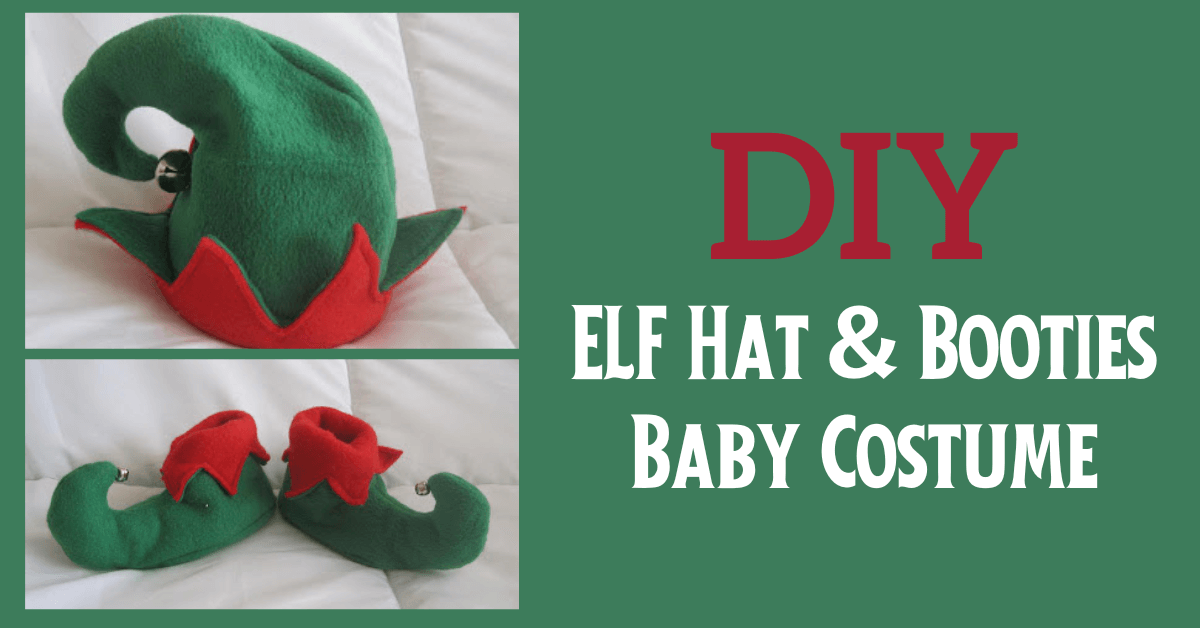
Don't leave out the boys! Be sure to check out the tutorials/patterns inspired by Kristoff and Olaf. I think the Olaf costume is one of my all-time favorites. These costumes also have free patterns.
Let's get started with the Elsa Costume!
Elsa Halloween Costume Materials:
- Download your FREE Pattern: The Elsa pattern is free when you Subscribe to our Newsletter or Join our Facebook Group. The Coupon Code is found in the New Subscriber E-mail and/or the first post in our Facebook Group. The pattern is roughly a size 4t but should fit ages 3-5 with some adjustments to the length
- 1/2 Yard knit fabric for the bodice: I used white spandex from the dancewear section
- 1/3 Yard blue stretch for bodice accents: I used confetti dot
- 3/4 Yard cape fabric: My cape is floor length. If you want an extra-long cape you'll need more fabric. I used glitter tulle
- 1 1/3 Yards skirt fabric: I used tissue lame which I wouldn't recommend. Costume satin would be a better choice
Elsa Dress Instructions
Dress Step 1: Print out your costume pattern at 100%. You will need to tape the bodice and sleeve pieces together along the dashed lines. Cut your frozen fabric out.
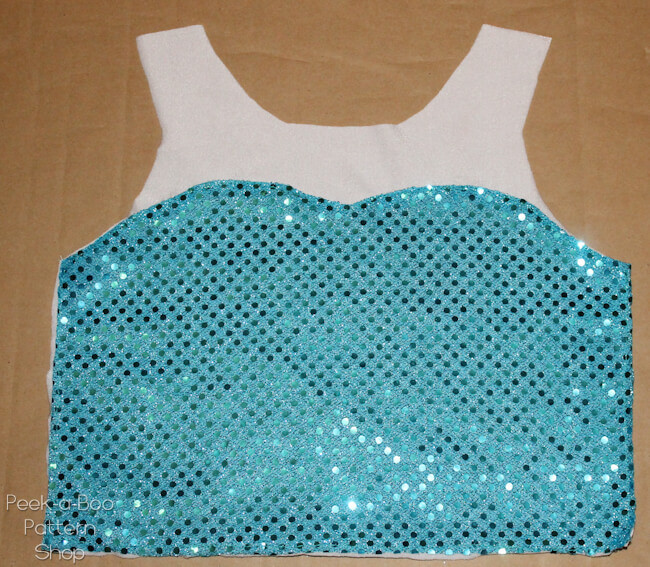
Dress Step 2: Lay the front bodice accent piece on top of one of the bodice pieces. Baste together along the sides and bottom edge and sew in place along the top edge (you can turn the edges under 1/4" or just leave them raw).
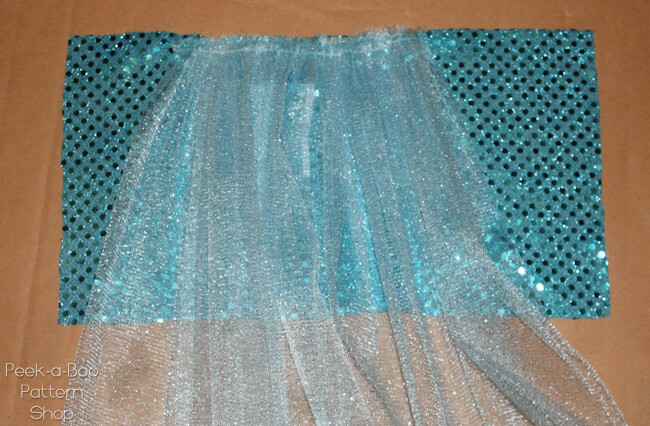
Dress Step 3: Fold the tulle fabric in half (it will now be 30" wide and double thick). Sew a basting stitch across the top edge and gather. I left some room on each side so the cape wouldn't end up right under her arms. Baste to the top of the back accent.
Dress Step 4: Cut a 1.5" strip of confetti dot and sew to the top edge of the back accent piece with right sides together (RST)

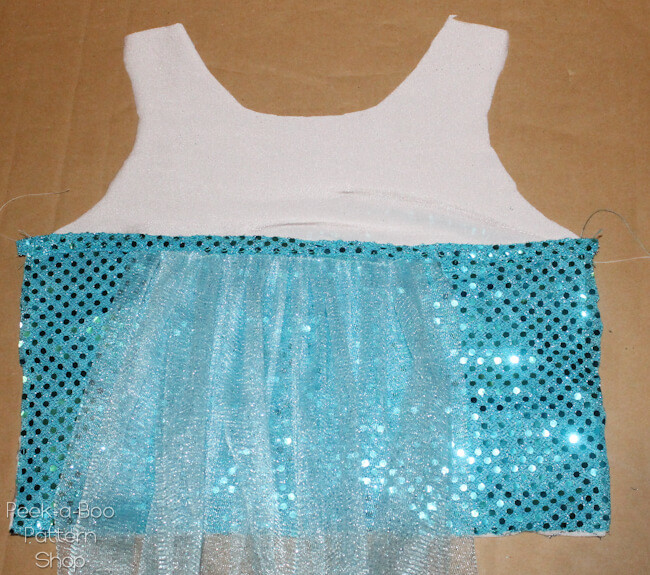
Dress Step 5: Wrap the strip around to the front side and fold it down so it's covering the raw edge of the cape. Lay the accent on top of the other bodice piece so the bottom edges are lined up. Tuck the raw edge of the strip under and topstitch in place. Baste the bodice accent to the bodice piece along the side seams and bottom edge (you'll need to move the cape out of the way)
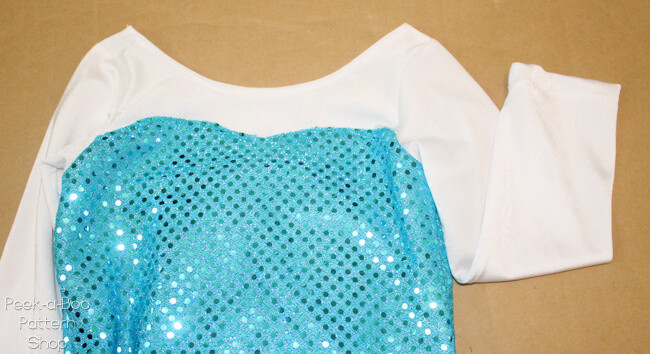
Dress Step 6: With RST sew the front and back together at the shoulder seams.

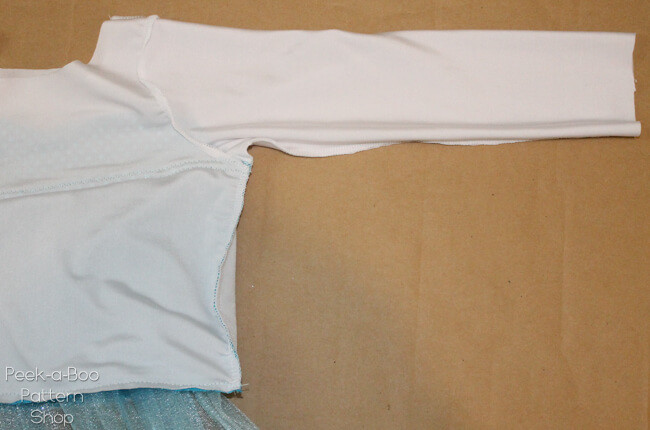
Dress Step 7: With RST sew the sleeves into the arm openings
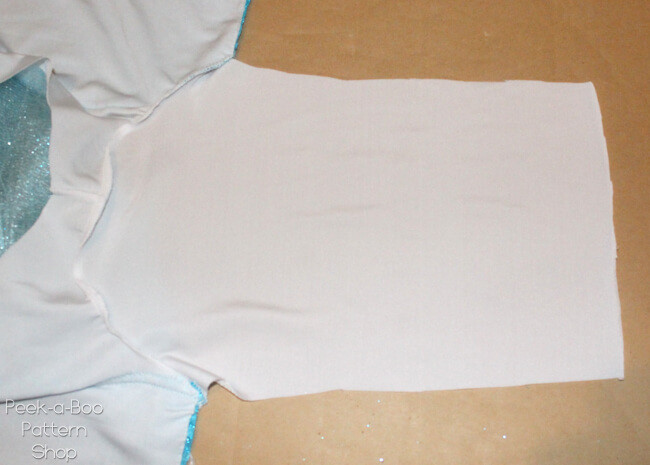
Dress Step 8: With RST sew up the sleeve inseam and bodice side seams
Dress Step 9: Turn the neckline edge under 1/4" and topstitch with a zig-zag or double needle. Turn the sleeve ends up 3/4" towards the wrong side and topstitch with a zig-zag or double needle.
Dress Step 10: Now it's time for the skirt. I didn't take many pictures but it's assembled the same way as any other skirt. Sew the pieces together along the side seams with RST, hem the bottom edge and gather the top edge to match the bodice. Then with RST sew the bodice and skirt together. Since I used tissue lame (which I wouldn't recommend) I added a layer of broadcloth to my skirt to keep my fabric from tearing at the seam line.

And that's it! A fun afternoon project that your little one is sure to appreciate it :) Be sure to come to share your creations in our Peek-a-Boo Pattern Shop Facebook Group.