Welcome to the V-Neck Cardigan Sew Along!
This month’s sew along is generously sponsored by Girl Charlee fabrics!
This week Girl Charlee is giving away a $30 gift card to one lucky winner!
Giveaway runs through Friday and a winner be announced on Saturday. Enter with Rafflecopter below:
a Rafflecopter giveaway
A prize will also be available from Peek-a-Boo Pattern Shop. Stay tuned for details 🙂
This month’s pattern: V-Neck Cardigan
If you haven’t bought your copy yet then go ahead and grab it and let’s get started 🙂
Today we’re going to gather all of our materials and get everything cut out. Tomorrow we’ll start sewing and I have a fun tutorial for doing a pull-over cardigan instead of button-up. In case you can’t tell someone is quite pleased with it 🙂
Choosing Your Fabrics
The recommended fabrics for this pattern are jersey or interlock with rib or interlock for the cuffs and bands. However there is always a bit of leeway if you want to try something else 🙂 If you want to try out a bit heavier knit (such as my sweater shown above) it will work just fine as long as you still have a decent amount of stretch. If you are using a fabric with very little stretch such as sweatshirt I recommend going up 1 size. You can also use other fabrics for the trim although jersey does tend to curl which makes it a bit harder to work with. Still doable but it will require a bit more pressing.
For my cardigan I went with a Ponte de Roma from Girl Charlee and it sewed up beautifully. It’s very similar to interlock but just a touch thicker. I will definitely be back for more of this fabric 🙂 They also have interlock in right now that I just might “need” for my stash 🙂
For my cardigan I decided to go with snaps instead of buttons. I used KAM snaps (LOVE) but you can also get the Babyville brand at Joanns which are very similar. If you are new to knits or have a little one who likes to yank on buttons I definitely recommend going with snaps.
Now pre-wash your fabric! Trust me you don’t want to skip this step as knit shrinks like crazy
Printing Your Pattern & Cutting
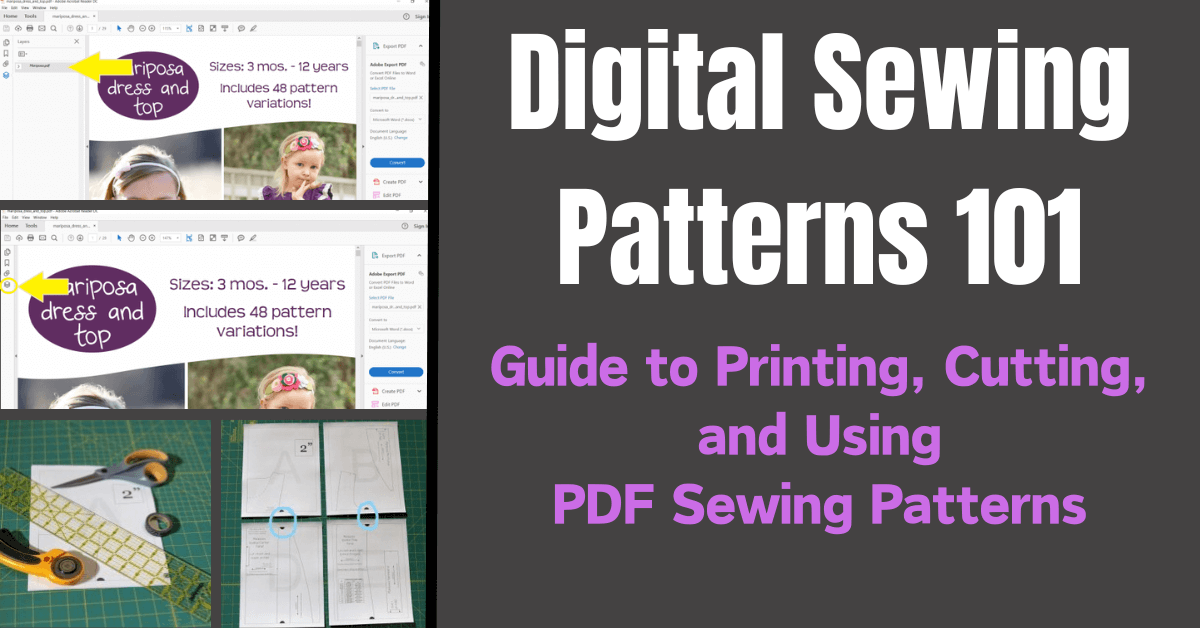
As with all my patterns make sure you print out at 100% and check the 1″ scale box to ensure it printed correctly. I generally print in B&W to save on ink and on this pattern it’s still quite easy to tell all of your lines apart. The front and back are cut from the same pattern piece. If you’re planning to re-use your pattern or cut it down to a smaller size then I recommend folding back the pattern piece instead of trimming it when you cut out the front. This will keep your pattern intact for future use. I went over the front cutting line in a sharpie to help you see what I mean. You’ll also notice a chart that prints out on the pattern piece. This has the measurements for your neck binding, sleeve cuffs, and bottom band. The stretch should go across the width dimension (e.g. for a size 3 mos. neck binding the stretchiest direction will go across the 24.5″ not the 2.5″).
If you have a sweater you are wanting to upcycle I have a few tips to share. Since most sweaters already have nice cuffs and a bottom band you’ll want to go ahead and make use of them.
Since our pattern has a separate cuff just place the bottom edge of the pattern piece at the start of the “cuff portion” on the sweater. The sweater I used was super stretchy and my sleeves ended up a bit long so we just fold the cuff up once. You’ll do the same thing with the bottom band. If you want to try a pull-over version of the cardigan you will cut your front piece on the fold and cut a much higher v-neck.
Tomorrow we sew! If you have questions just let me know and I’ll address them tomorrow 🙂
One Response
A prize will also be available from Peek-a-Boo Pattern Shop. Stay tuned for details 🙂 <– the link does not work. Just FYI.