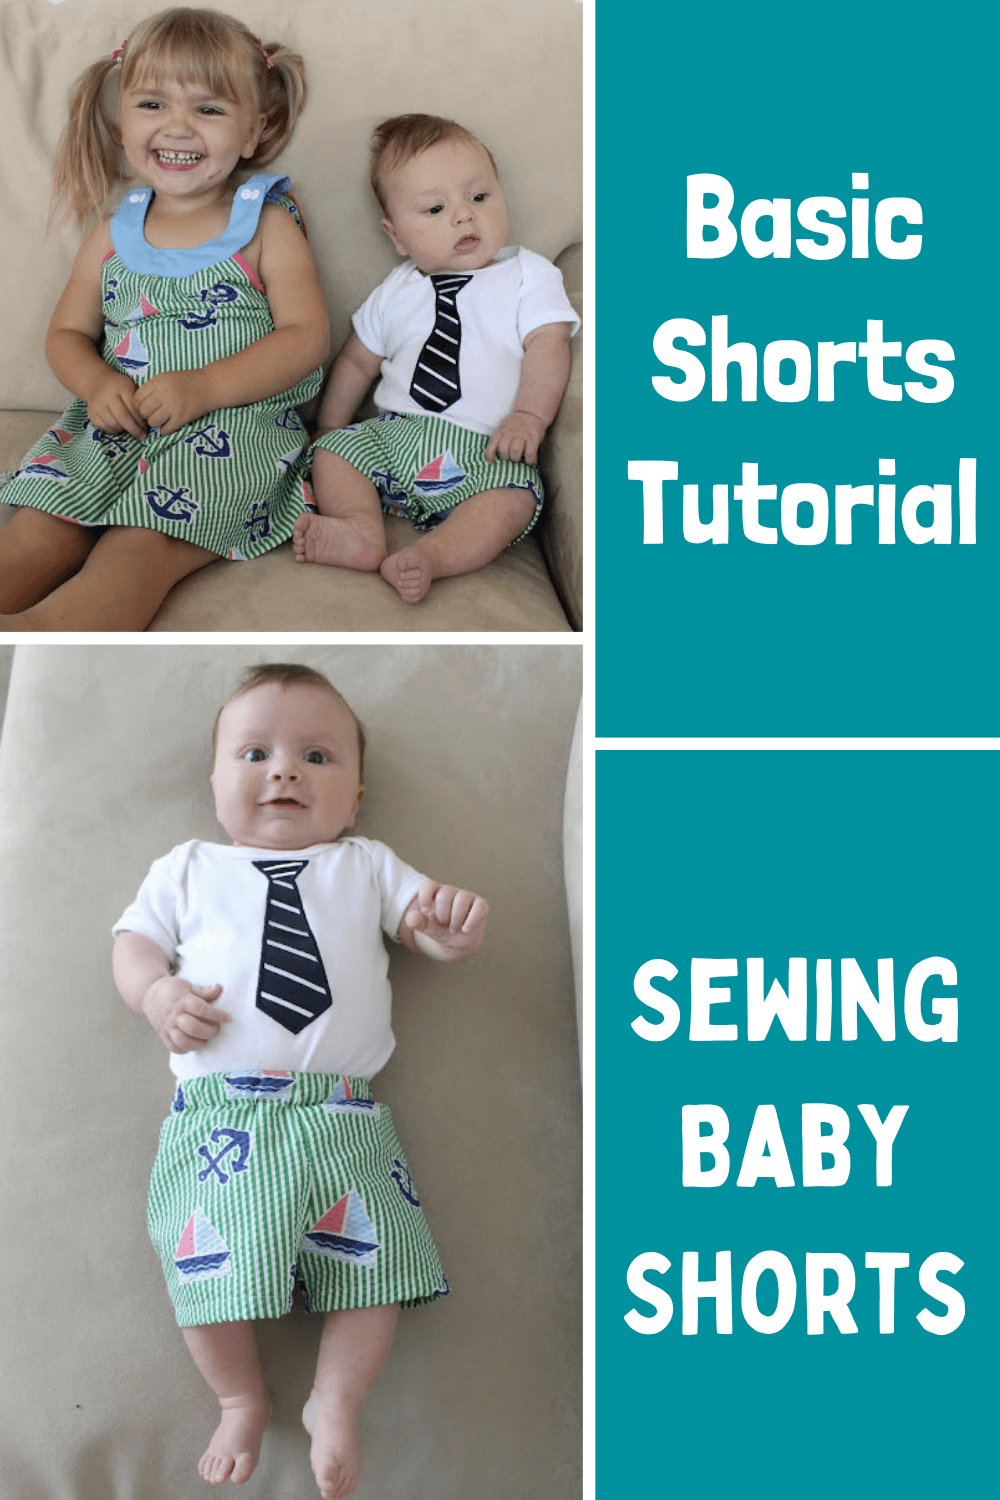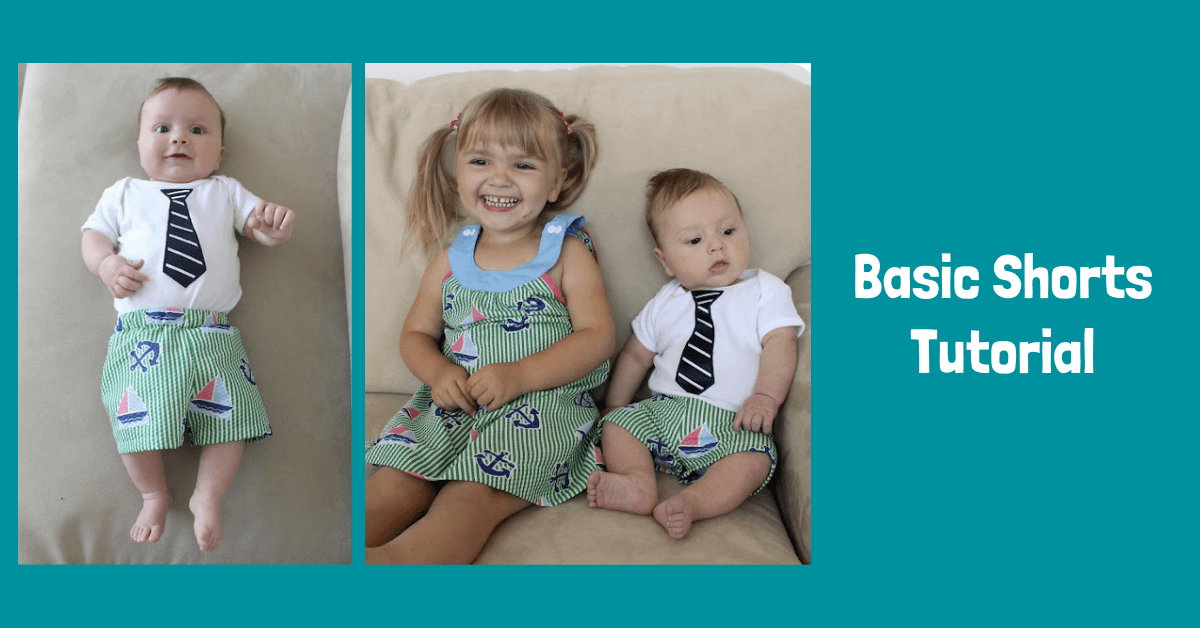
Basic Shorts Tutorial
It seems I have a shorts addiction lately :) Today I'm going to share a super basic shorts tutorial. They are nothing fancy but cute nonetheless and you can whip them up in no time.
Basic Shorts Tutorial | Sewing baby Shorts

Perfect for using up a bit of leftover fabric so your kiddos can have matching outfits

Get the Madison Dress pattern here- it's quick and easy too :)
I love these 2 little ones! Even when little miss tries to give little man a toupee...

Simple shorts are perfect for little man- he really doesn't need pockets, or belt loops, or buttons. And if you're sewing with a busy print there isn't really a need to embellish.

But if you want a nice professional product with loads of instructions you can pick up the pattern for the Beach Bum Bermudas- they have a flat front, pockets, faux fly, etc.
Alright let's get started!
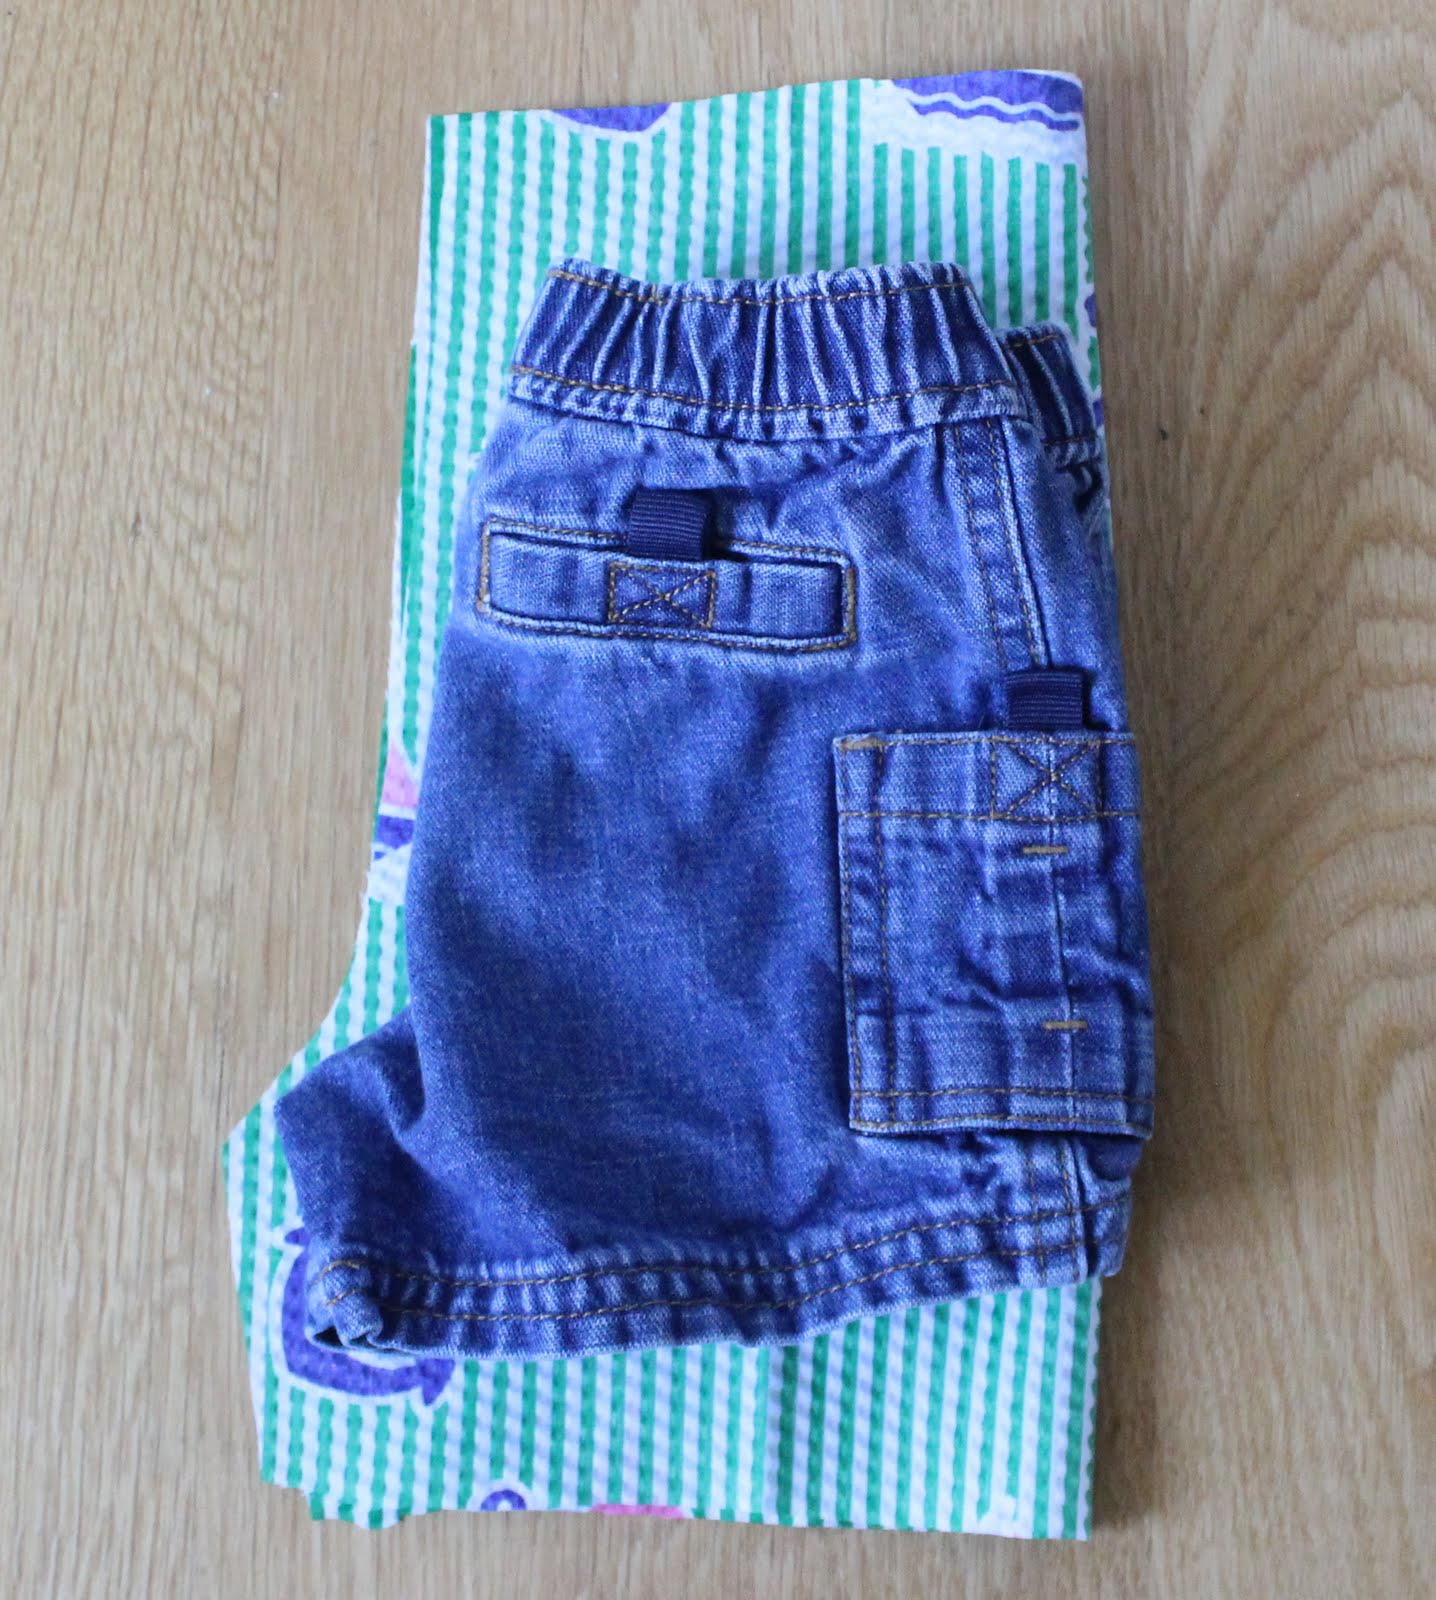
Basic Shorts Tutorial Step 1: Grab some shorts that fit well and line up the side seam of the shorts with the folded edge of your fabric. Use the shorts as a guide to cut out your pieces- you want an extra 1.5" at the top, an extra 3/4" at the bottom and the width of your seam allowance (I use 1/2") along the inseam and crotch.
Basic Shorts Tutorial Step 2: To make the shorts fit a bit better I like to make the waistline a little lower in the front than the back so I angle it down towards the center on each piece- see how in the middle it's just a bit lower? Make sure you do this on the right side on one piece and on the left on the other so they fit together.

Basic Shorts Tutorial Step 3: With right sides together sew up the shorts inseam on each piece.

Basic Shorts Step 4: Then slide one leg inside the other so right sides are together and sew up the crotch seam.

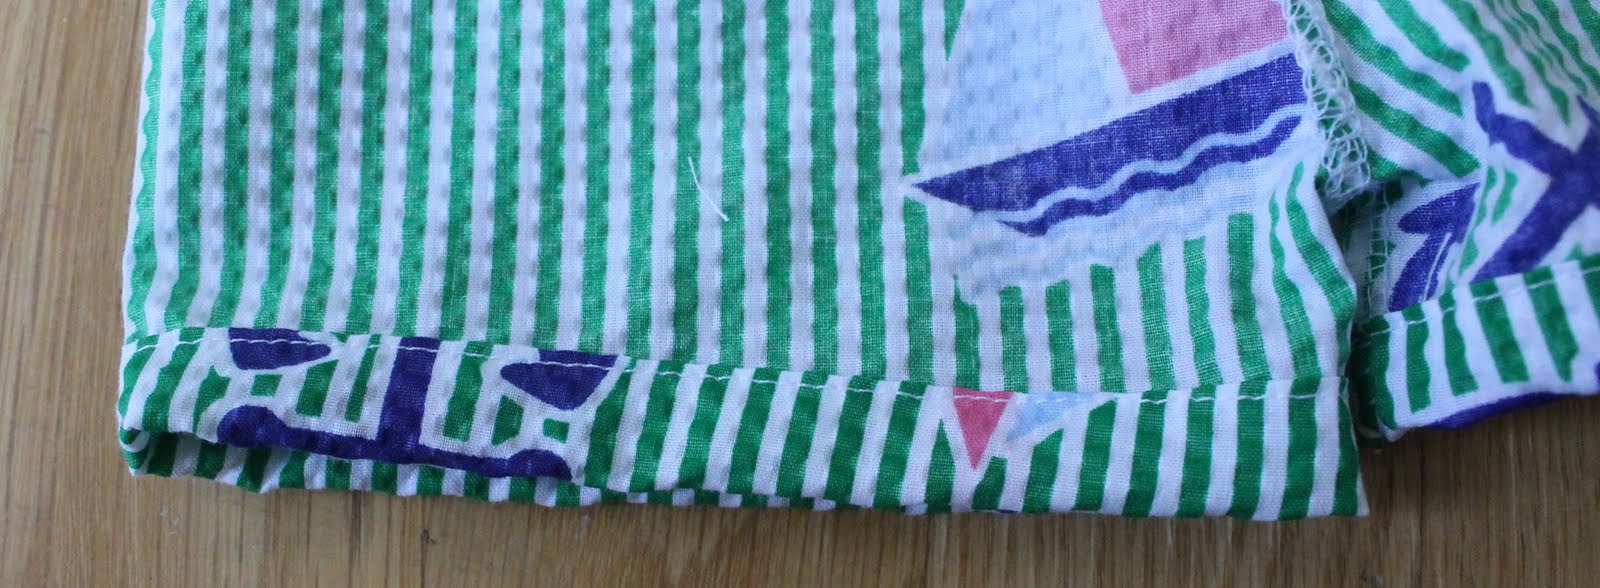
Basic Shorts Step 5: Press and fold the bottom edge of the shorts up 1/4" and then another 1/2" and topstitch along the 1st fold line to hem your shorts.
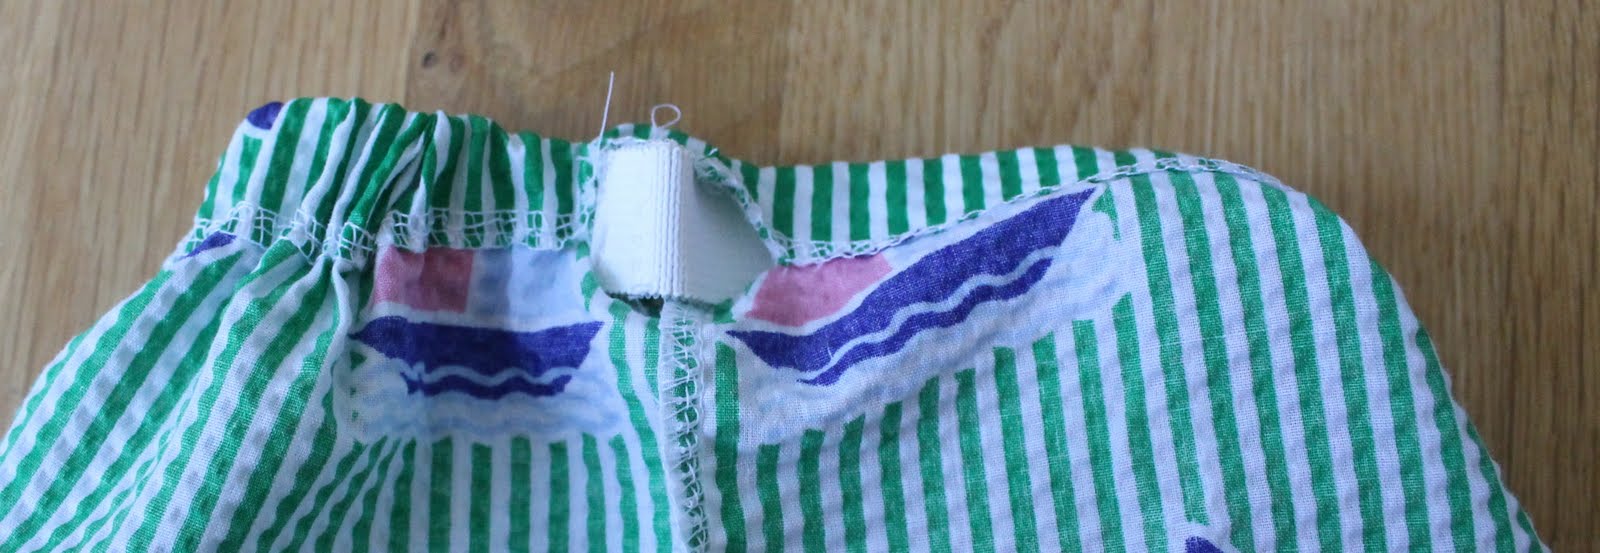
Basic Shorts Step 6: Serge the top edge of the waistband and then fold it over 1.25". Or you can fold it over 1/4" and then another 1.25" if you don't have a serger. Topstitch all the way around to create your casing leaving a 1" gap to thread the elastic through.
***I used 1" elastic- if you're using a different width you'll need to adjust the width of the casing

Basic Shorts Step 7: Cut your elastic to 1" shorter than your kid's waist measurement, slide it through the casing with a safety pin and then sew the ends together. Sew up the gap you left in the casing and you're all set!
Thank you for joining us today. Make sure to check out some of our other Shorts Patterns, too. Before you leave, make sure to join our Facebook Group and sign-up for our Newsletter below. Happy Sewing:)