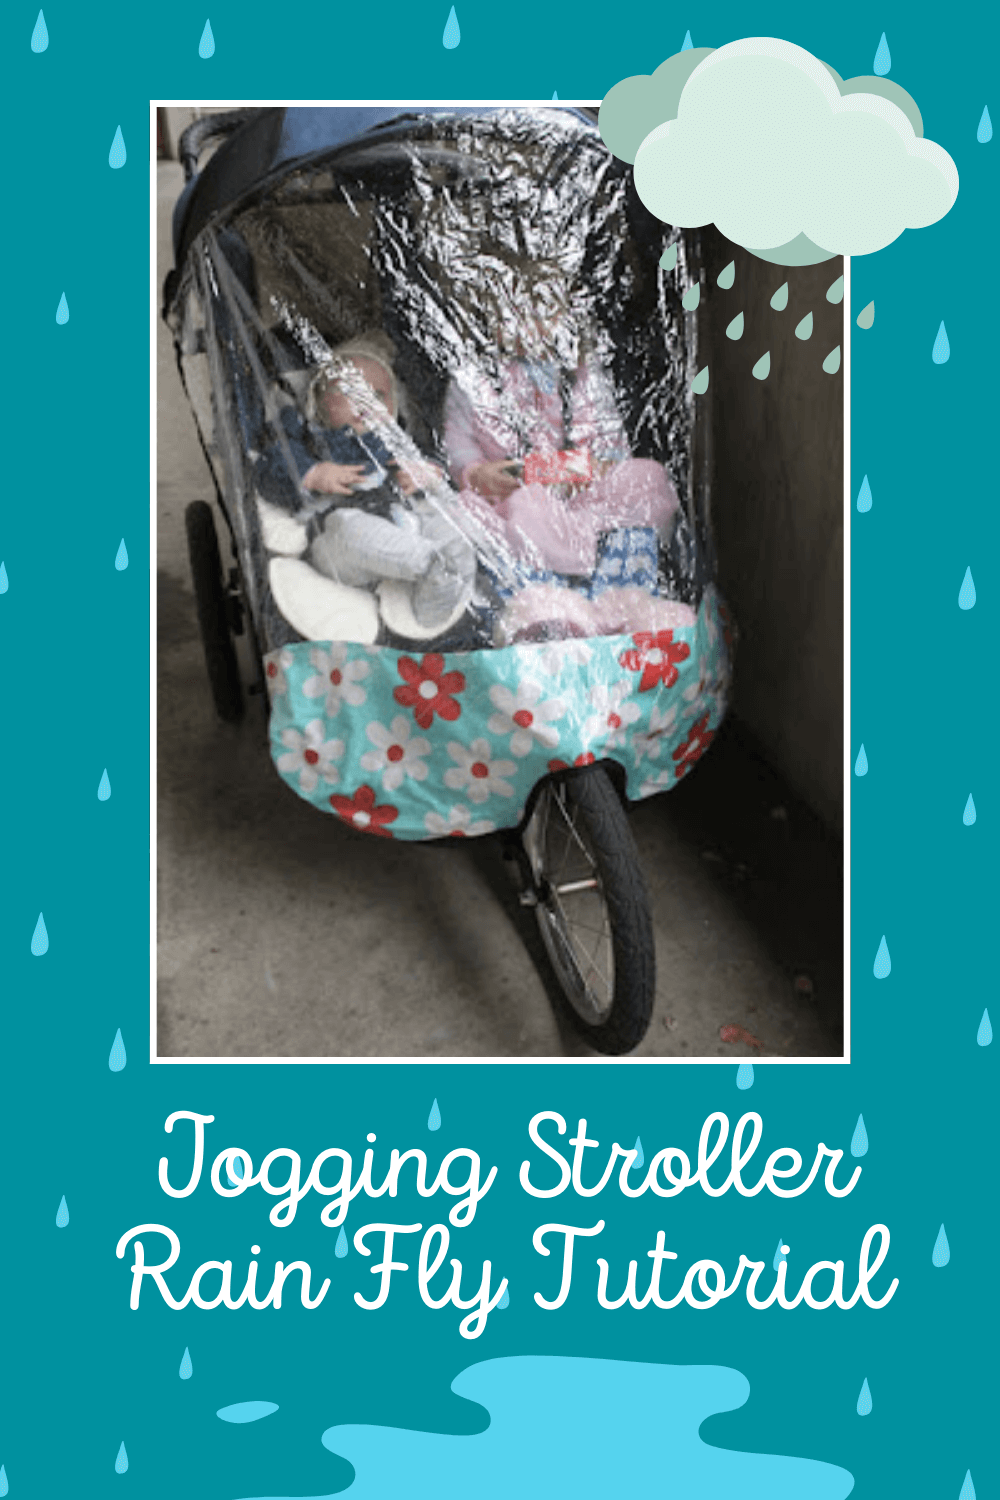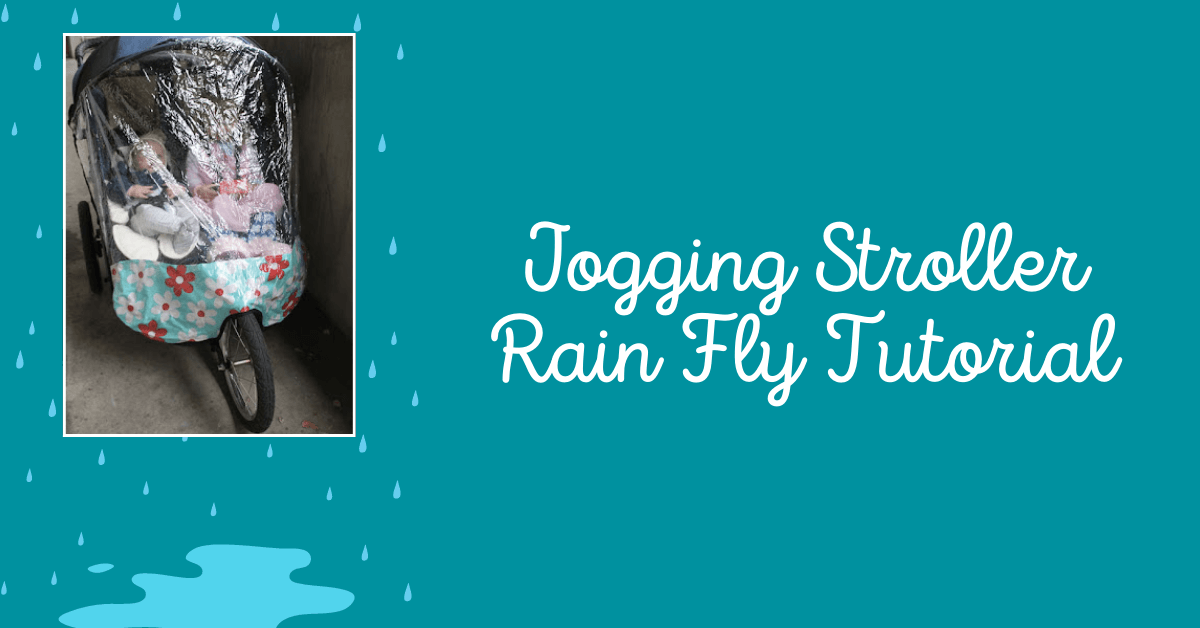
Jogging Stroller Rain Fly Tutorial
Fall is here which means cooler and wetter weather. I love (ok...it's a love/hate relationship) jogging and since the kiddos come along I wanted to make sure they stayed snug and dry. Check out this jogging stroller rain fly tutorial and start protecting your kids from the weather!
DIY Jogging Stroller Rain Fly Tutorial
I looked into just buying a rain fly but they were either super pricey or super cheap and bound to fall apart after one use. So I made my own and I love how perfectly it fits the stroller. Can you tell those little toes are happy :)

Even if it isn't raining it's till nice to have to keep the wind off little faces and keep blankets from falling out and getting run over.
If you're looking for a cover for napping/blocking sun you might try one of these instead:

Jogging Stroller Rain Fly Materials
- Clear vinyl: you can find this on big rolls in the back of Joanns. I went with a medium weight and I think it was only a few dollars with my coupon
- Oil cloth to reinforce the bottom
- Bias Tape (at least 2 packages)
- Velcro or Snaps
- Buttons
Rain Fly Instructions
Rain Fly Step 1: Drape your vinyl over the stroller and mark your cutting lines on the paper backing

It's best to start a bit bigger than you think you need and then you can trim down later
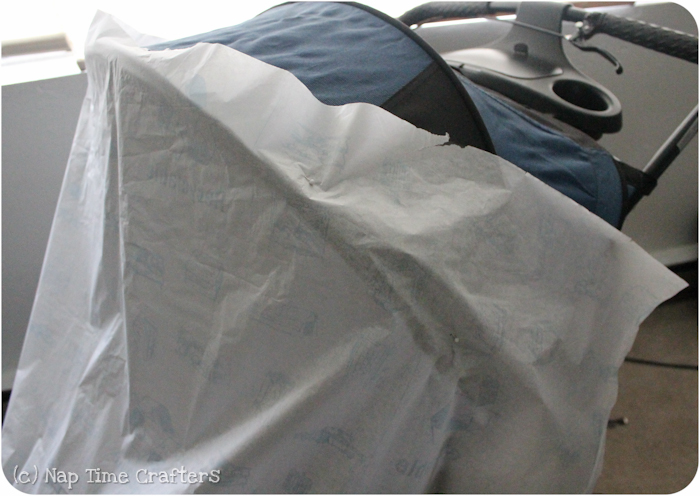
After I had it right I folded in half and then trimmed so it would be symmetrical
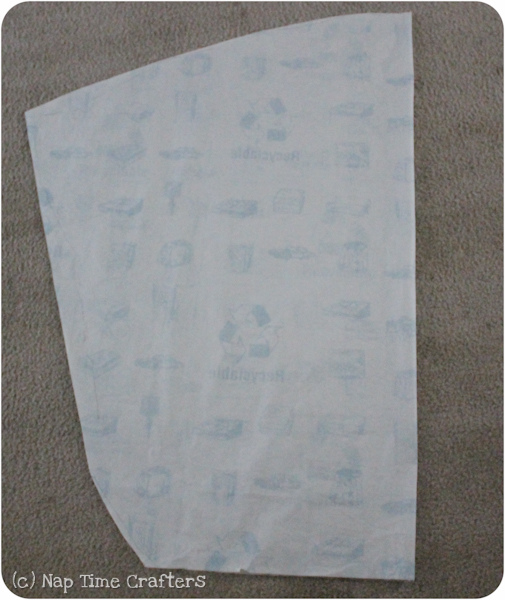
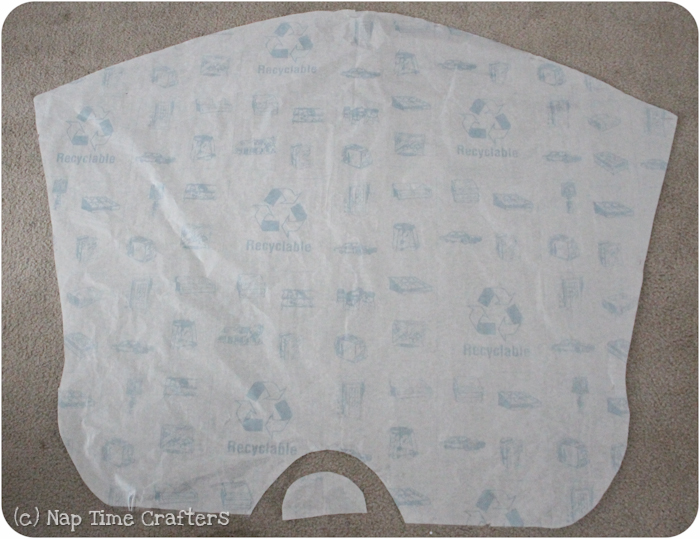
Here's my finished shape. The cut-out at the bottom is for the wheel well. Now cut a piece of oil cloth in the exact same shape to reinforce the bottom portion (I learned the hard way that lots of keeping feet will tear your cover away from the binding after a few uses...)
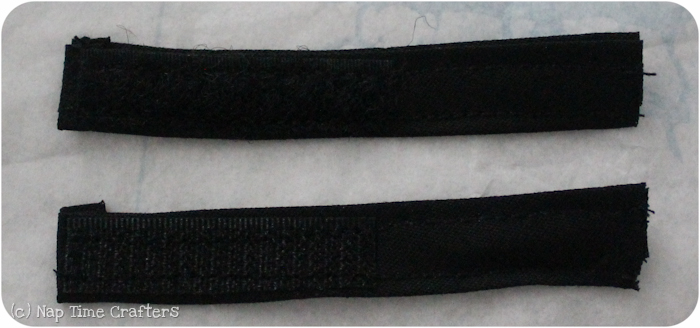
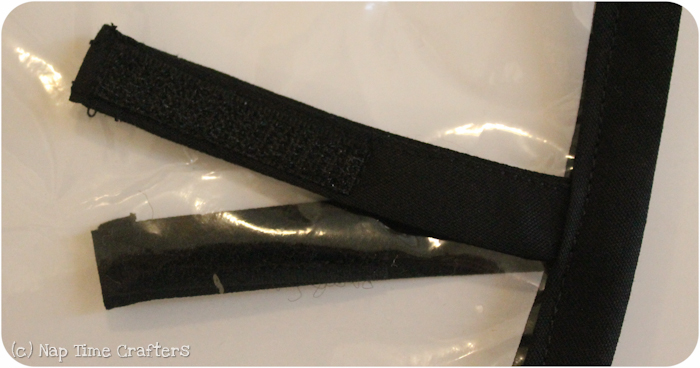
Rain Fly Step 2: I made all of my straps from bias tape. Just sew it shut and then add strips of Velcro or snaps. I love the velcro for the sides but I think I'm going to go back and add snaps to where it secures at the very bottom for a tighter hold
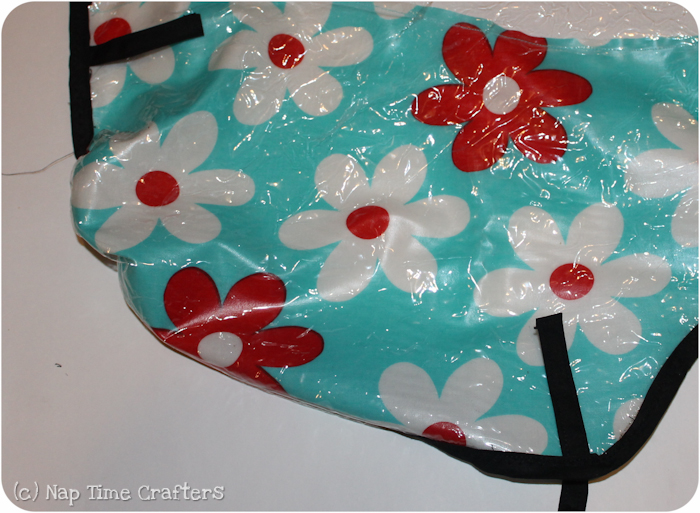
Rain Fly Step 3: Mark where you'd like straps and then finish the entire edge with bias tape. Stop whenever you get to a marking and slide your straps in-between the cover and the bias tape. One strap should be on top of the cover and the other below. I did the whole thing with a regular stitch first and then went back over with a wide zig-zag for extra reinforcement.
Rain Fly Step 4: On the two bottom corners I also added some elastic to help it get a snug fit. I secured both ends of the elastic and then stretched it to fit as I was sewing
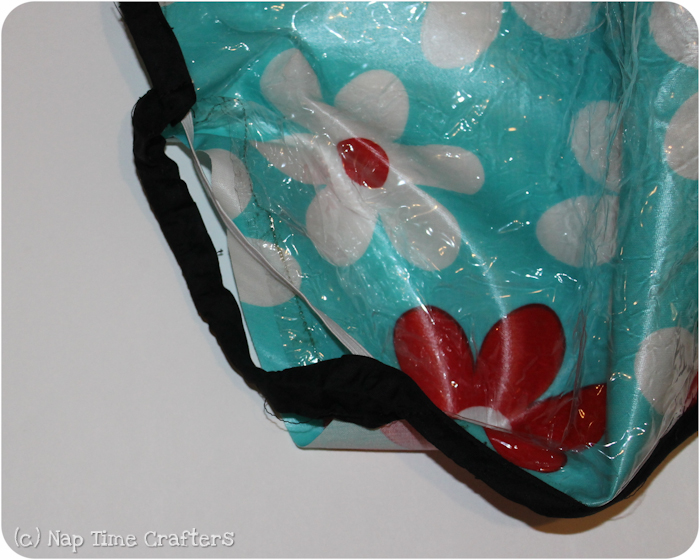
The bias tape makes a casing for the elastic- it should still be able to stretch (there should be oil cloth in this photo but I took this the 1st go around)

See how the corner is nice and gathered now?
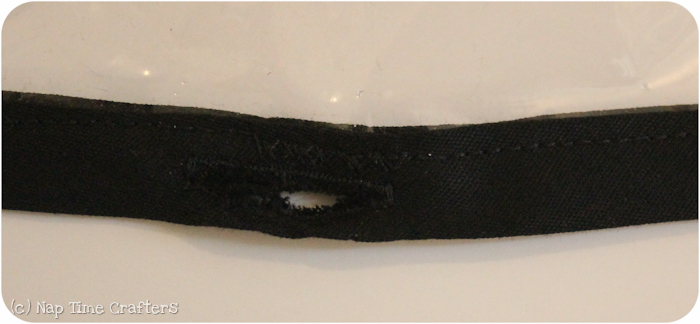
Rain Fly Step 5: Along the top edge I sewed buttonholes right into the bias tape and then attached buttons to my stroller canopy.
Different stroller but you get the idea :)

And you're done! I've used this quite a few times and I absolutely love it. I used it on the way to the library yesterday when it started to rain and Anne informed me ... "That's much better mommy" so I guess it's a hit from the passengers :)

It may look intimidating but I promise the jogging stroller rain fly it really isn't that bad and I did the whole project for $10 so it's worth a shot
I hope you learned something from this jogging stroller rain fly tutorial! Happy Jogging :)
As always, make sure to visit us in our Peek-a-Boo Facebook Group to share what you make and ask sewing-related questions.