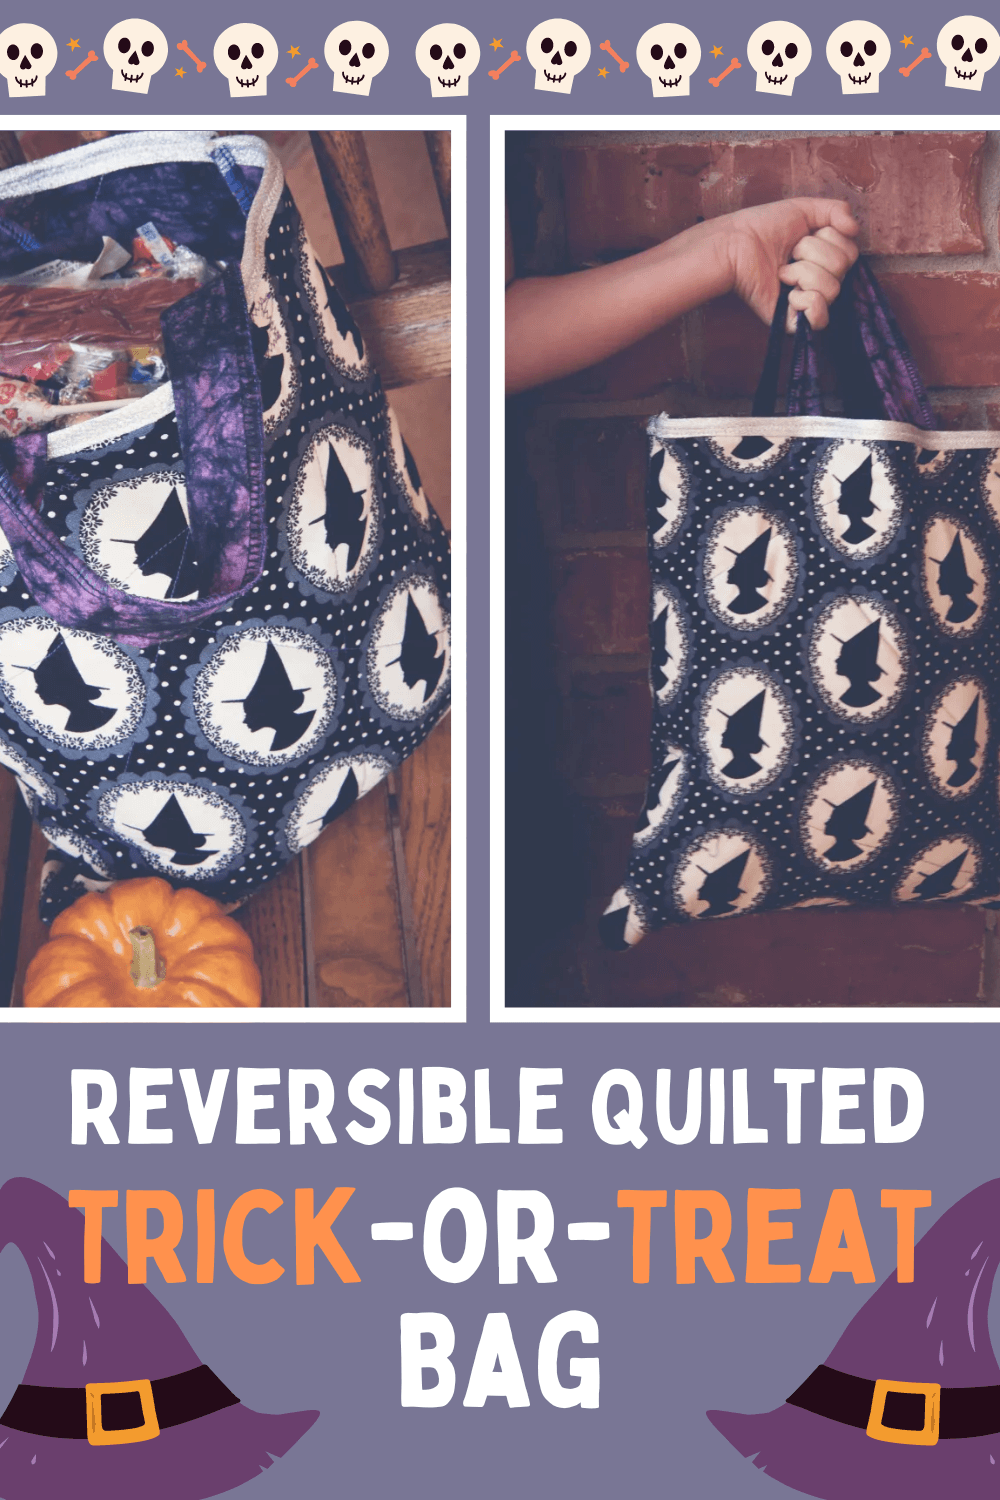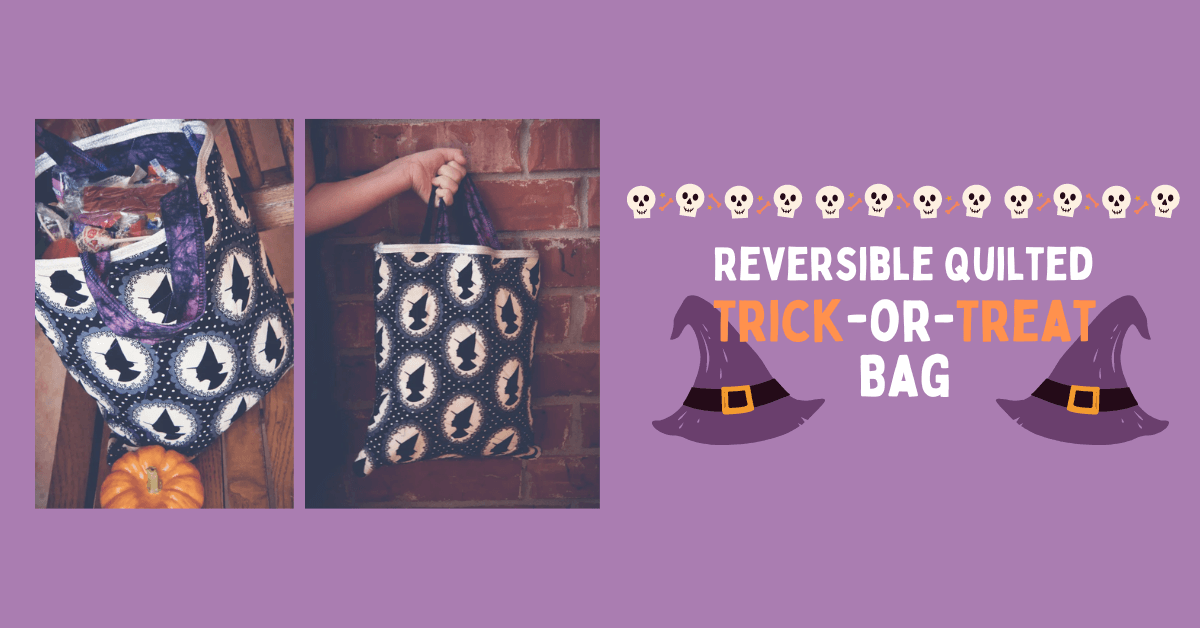
DIY Trick or Treat Bag | How to Make Trick or Treat Bags
Let's learn how to make a DIY trick or treat bag. With Halloween fast approaching, it's time to start preparing your trick-or-treat bags. Luckily, Crafty Betty is here to share a tutorial to help you make the perfect candy bag. These Halloween treat bags are a reversible quilted bag, which is functional and stylish with its festive Halloween-themed fabric. With these simple yet creative ideas, you'll be ready to collect all the Halloween candy!
You could use just a plain old tote bag to get your candy, but if you like DIY projects, then these adorable bags are a fun last minute sewing project that take just a little bag design and a little sewing and will beat any treat tote bag or paper bag. Your kids will be the eye of the neighborhood and gets tons of candy with these Halloween bags.
DIY Trick or Treat Bag | Reversible Quilted Trick-or-Treat Bags
Halloween is right around the corner and every year I try to find some sort of practical treat bag. We have done the $1 buckets and they are great for the day, but somehow they always get commandeered for sick buckets…hey – we have four kids and when one gets it, we all get it. It just doesn’t feel right to fill that bucket with delicious candy again (no matter how much it’s been bleached out!) Last year, out of necessity (read: mom forgot to get the buckets) I decided to whip together some easy treat bags. How hard could it be right??? Without further adieu…The Reversible Quilted Treat Bag!
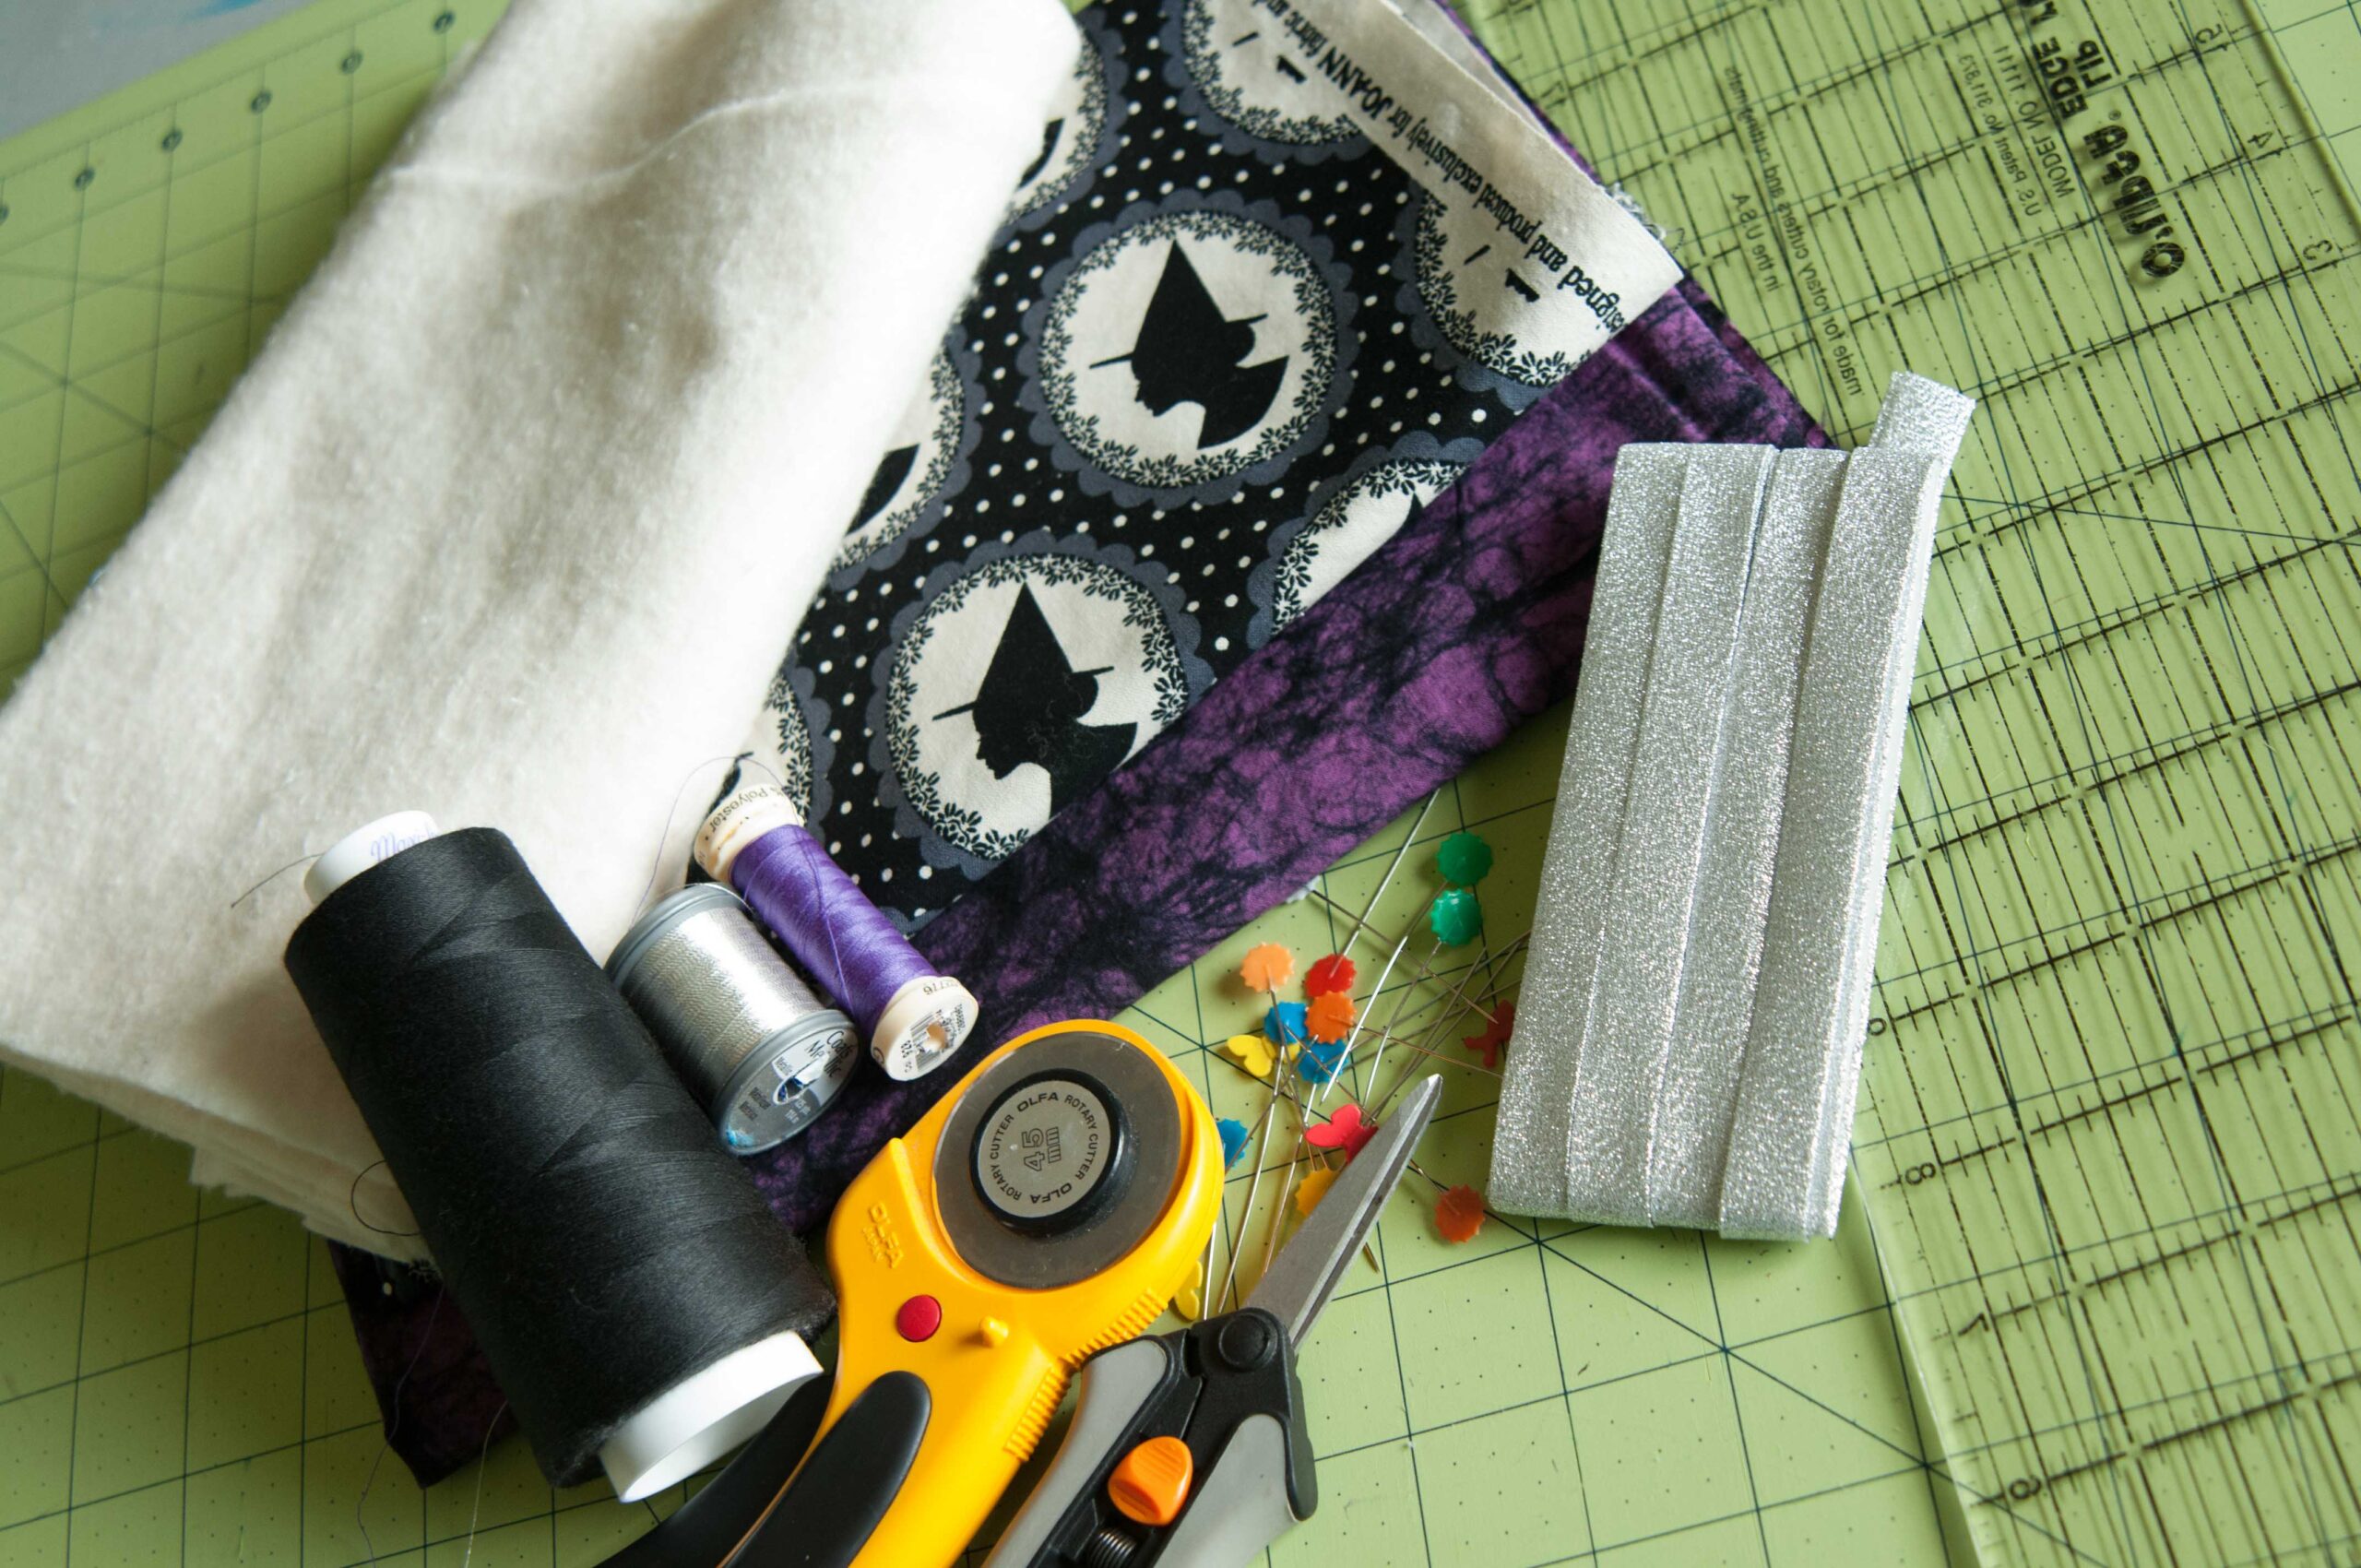
Reversible Trick or Treat Bag Supplies:
- 2-4 Coordinating Fabrics –you can use fat quarters! Riley Blake Designs has some great options.
- You could also make a non-reversible bag with a simple bag lining fabric
- Coordinating or Contrasting Thread (depending on the look you are going for)
- ½” double fold (extra wide) bias tape
- Quilt Batting (whatever is on sale – use your coupon!)
- Sewing Machine
- Serger (optional – if you don’t have one, use pinking shears or zig zag stitch)
- Cutting Mat
- Rotary Cutter
- Quilting Ruler
- Pins
- Iron
Like I always say, this is a FUN an easy DIY trick or treat project that is wide open to your creativity. Follow the directions exactly or don’t. Every single bag I make is totally different and having this basic pattern will allow you to embellish, piece together fabrics, embroider, monogram, you name it! Gather your supplies and get your fabric ironed. Let’s get cutting that fabric!
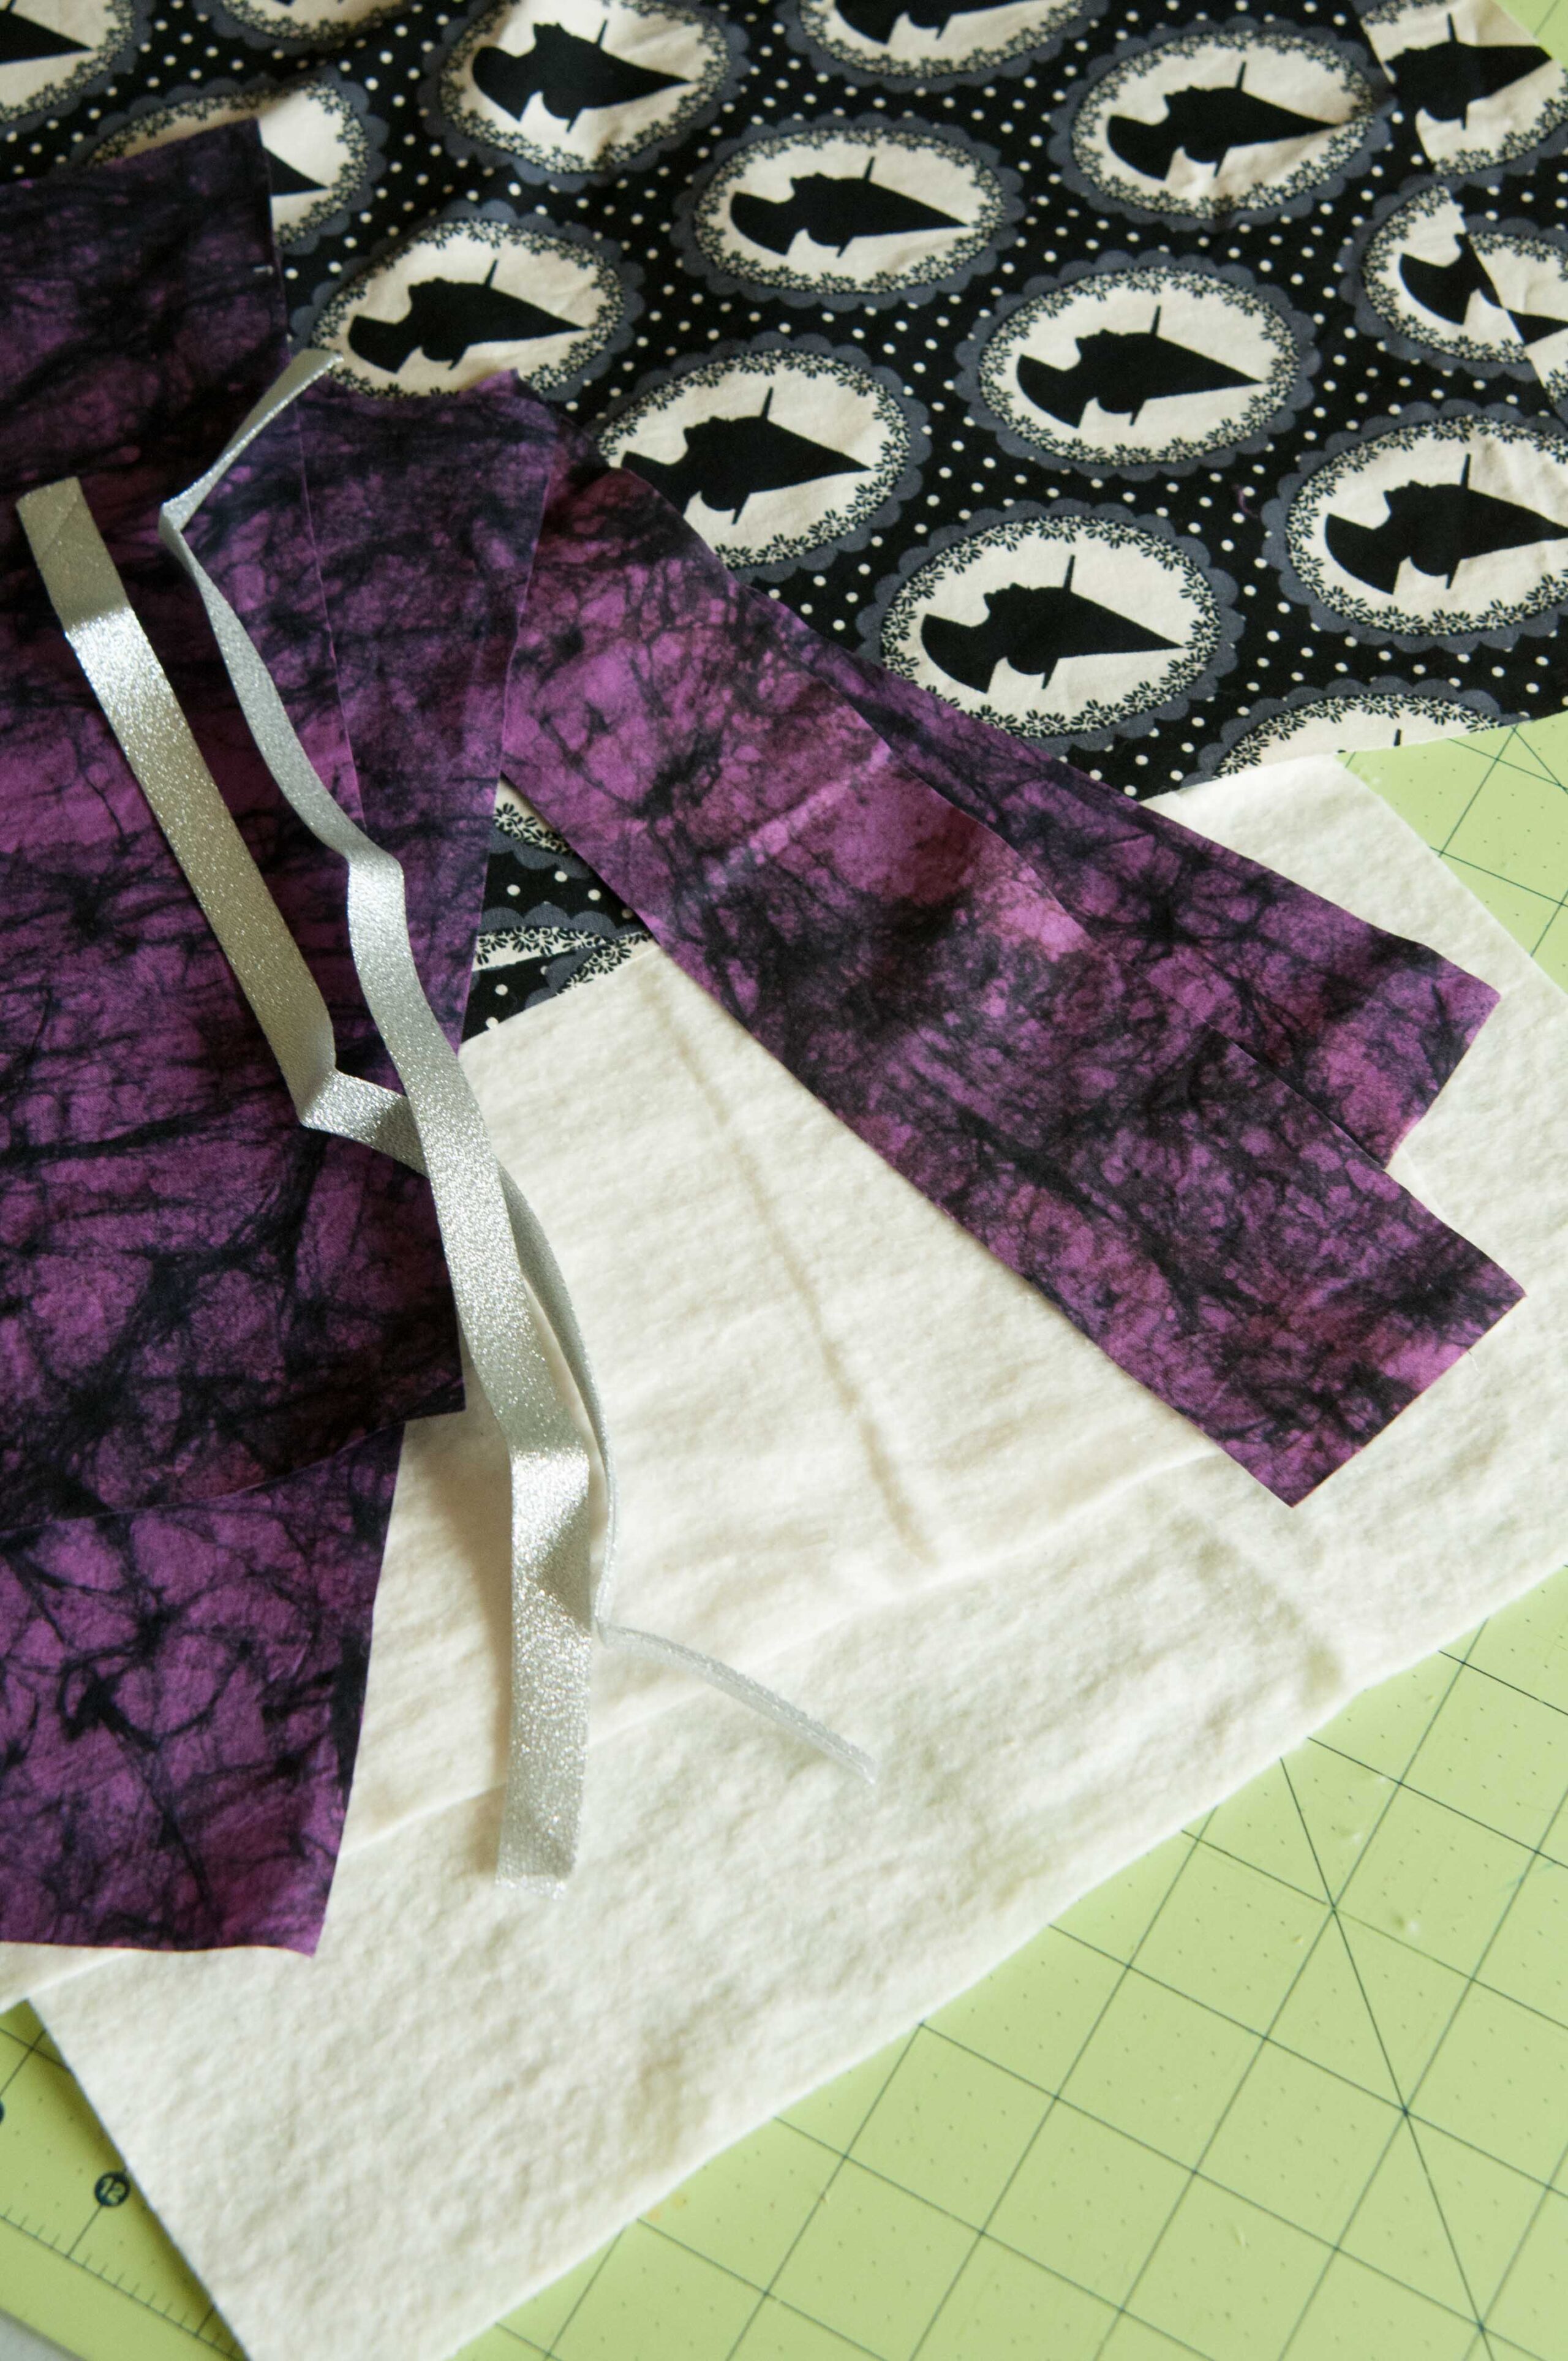
Reversible Trick or Treat Bag Parts:
- 4 pieces – 13”x 12” – these will make the insides and outsides of your bag
- 2 pieces – 13”x 2.5” – these will make the handles
- 2 pieces – 13.5” x 12.5” – these will be the quilt sandwich guts
- 2 pieces bias tape – 14” – these are the finishing pieces
**If you are embroidering the main part of the bag, this is the time to do it. Stay away from the edges!**
Catch the rest of the tutorial after the jump!
Step 1: Alright, we are going to make a quilt sandwich. Fun right? You will lay a piece of fabric with the right side down. Then, lay a piece of quilt batting on top. Finally, lay a piece of fabric right side up. See the sandwich? Some people may prefer to use a quilt basting spray (it’s like hairspray for fabric), but this is such a little quilt I like to use pins and speed it up a bit.
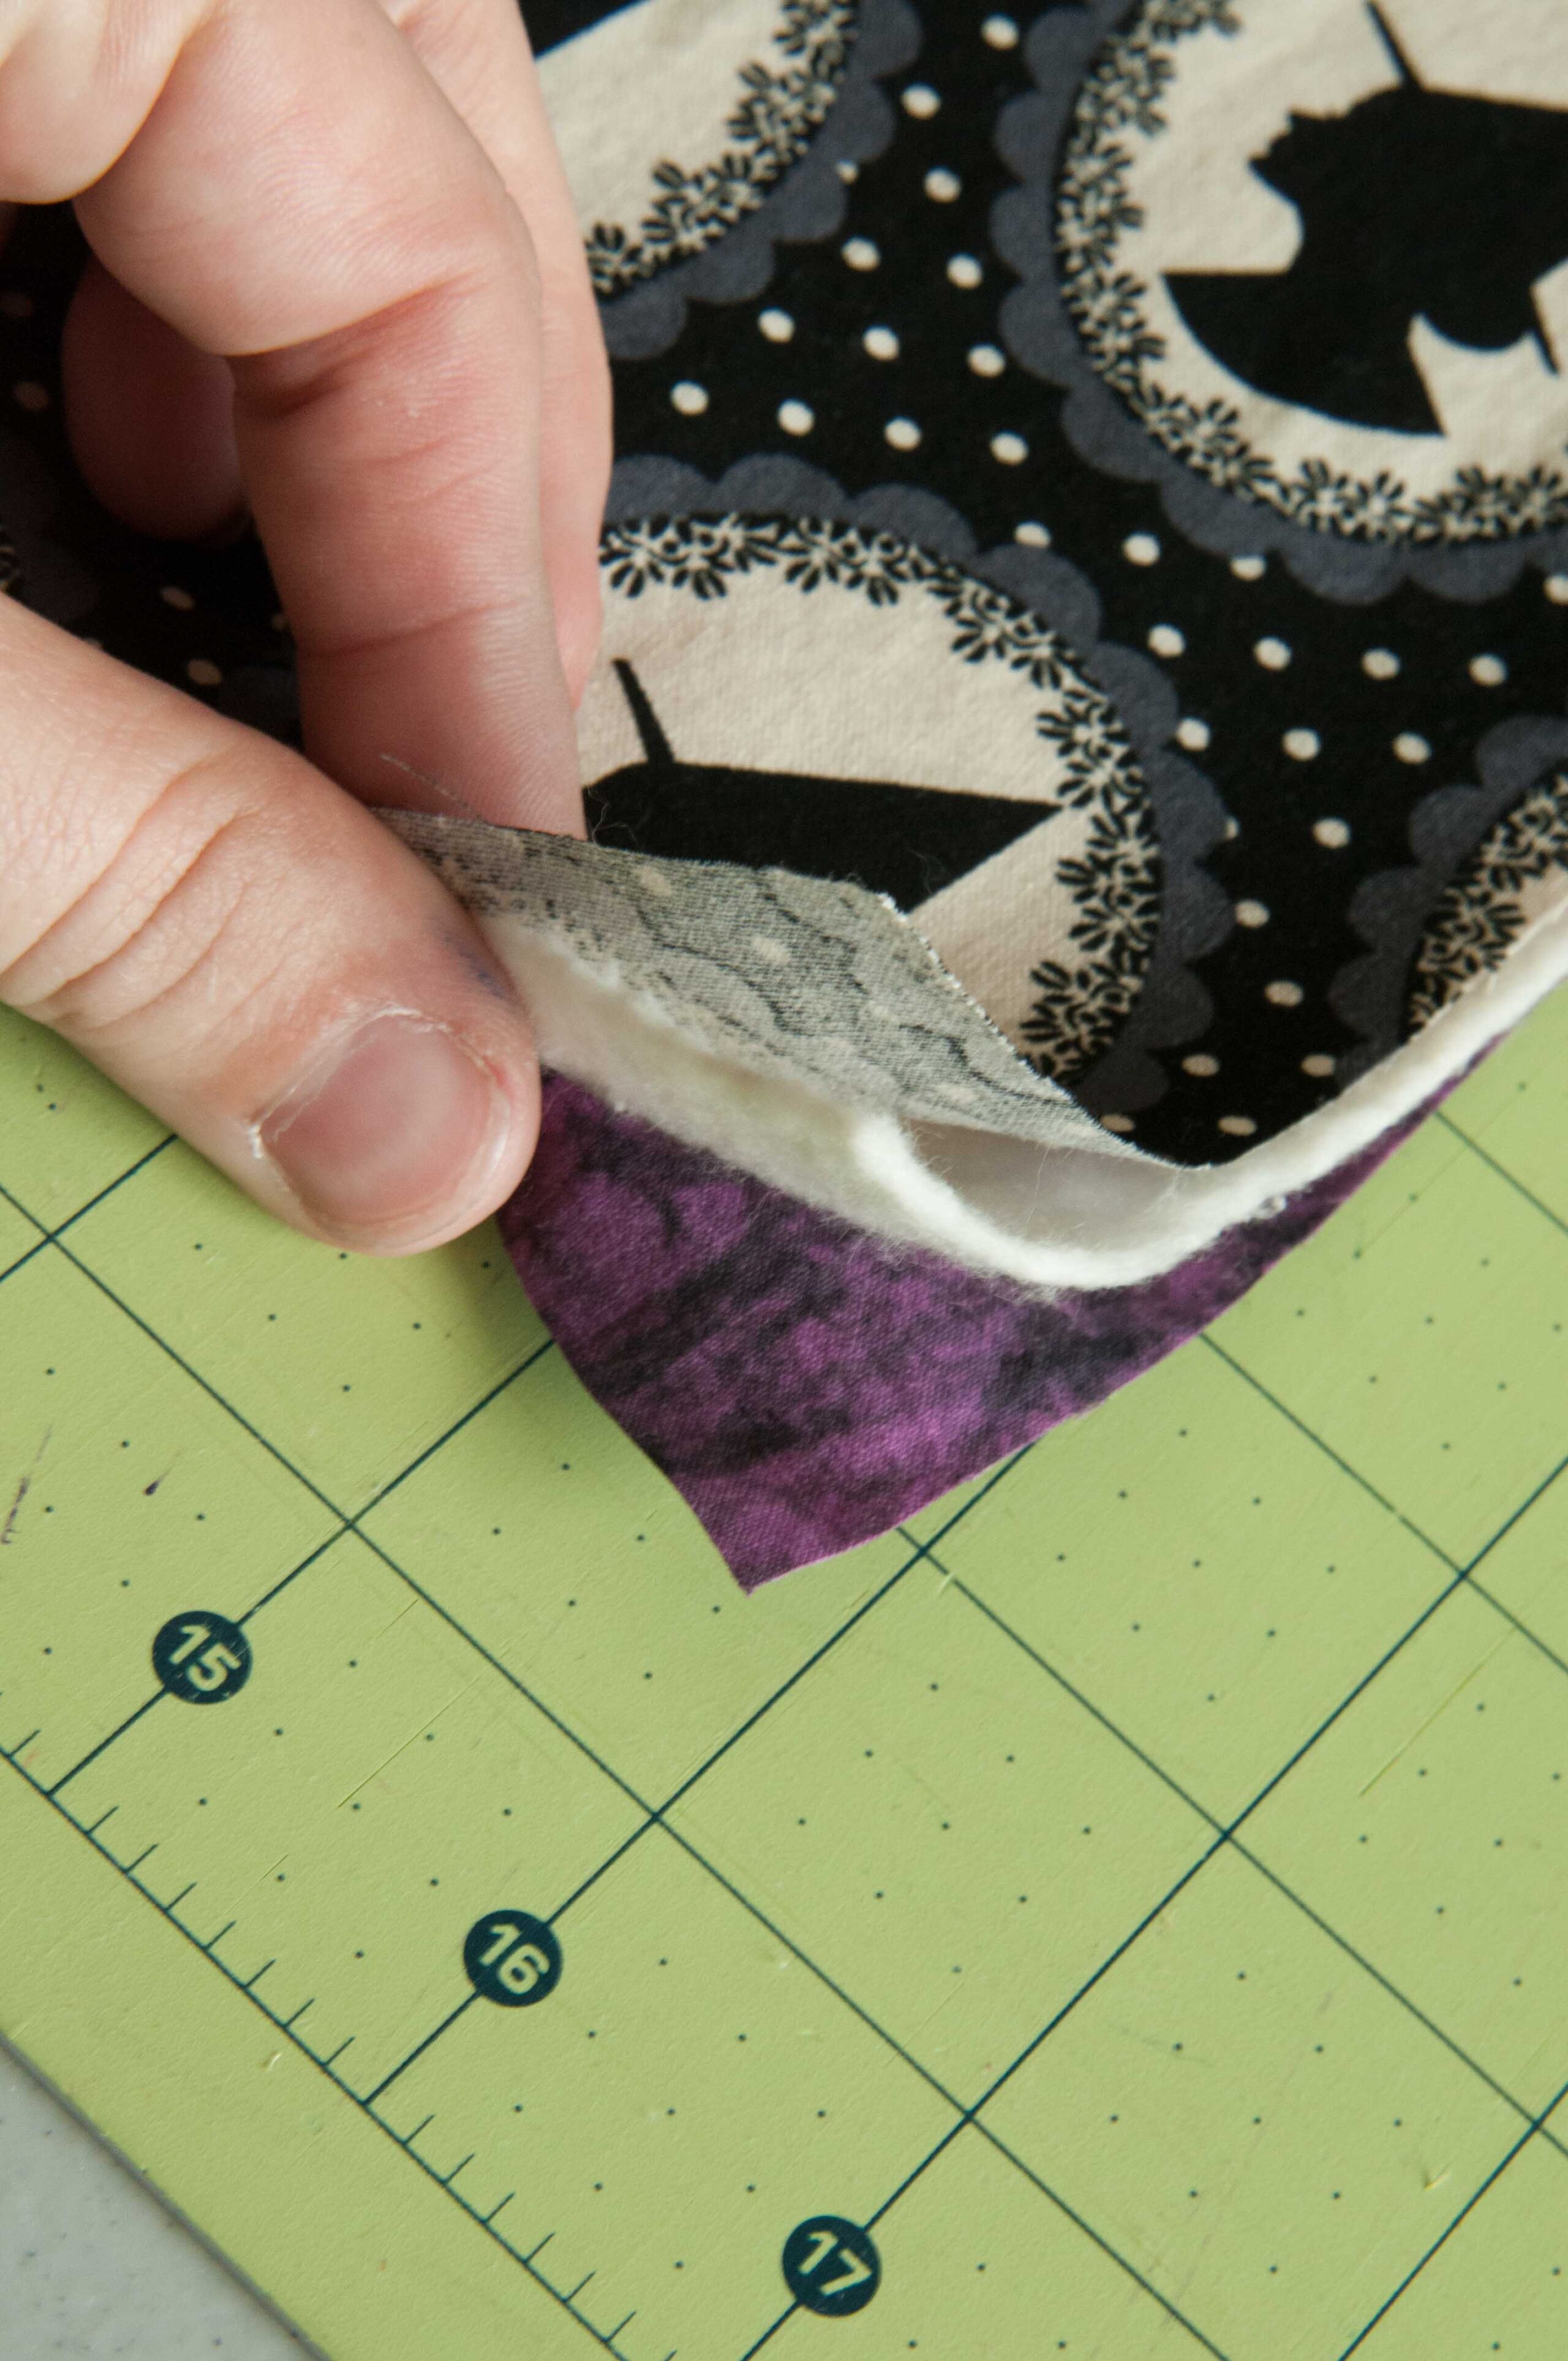
Step 2: Pin your sandwich in a few places so when you come to the machine your pieces won’t slip and slide all over the place.

Step 3: Repeat. You will now have two quilt sandwiches. Now comes the fun part! You can quilt your sandwich in any way your heart desires. I prefer straight-line quilting so I don’t have to fuss too much and don’t have to change my sewing machine foot – sew lazy. Hahaha. Some ways I have quilted Bags.
- Crazy lines in every direction
- Horizontal lines
- Vertical lines
- Tic Tac Toe
There are so many great machine quilting patterns available. You can tackle really intricate ones or even just take a fabric pen, draw out a shape/letter/whatever and just follow it with your needle. Remember, anything other than straight line quilting will require an open quilting foot. For my bag, I chose crazy lines. Start at one point and straight stitch to the other side of the quilt sandwich at a diagonal. Then, turn the sandwich and do it again.
Step 4: Vary your angles and hold tight to the layers so they don’t slip.
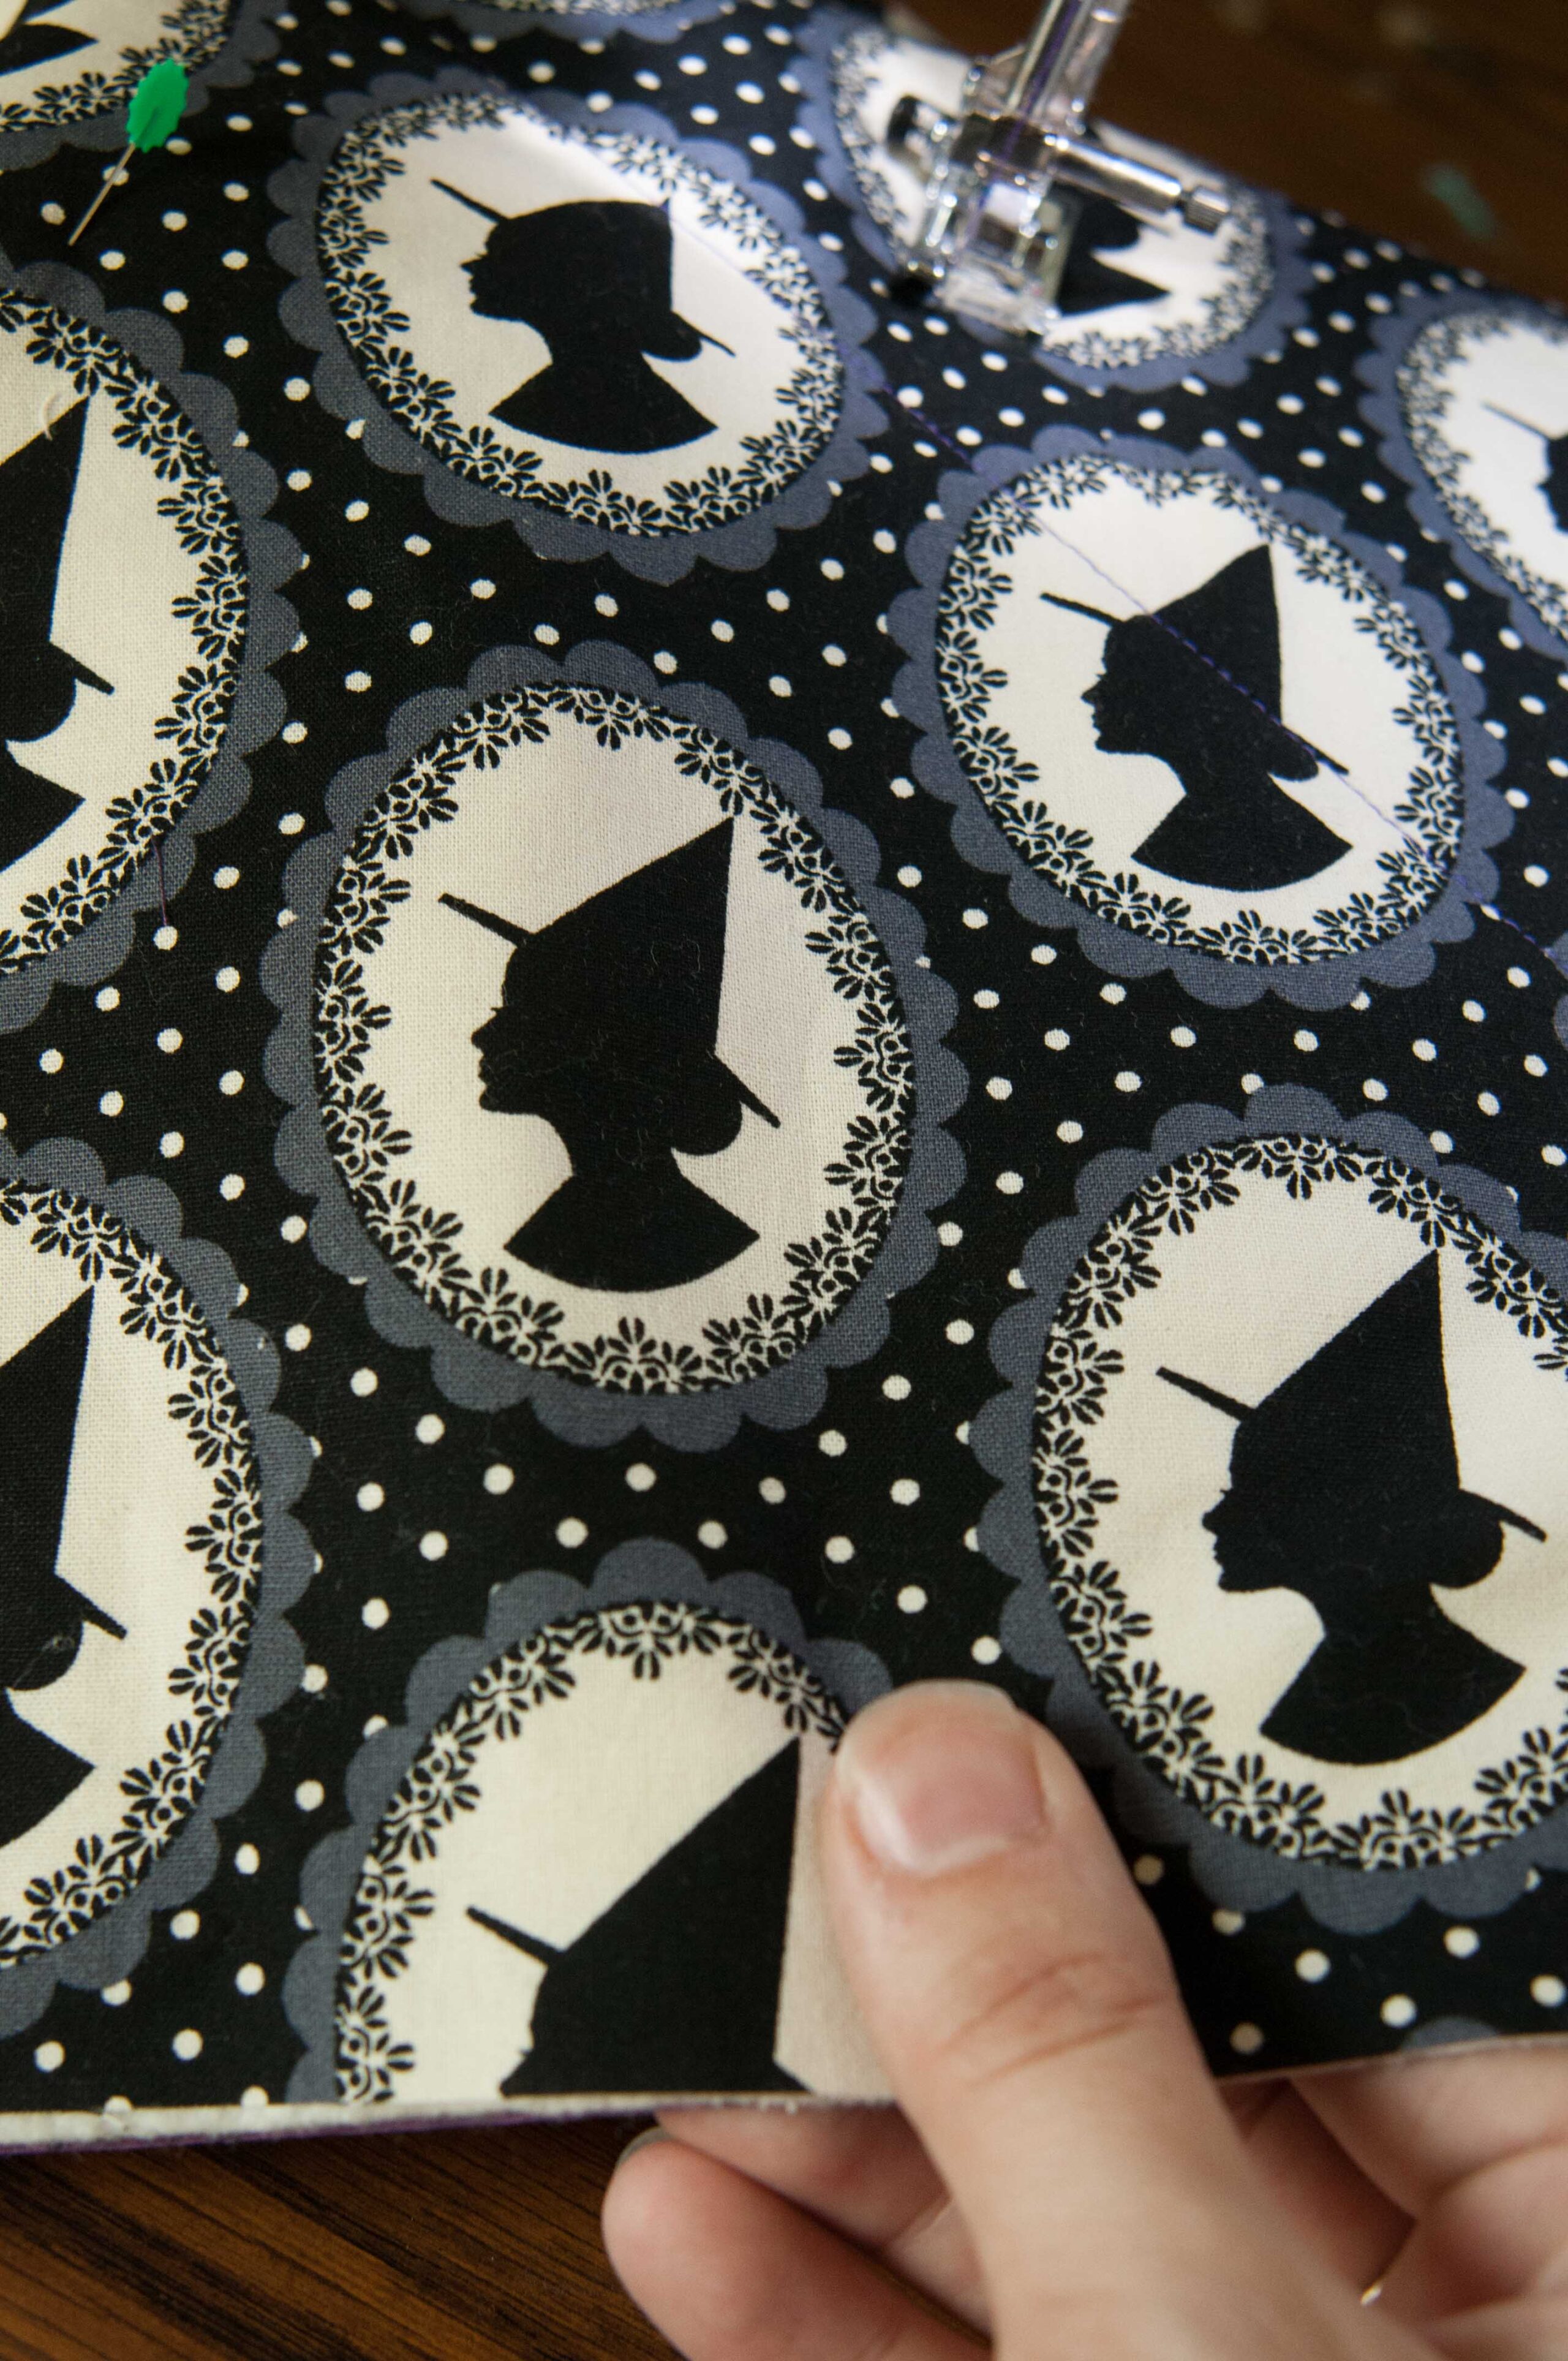
Pro Tip – Go slow to keep your quilt layers together. If you see your fabric slipping, STOP! It’s super duper hard to pull stitches out of quilt batting without destroying it. Fix the error if you can and if you can’t chalk it up to handmade charm!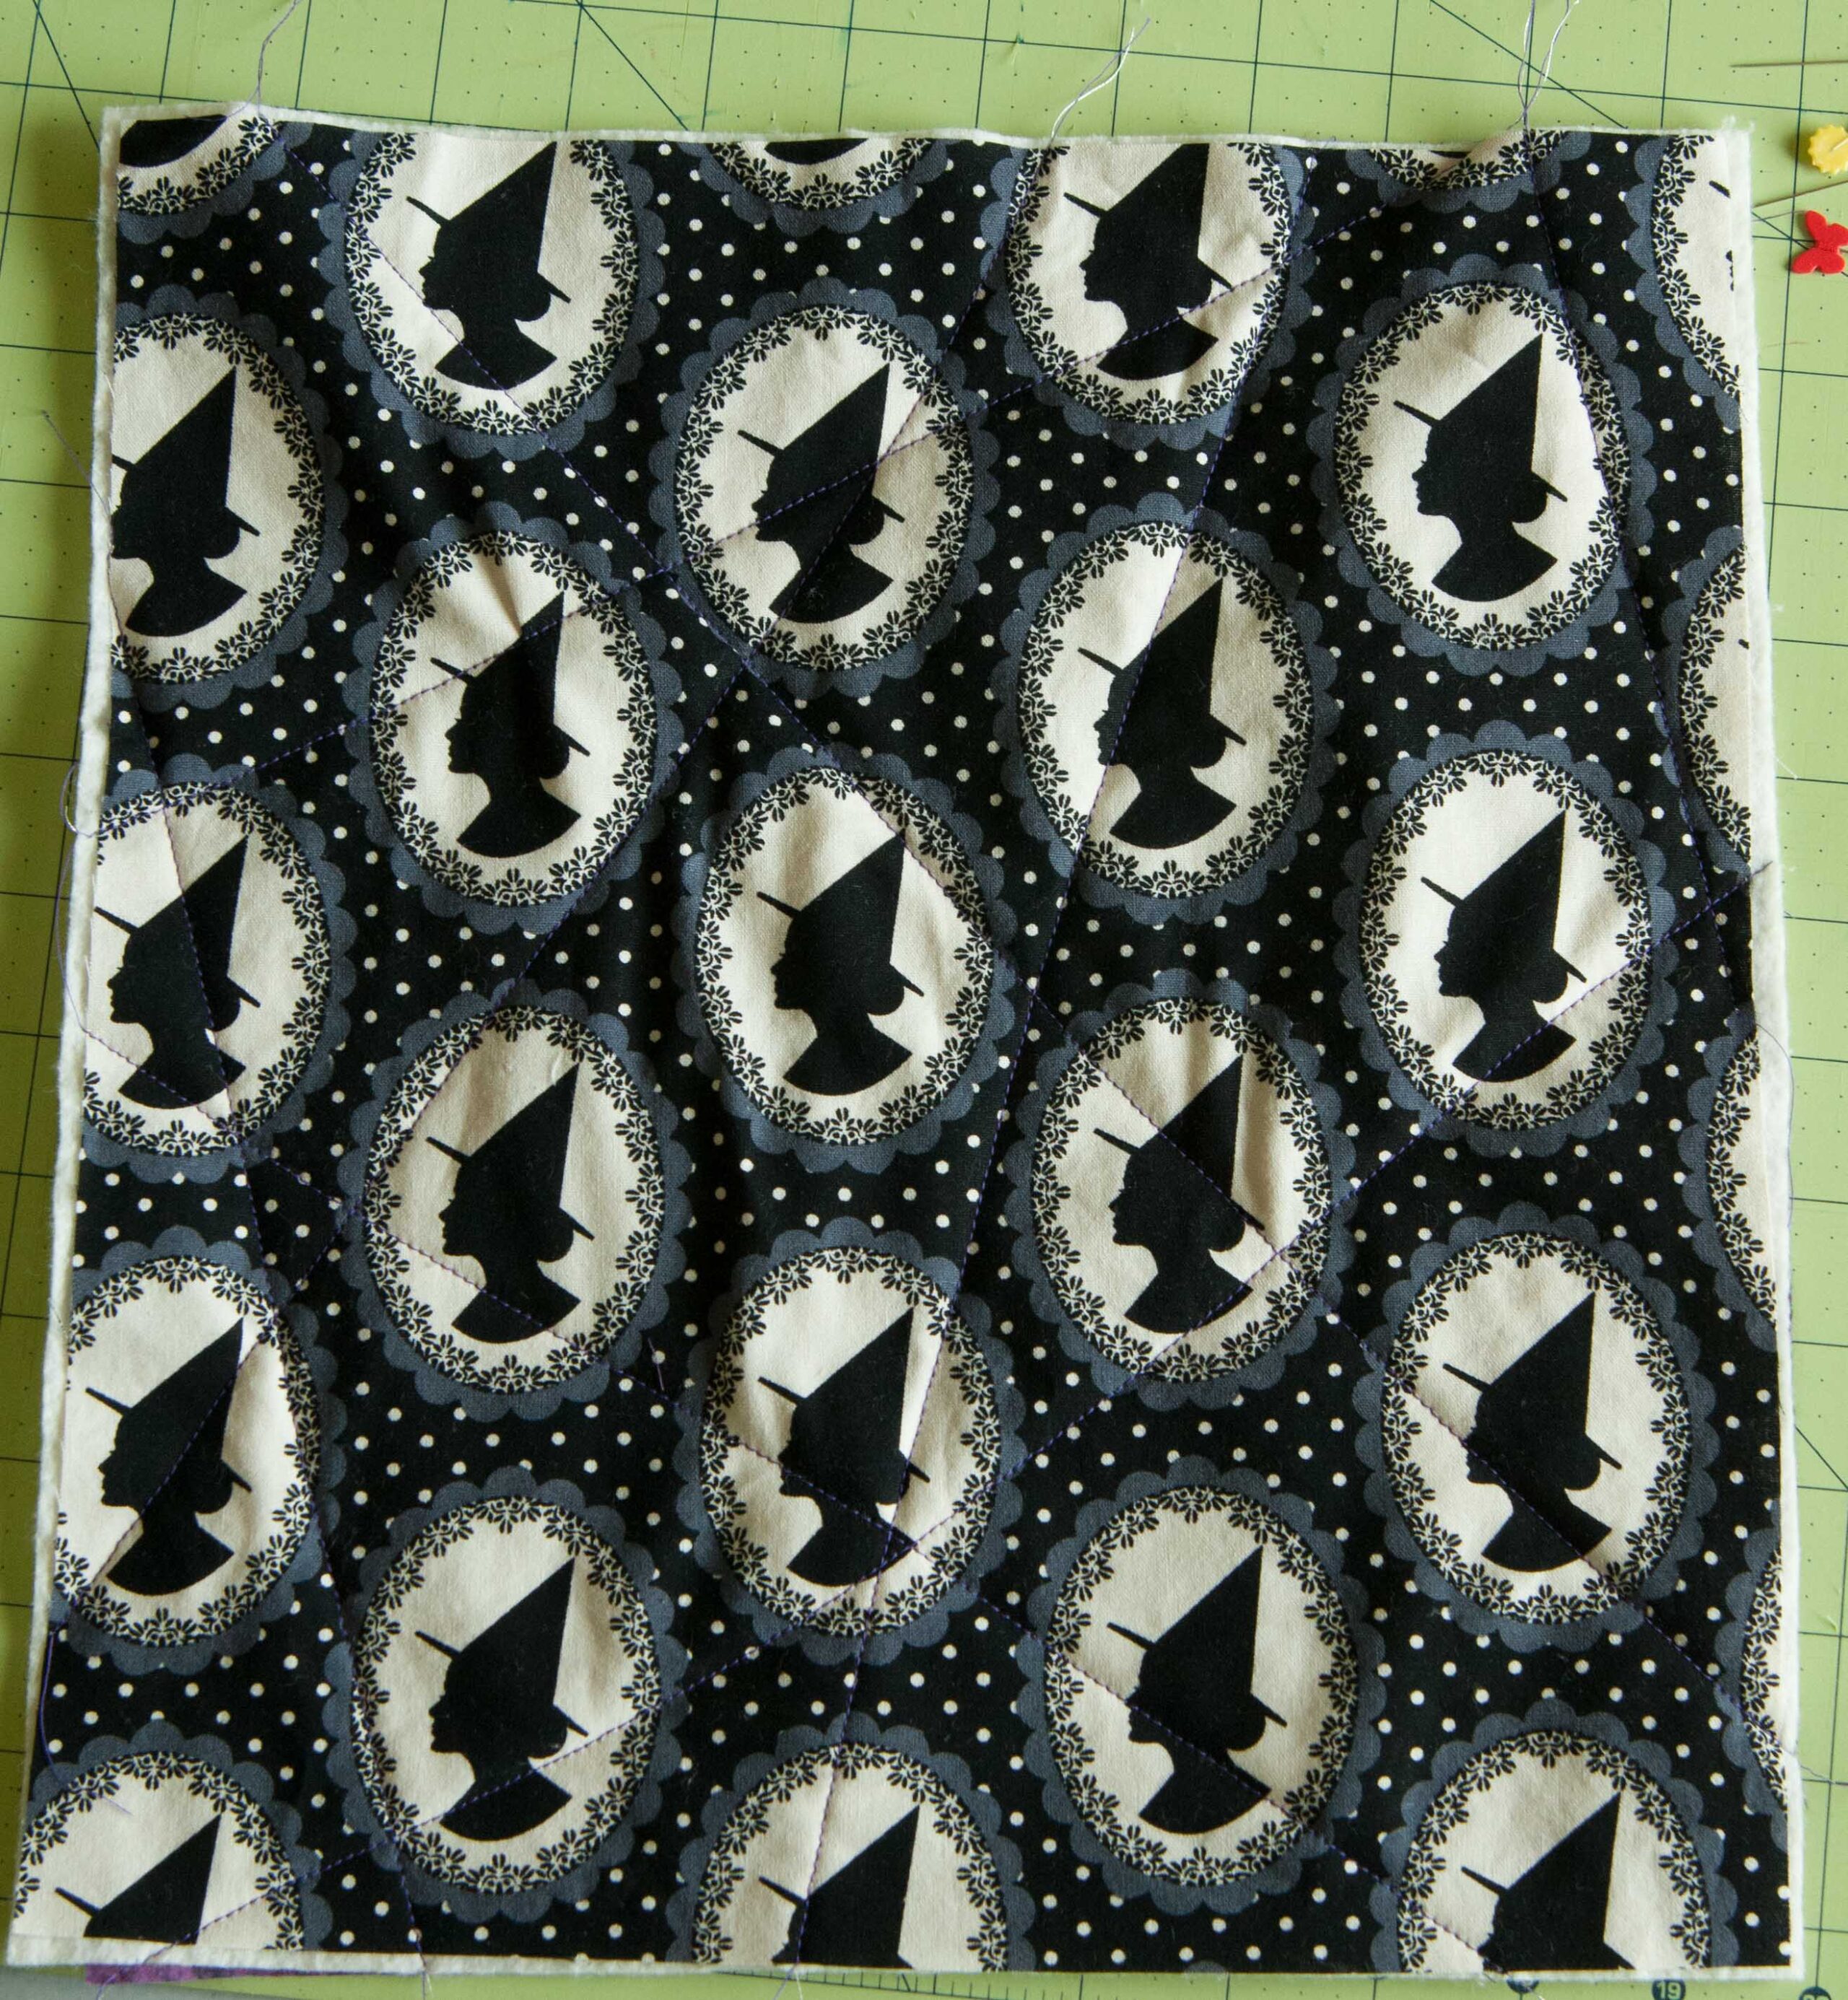
Step 5: Right – back to the quilting. Don’t you love it? If you have some spots you are not pleased with, don’t worry, when you wash your bag it will crinkle up like a quilt and no one will even see the part that bugs you…I promise! Quilt both the front and the back and set them aside.

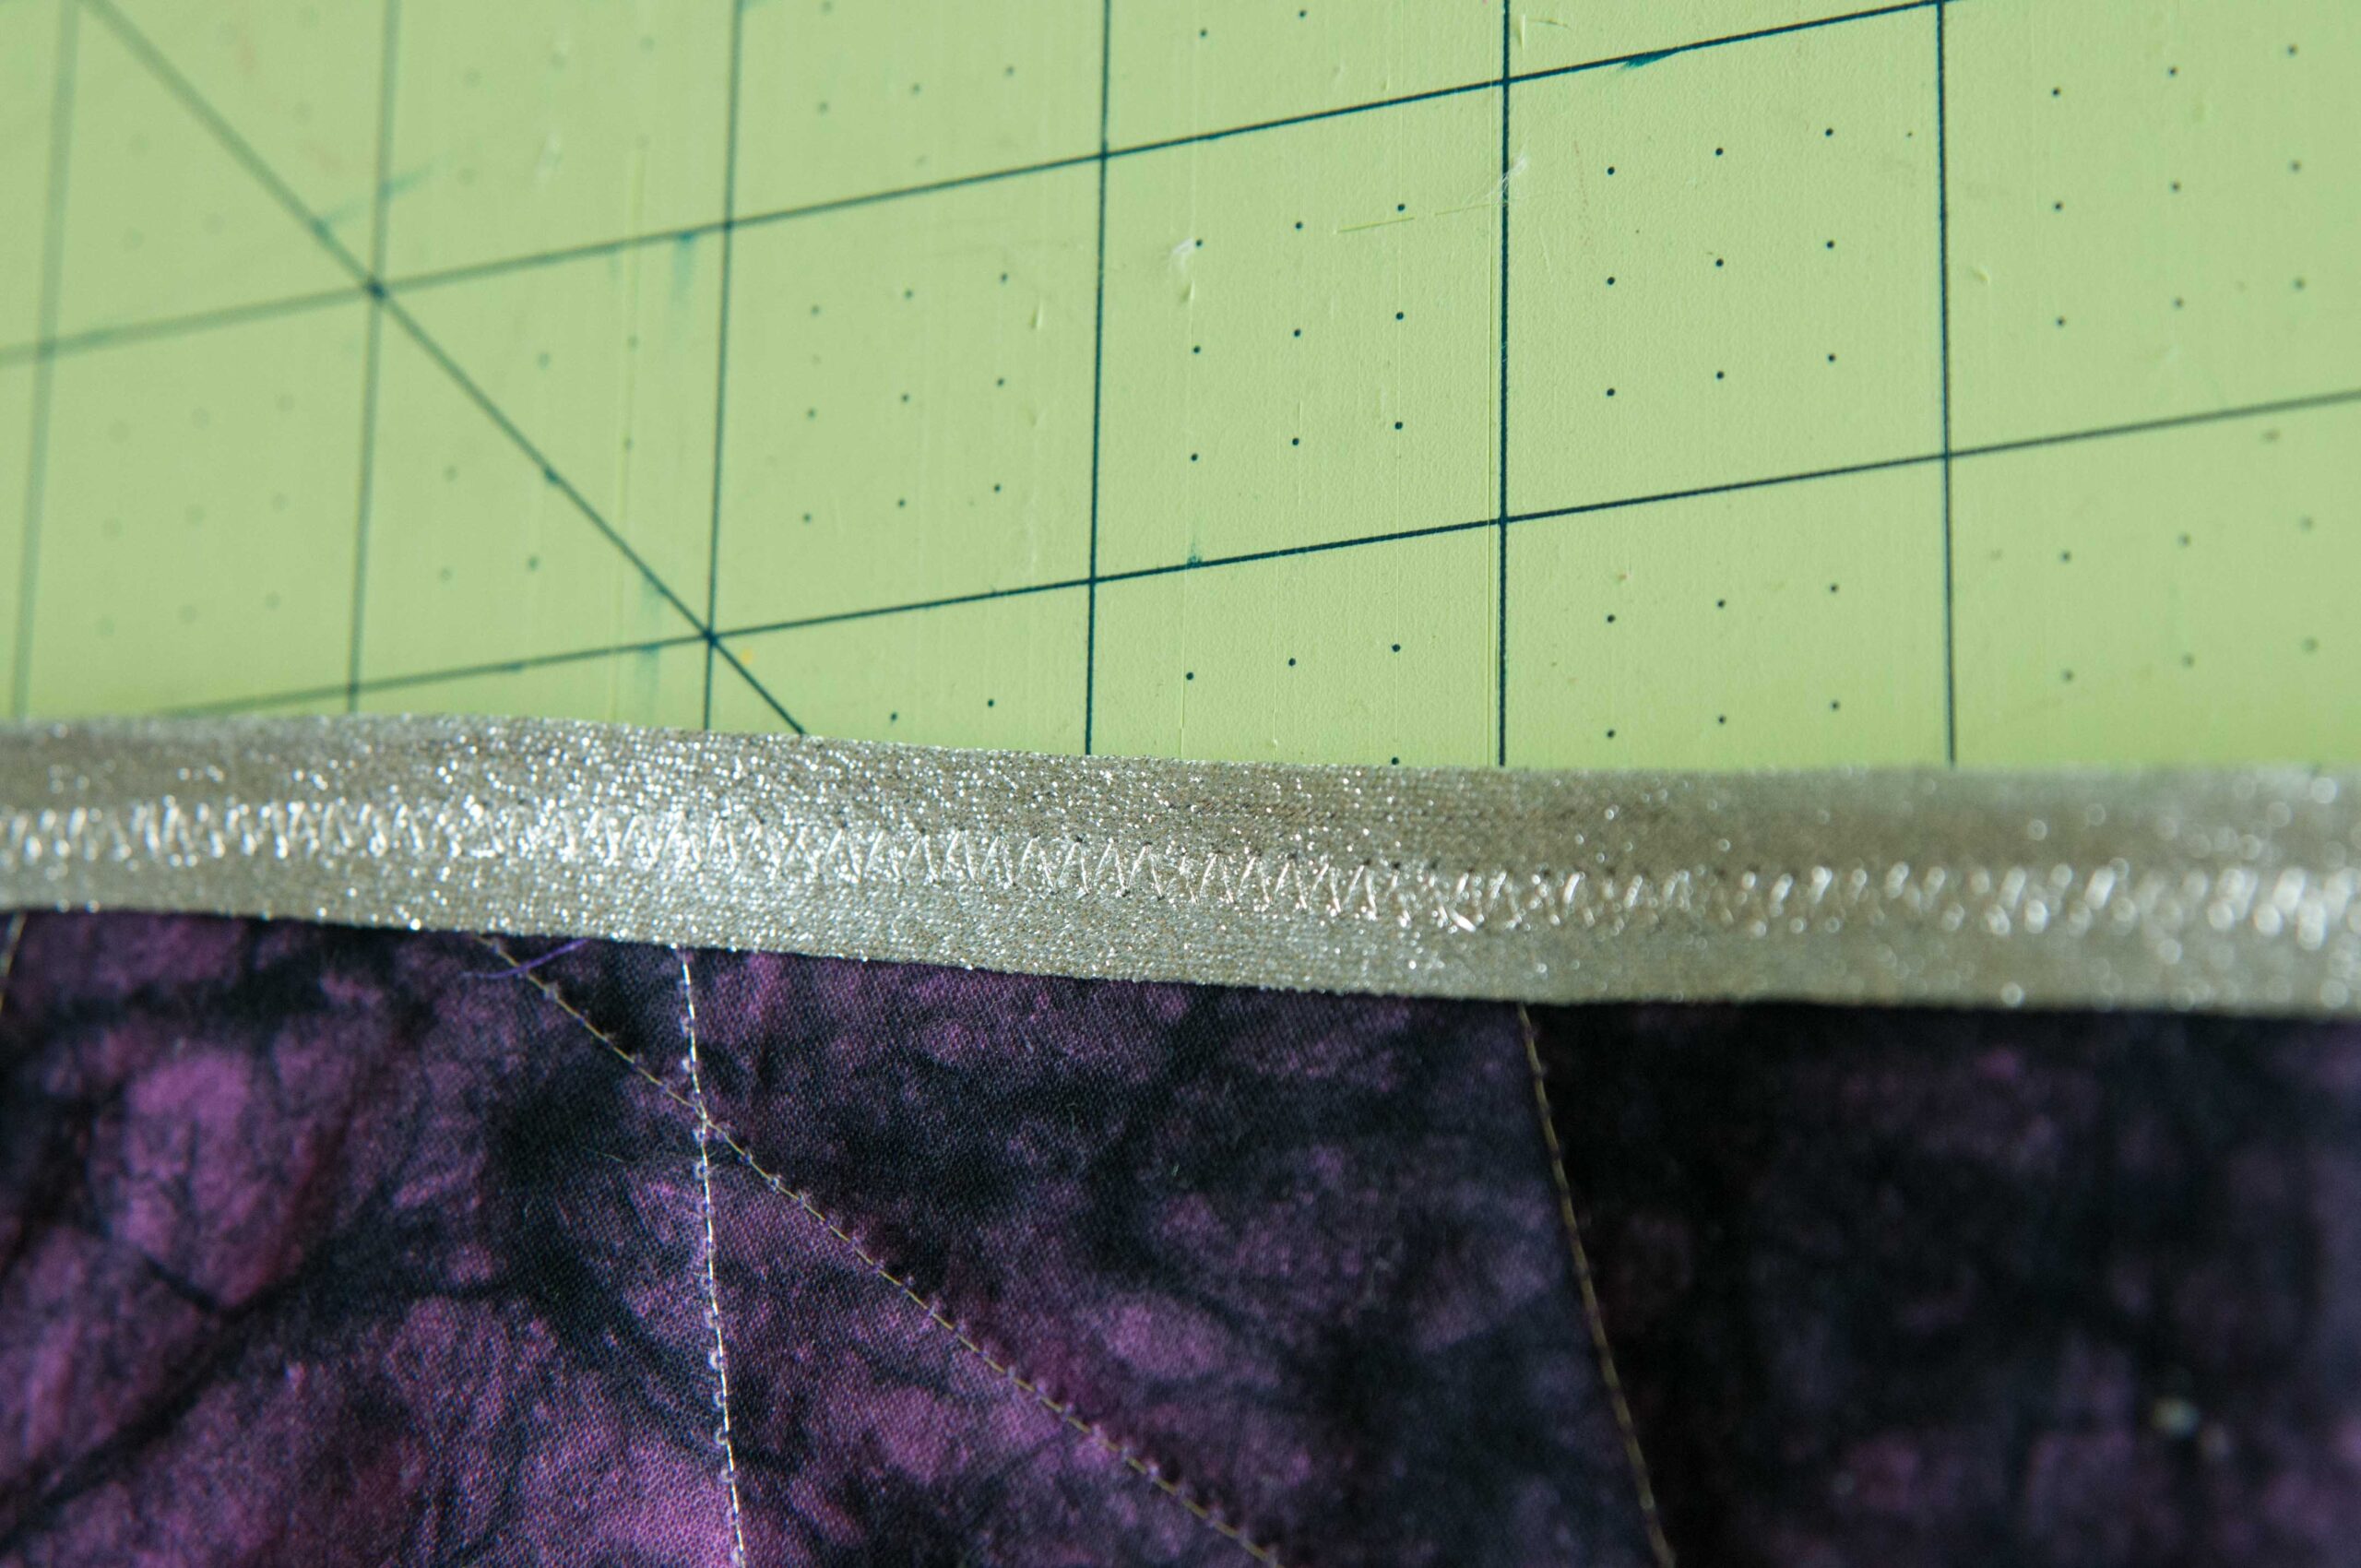
I used silver bobbin thread to match the silver bias tape. 🙂
Step 6: Take your handle pieces and iron them in half the short way so they start to look like handles. I like to use my serger to make things speedy, so serge the long open edge and the short ends. It’s super cute to use contrasting threads here!
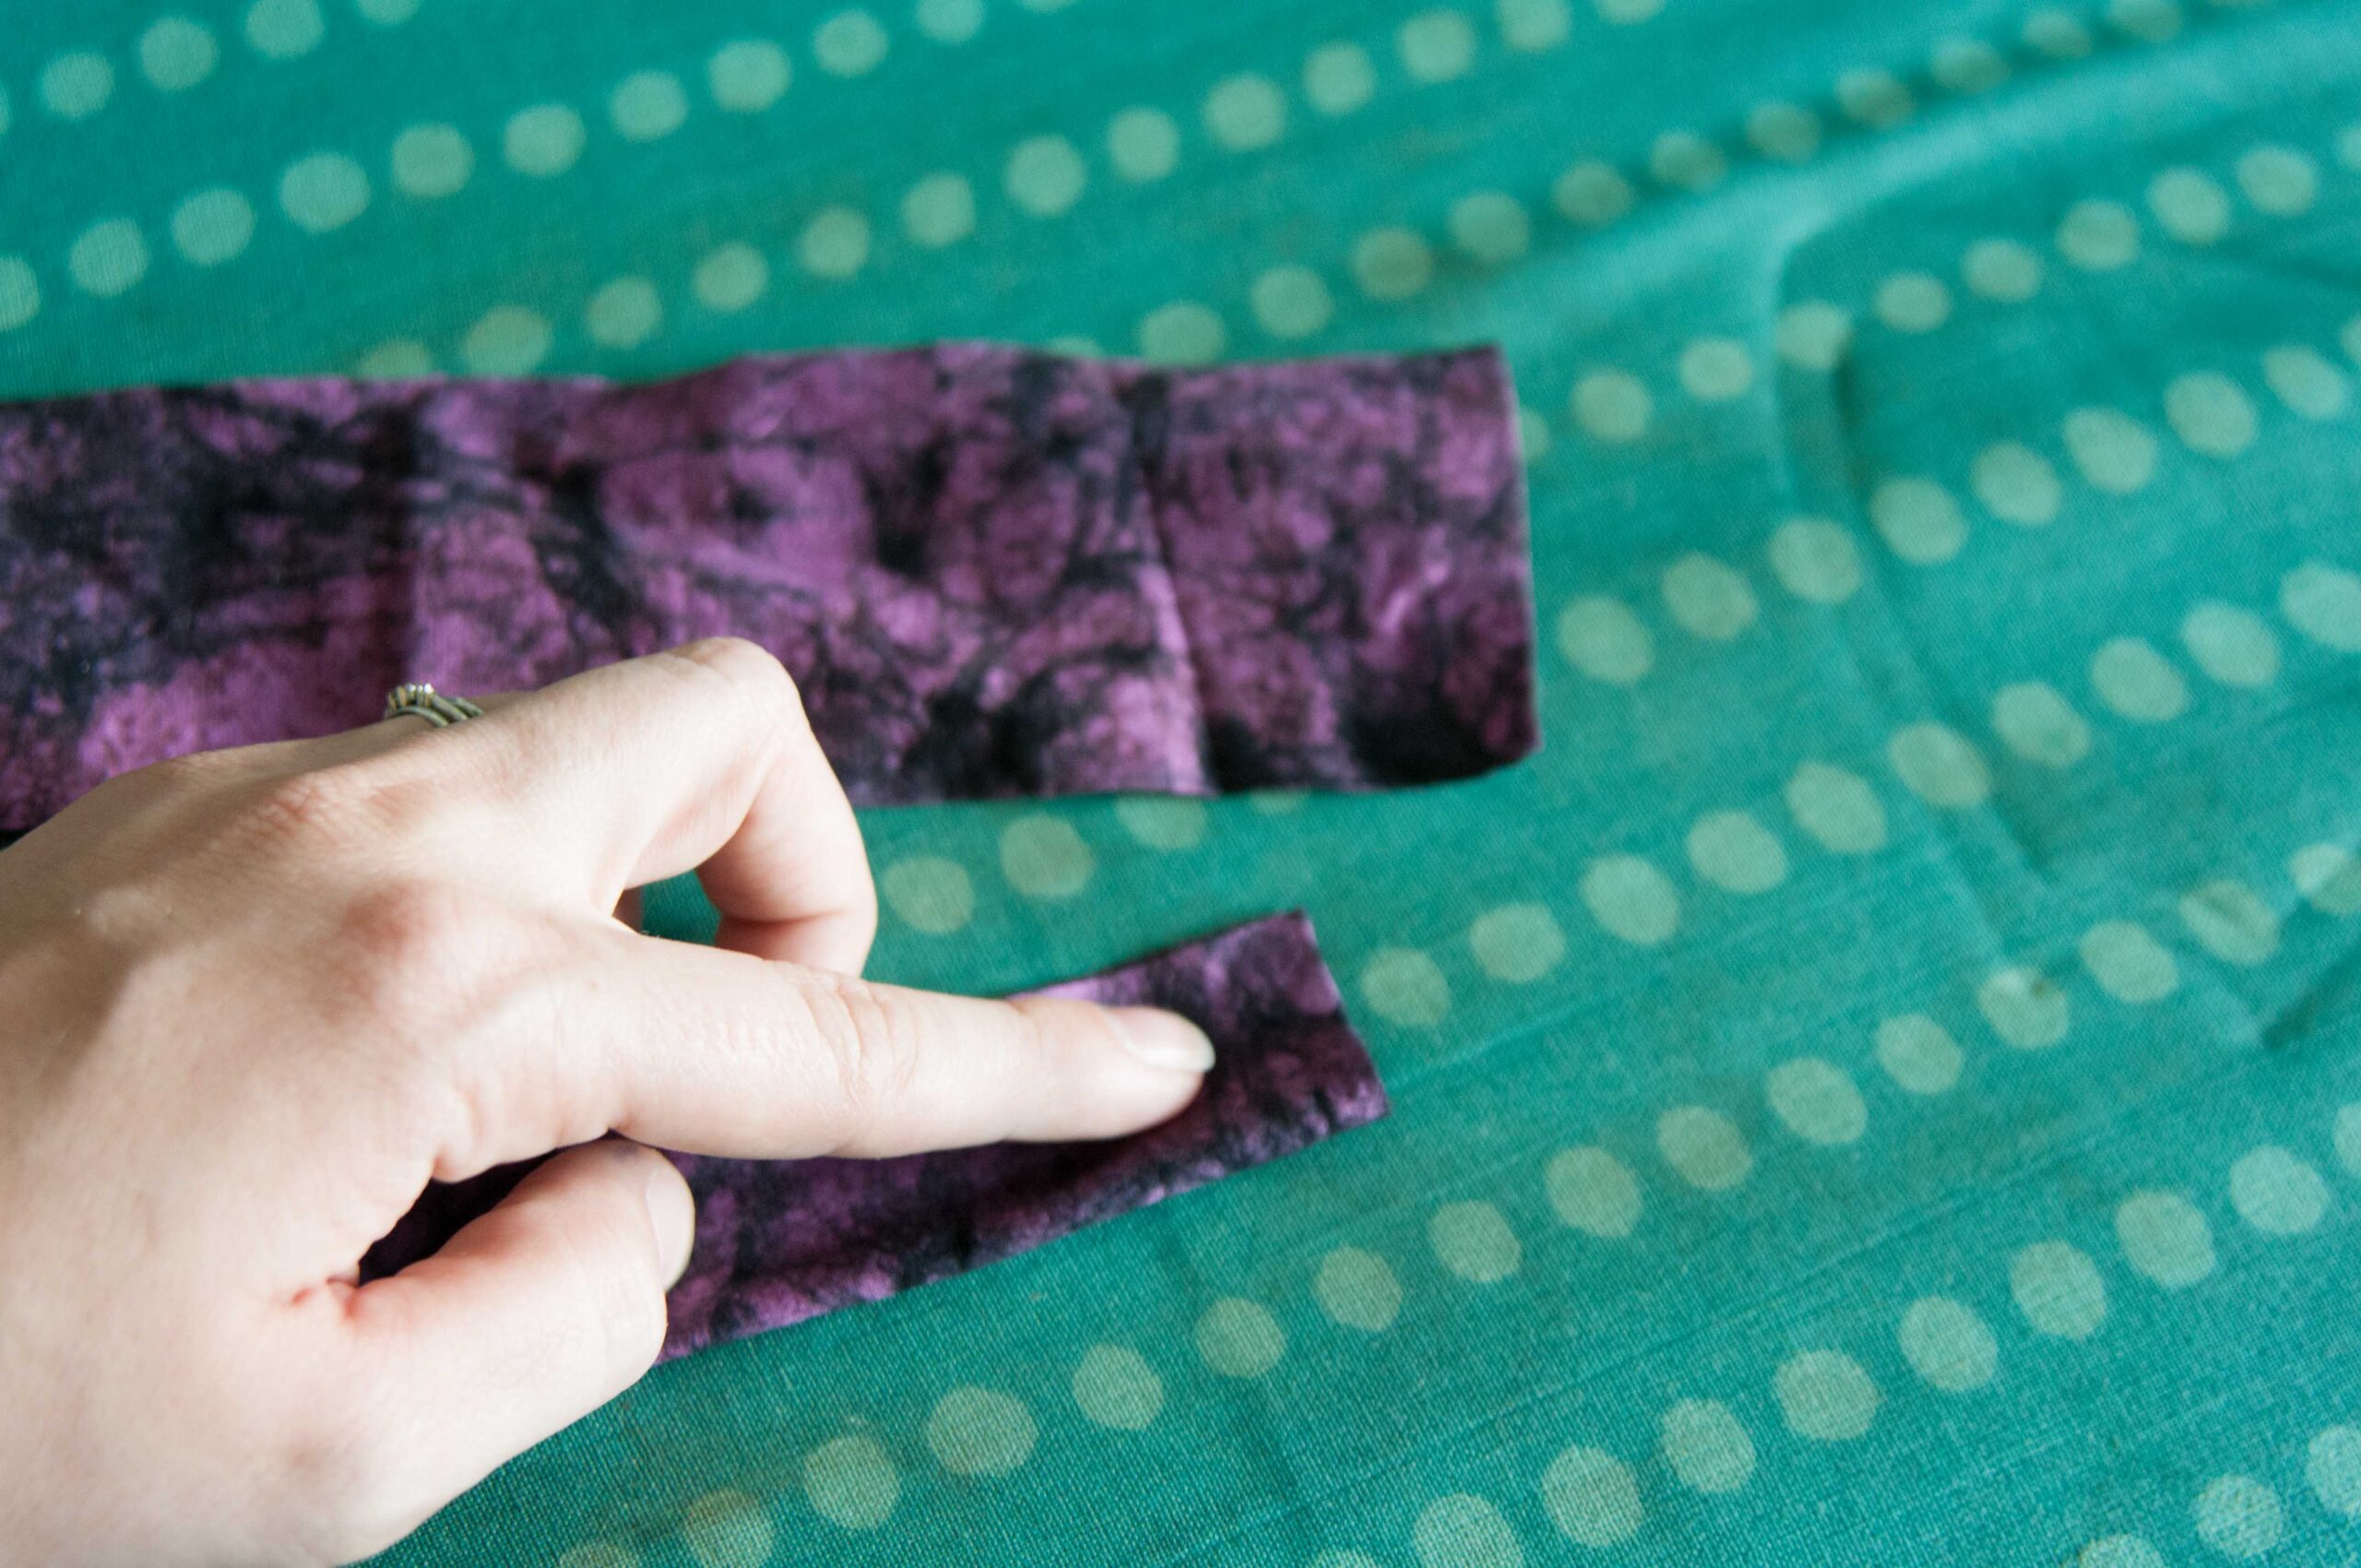
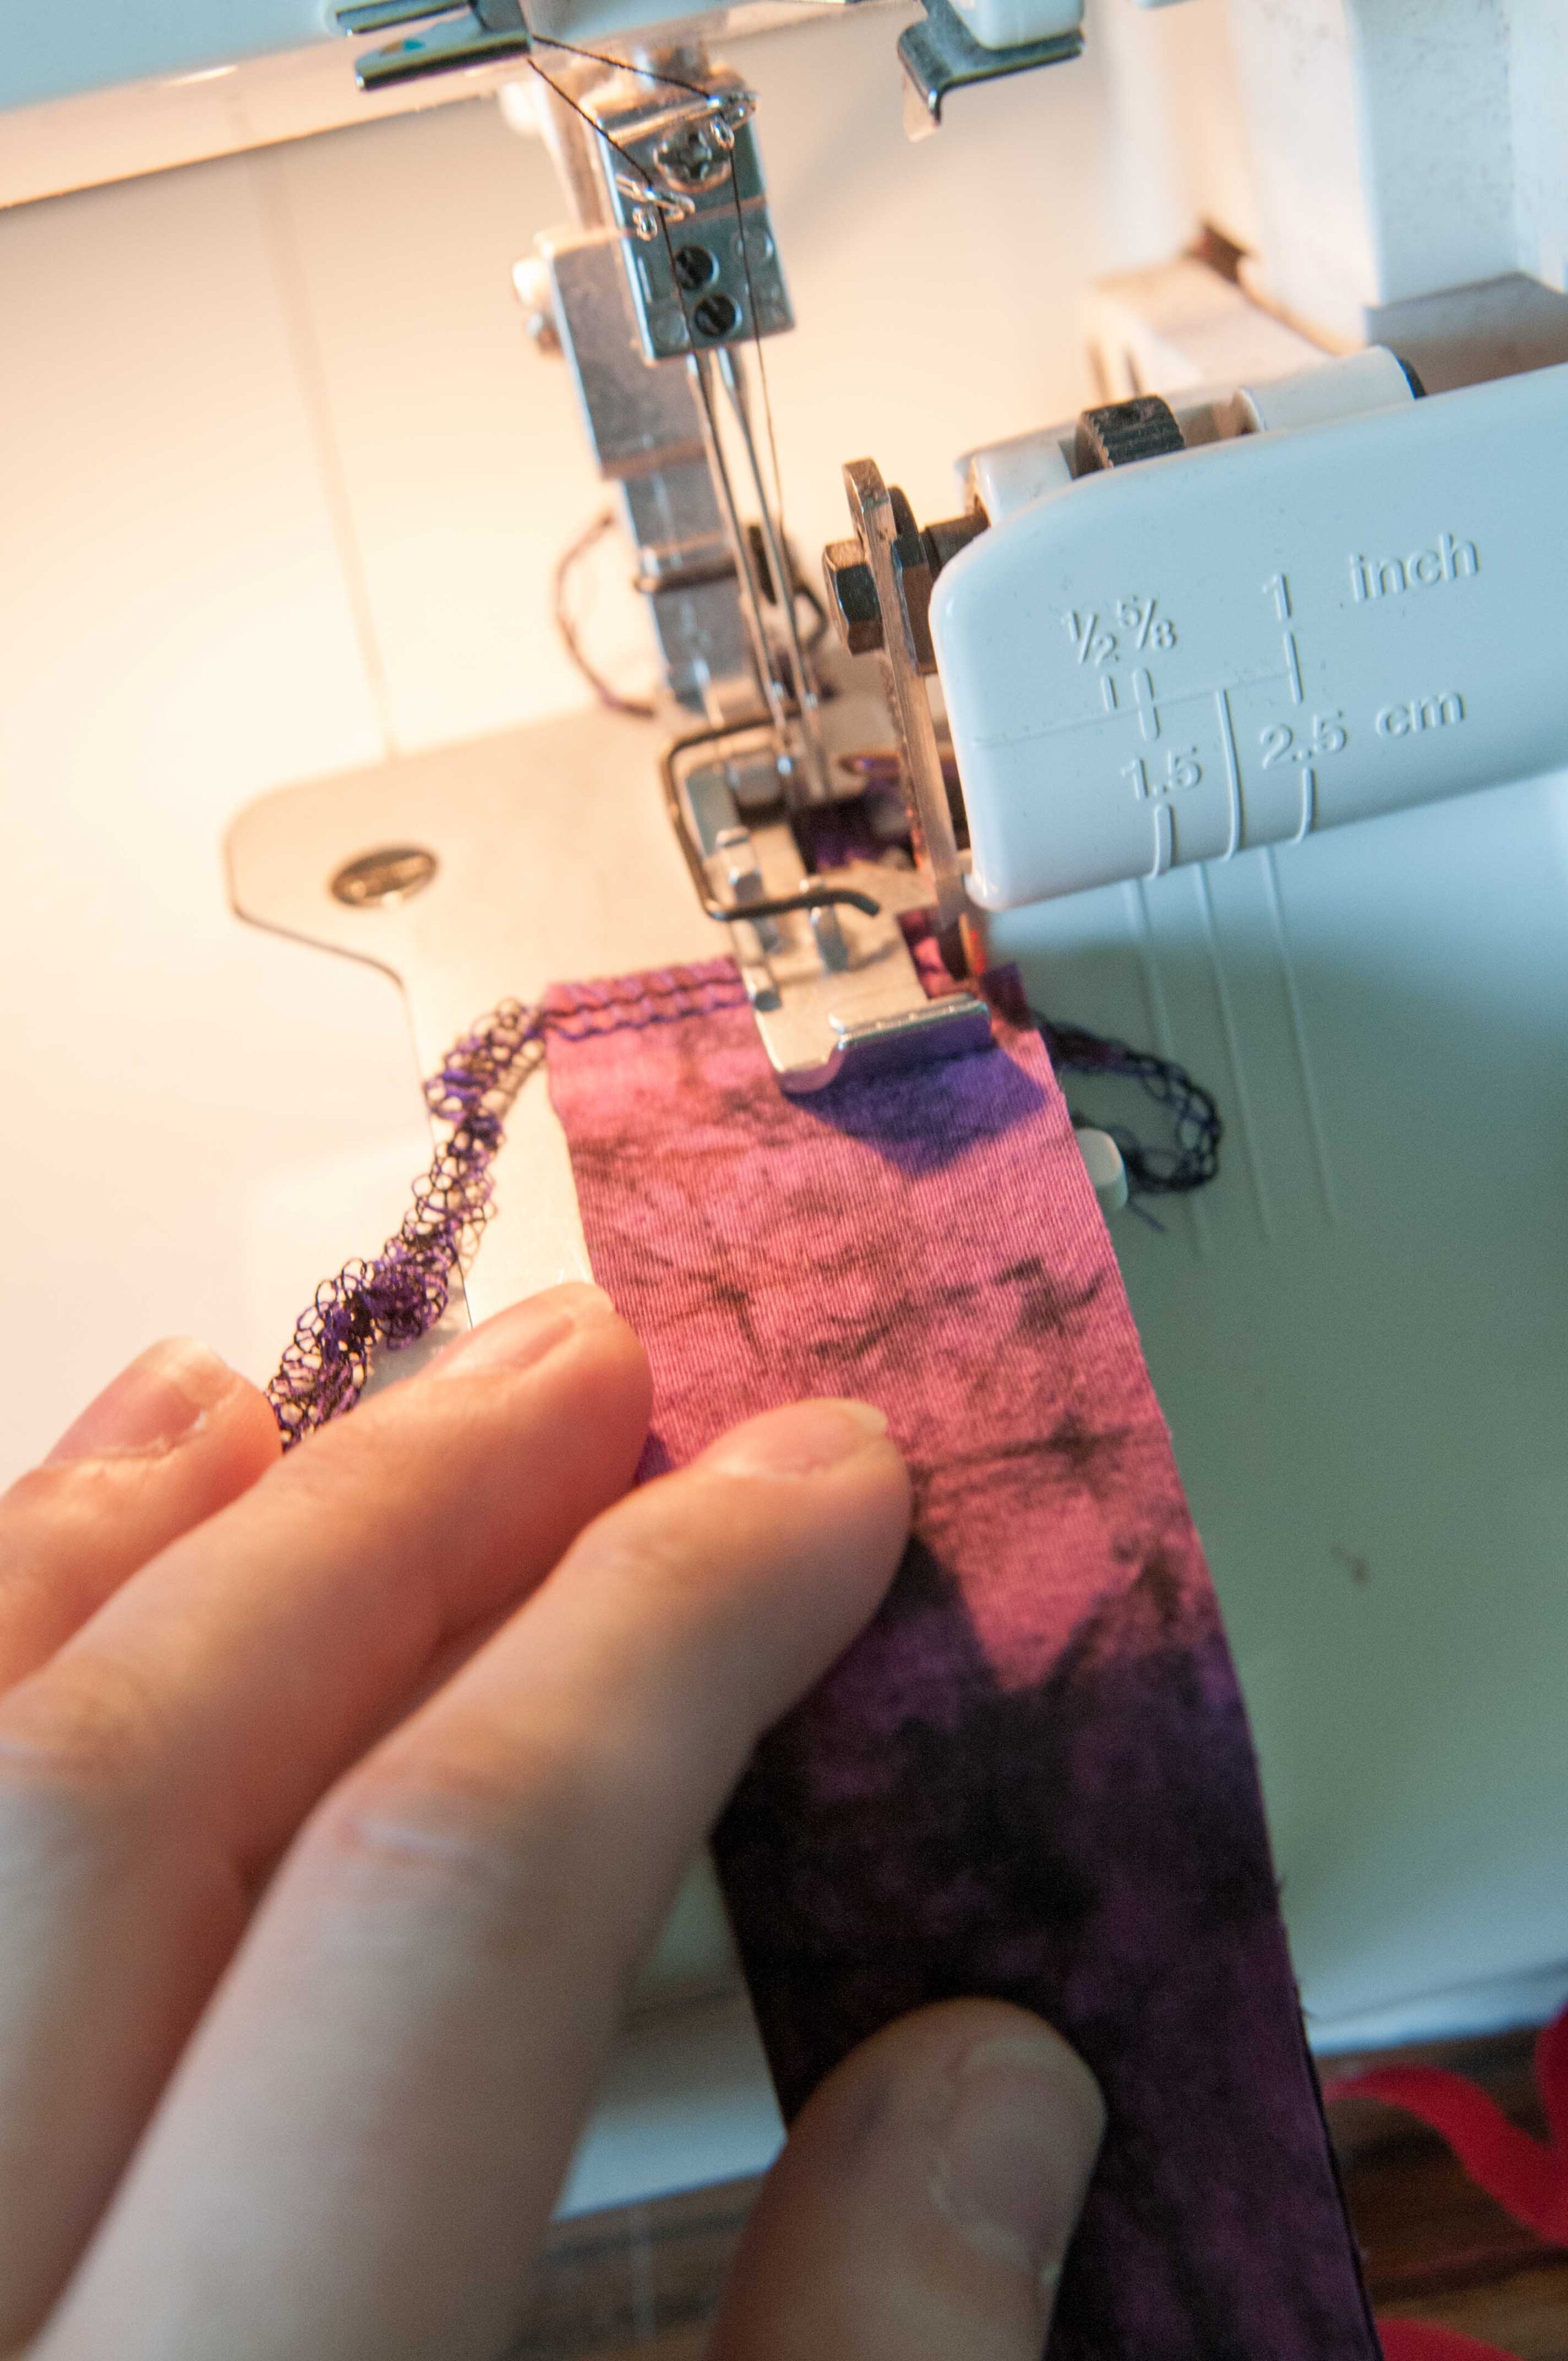
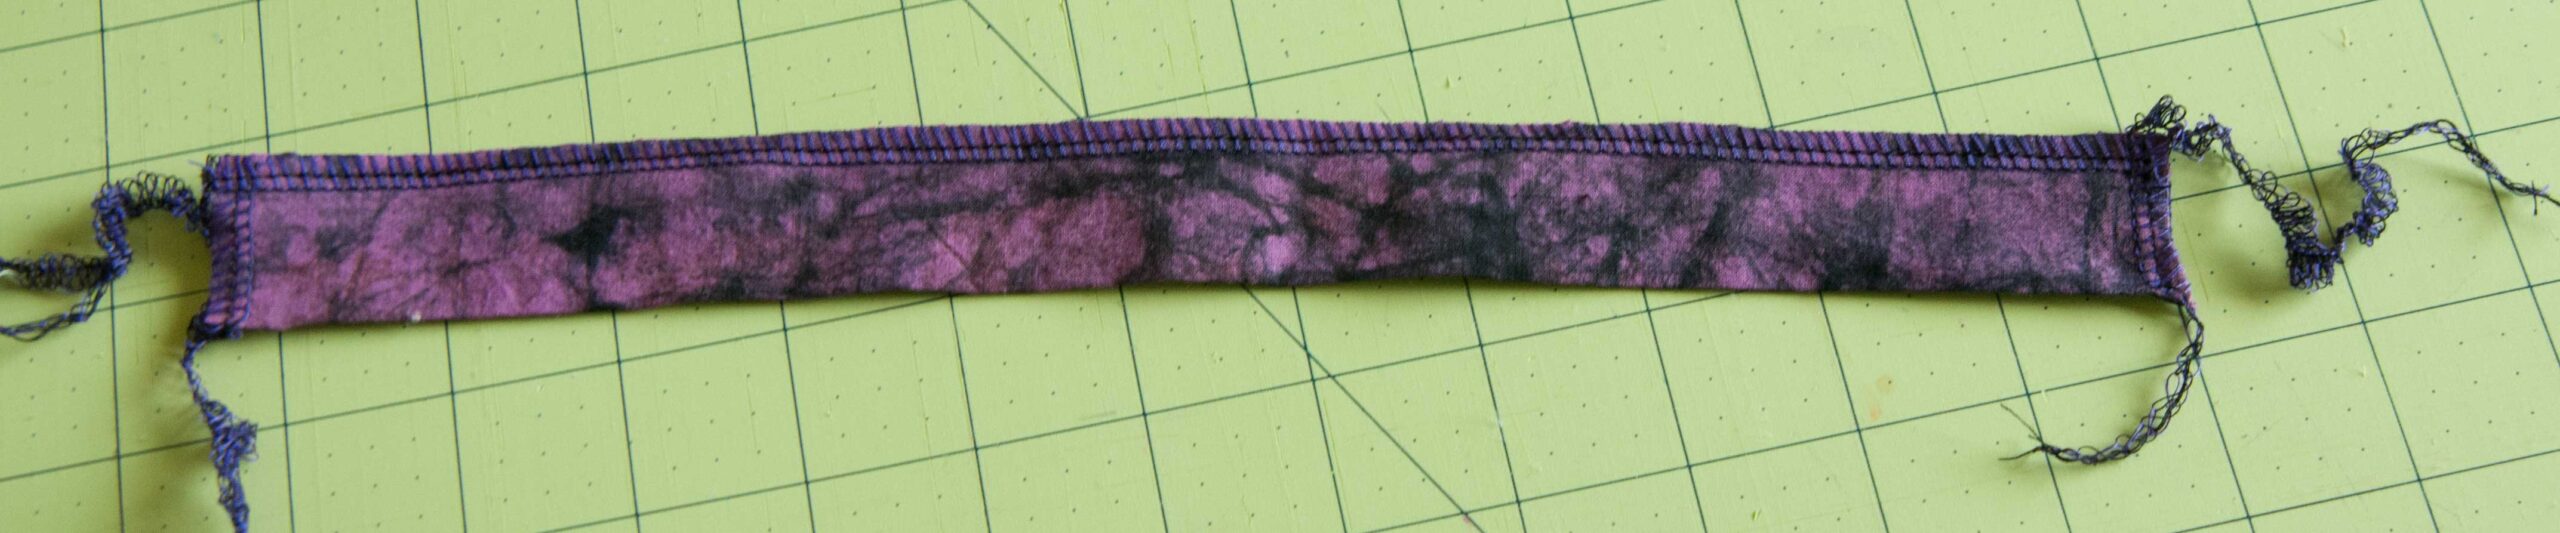
Step 7: Your handles should look like this. Go ahead and trim the threads. If you don’t have a serger, you can zig zag or create traditional handles by sewing the fabric right sides together and stitching the long end closed and turning it. Another super easy option is using ribbon!
Go back to the cutting table and lay your quilt sandwiches on top of each other. See that quilt batting sticking out? Let’s trim that down with the ruler and rotary cutter so we can make a straight edge with the serger.
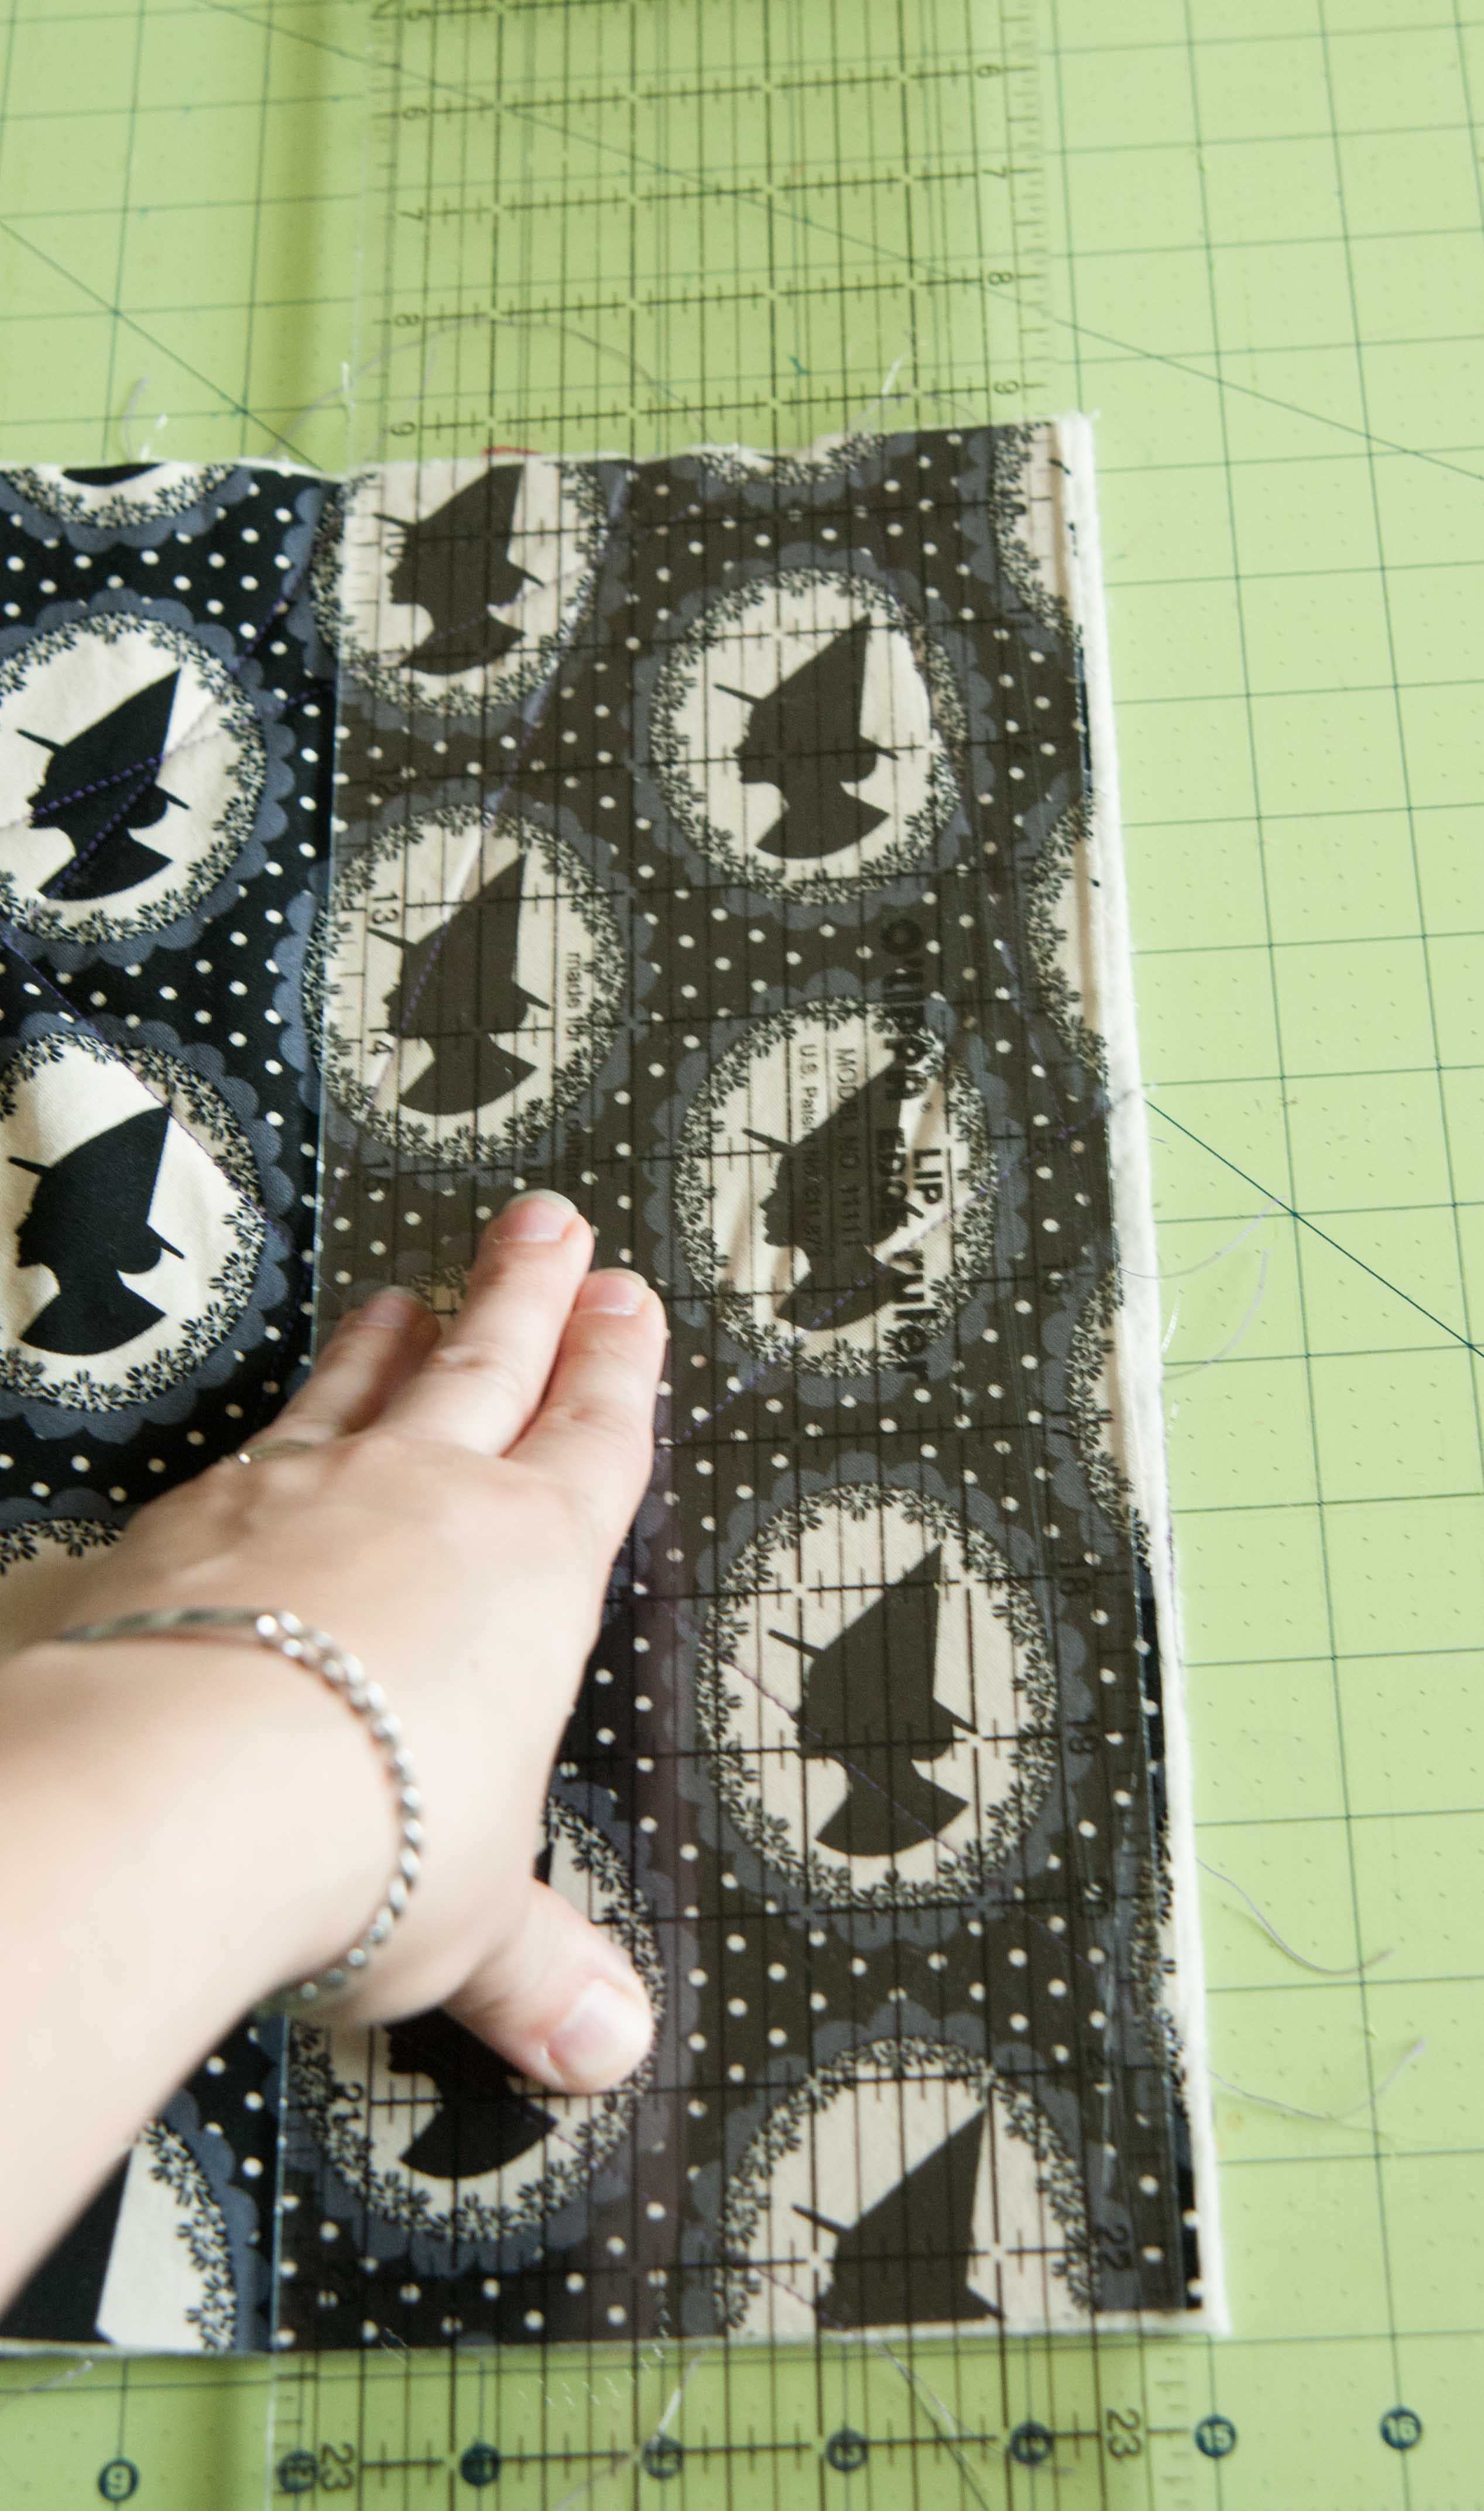
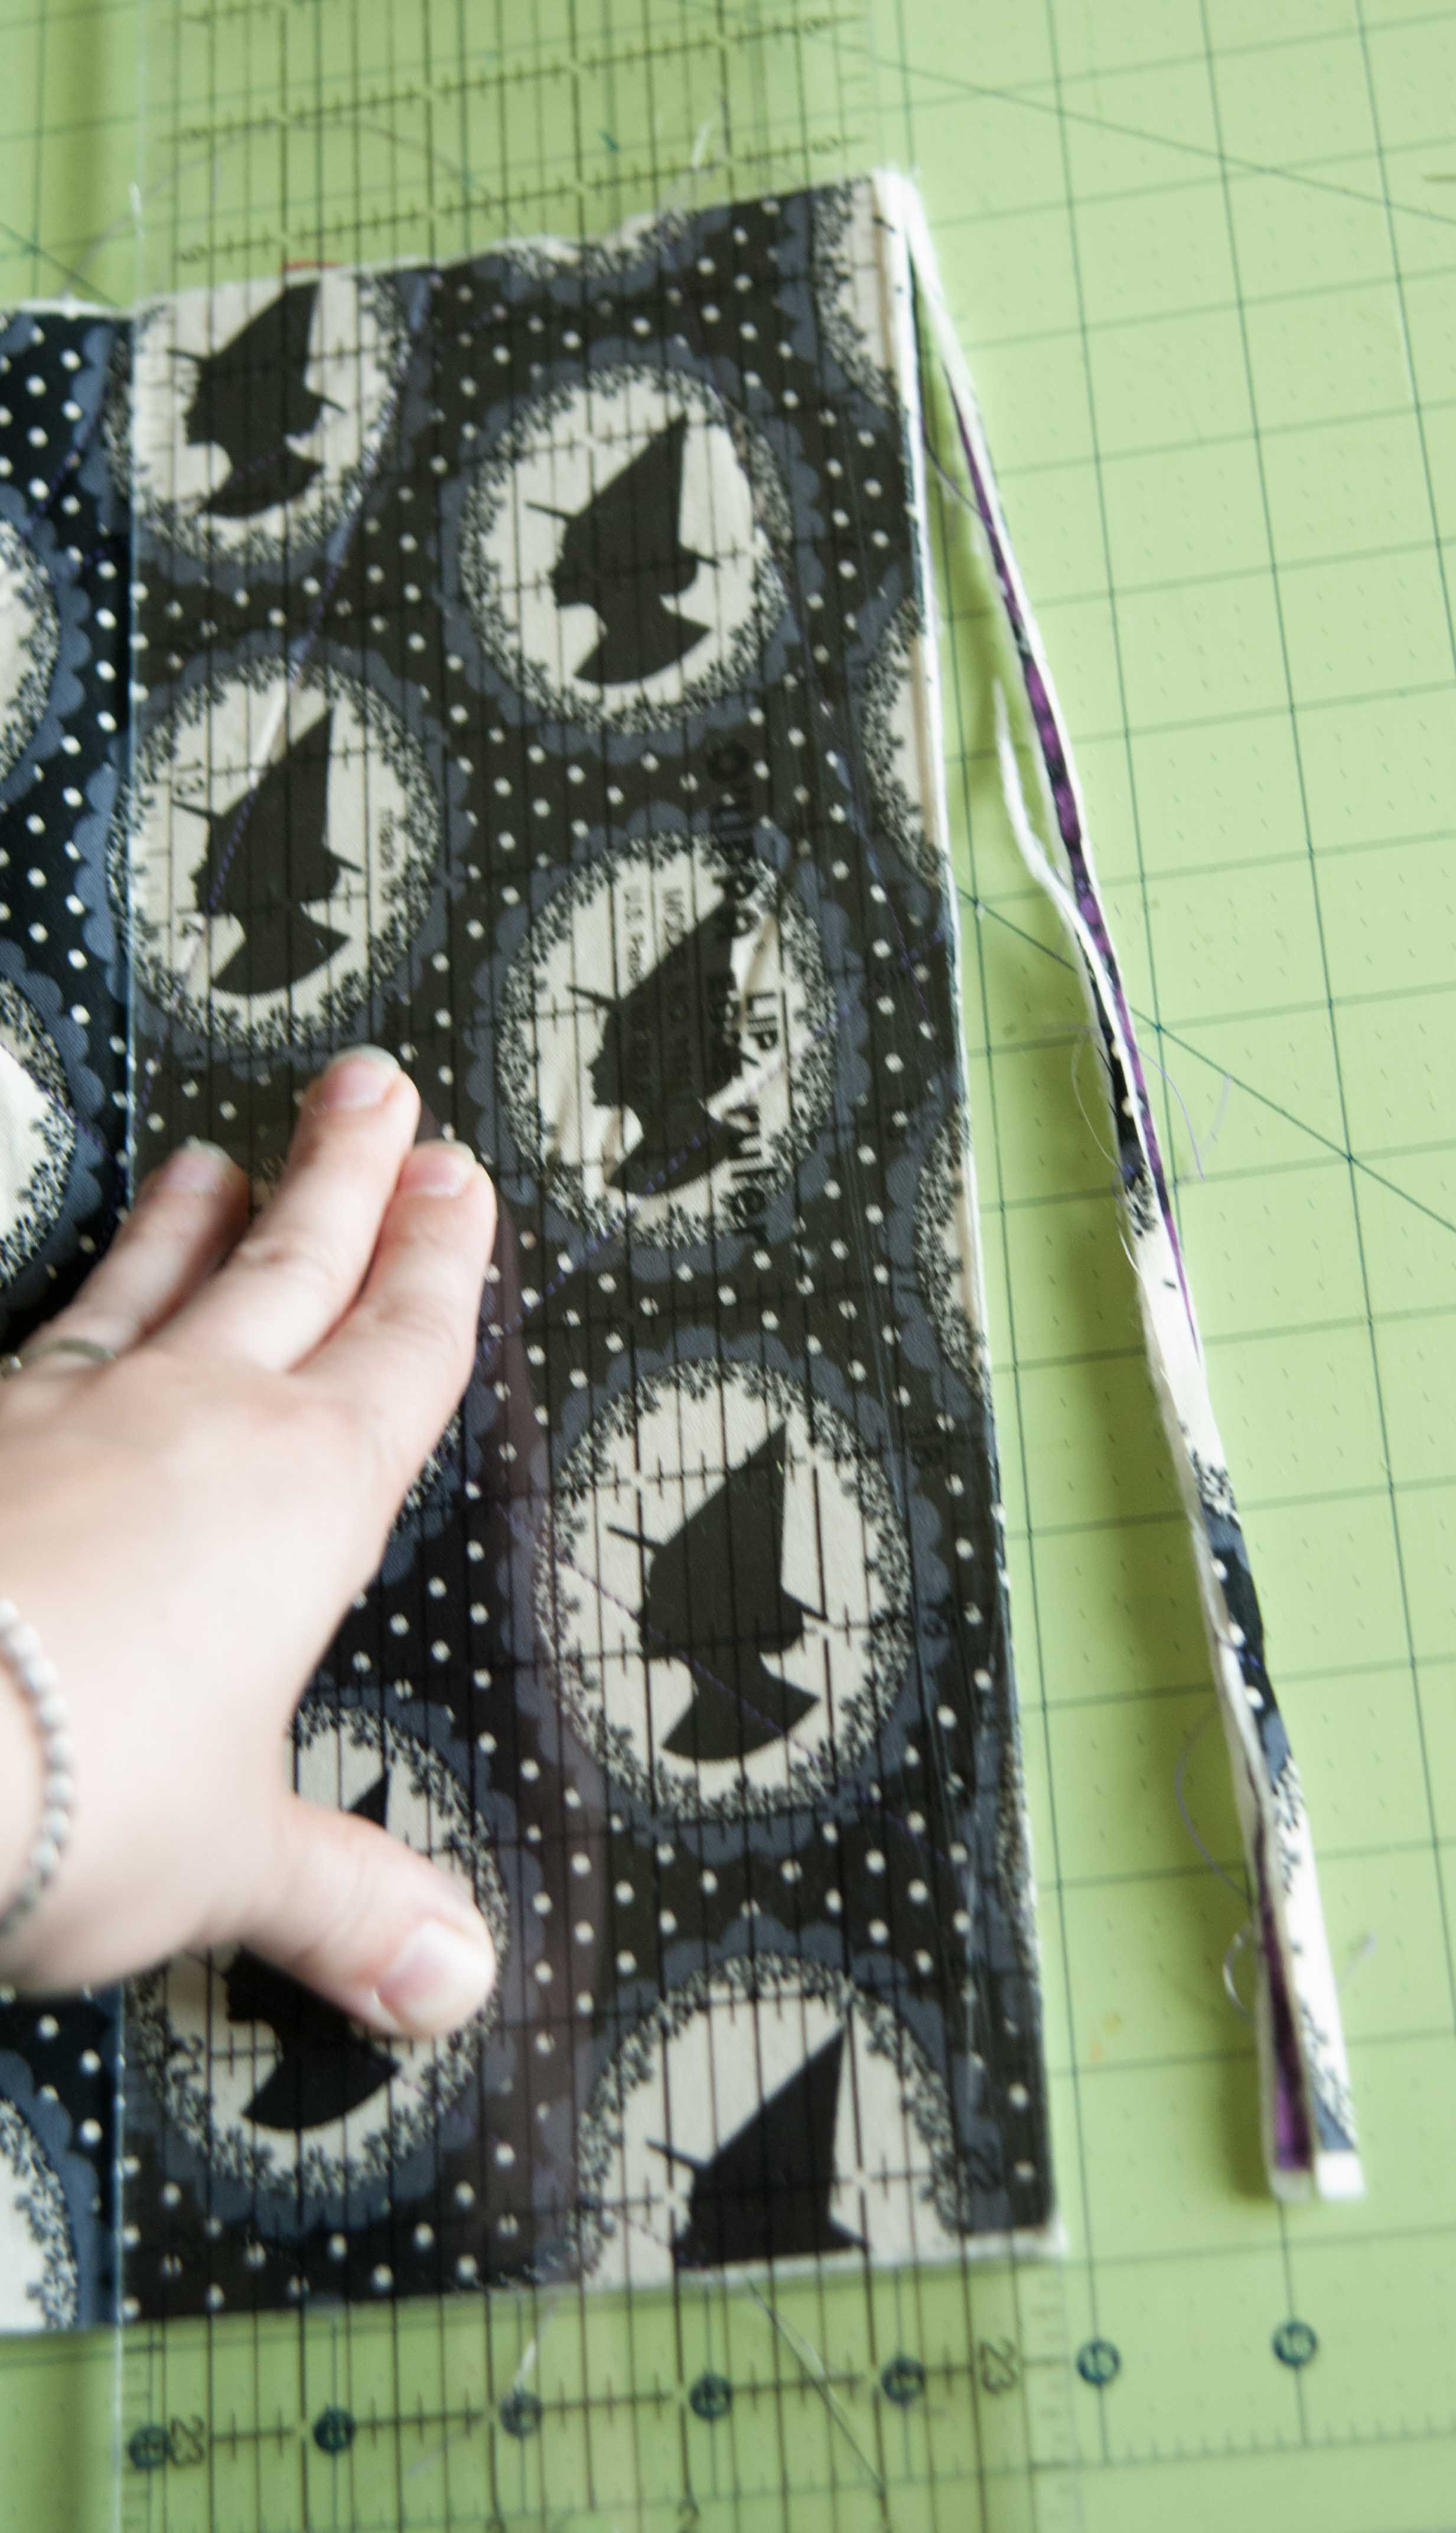
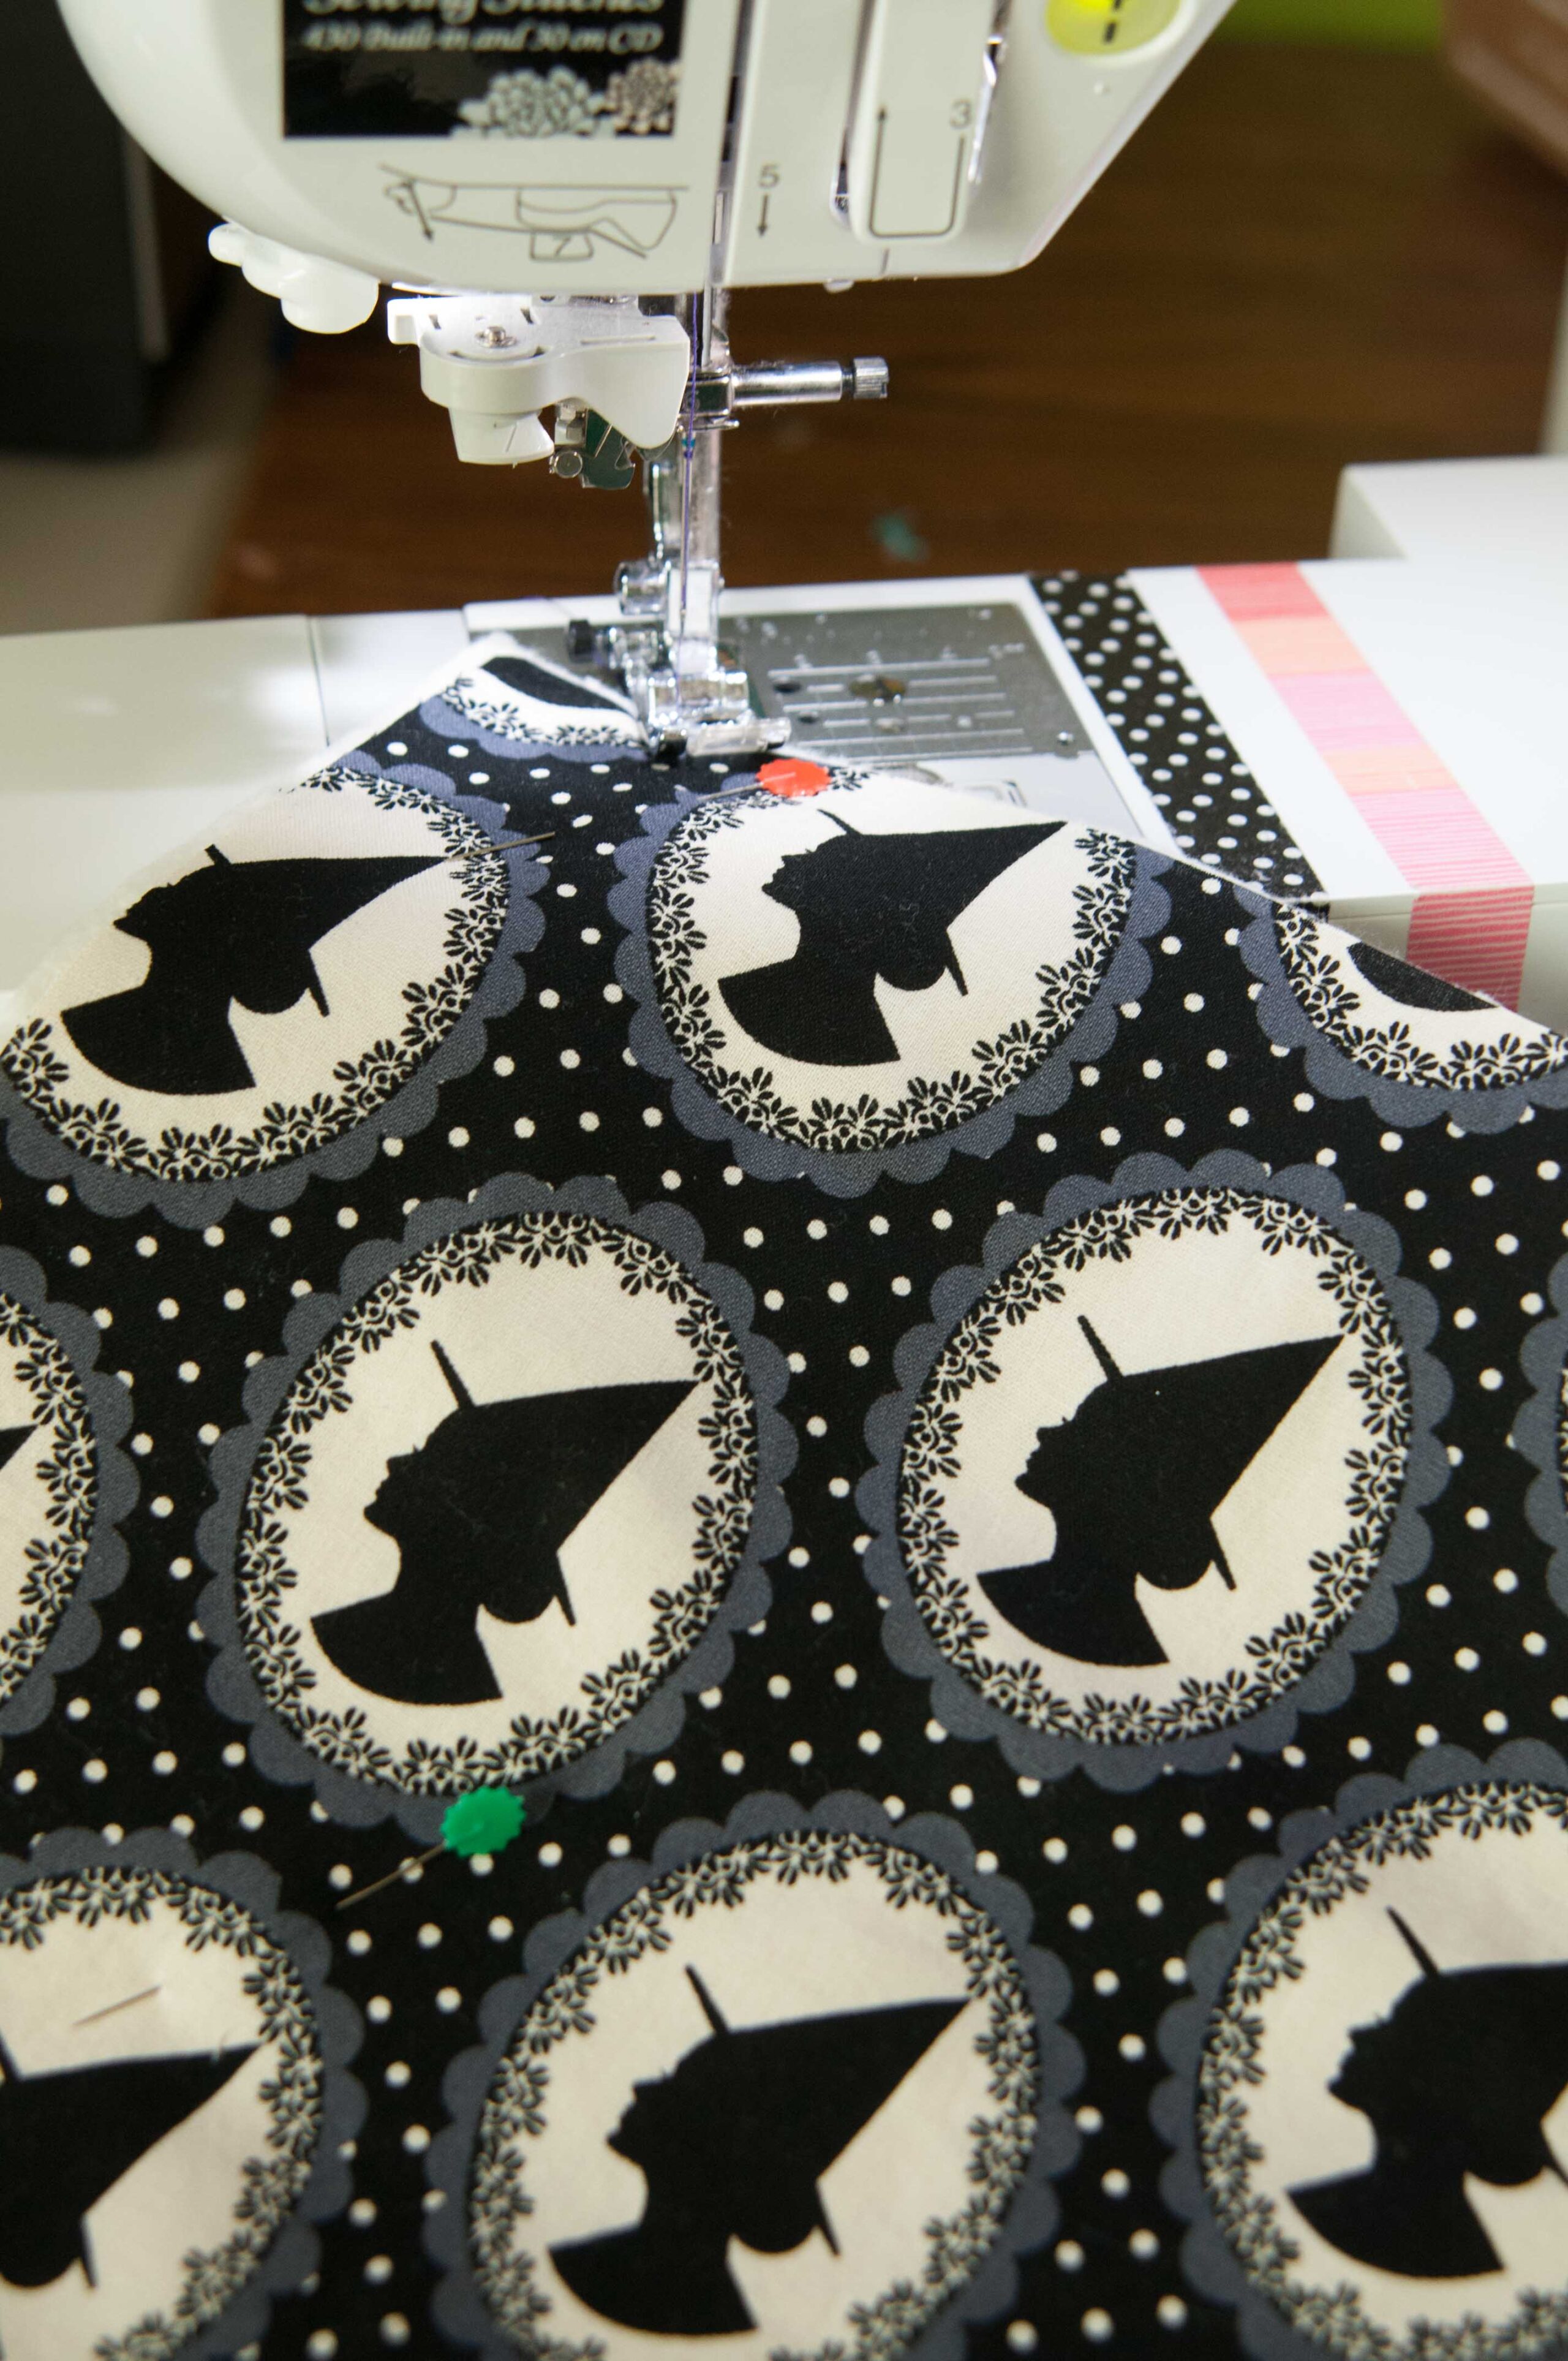
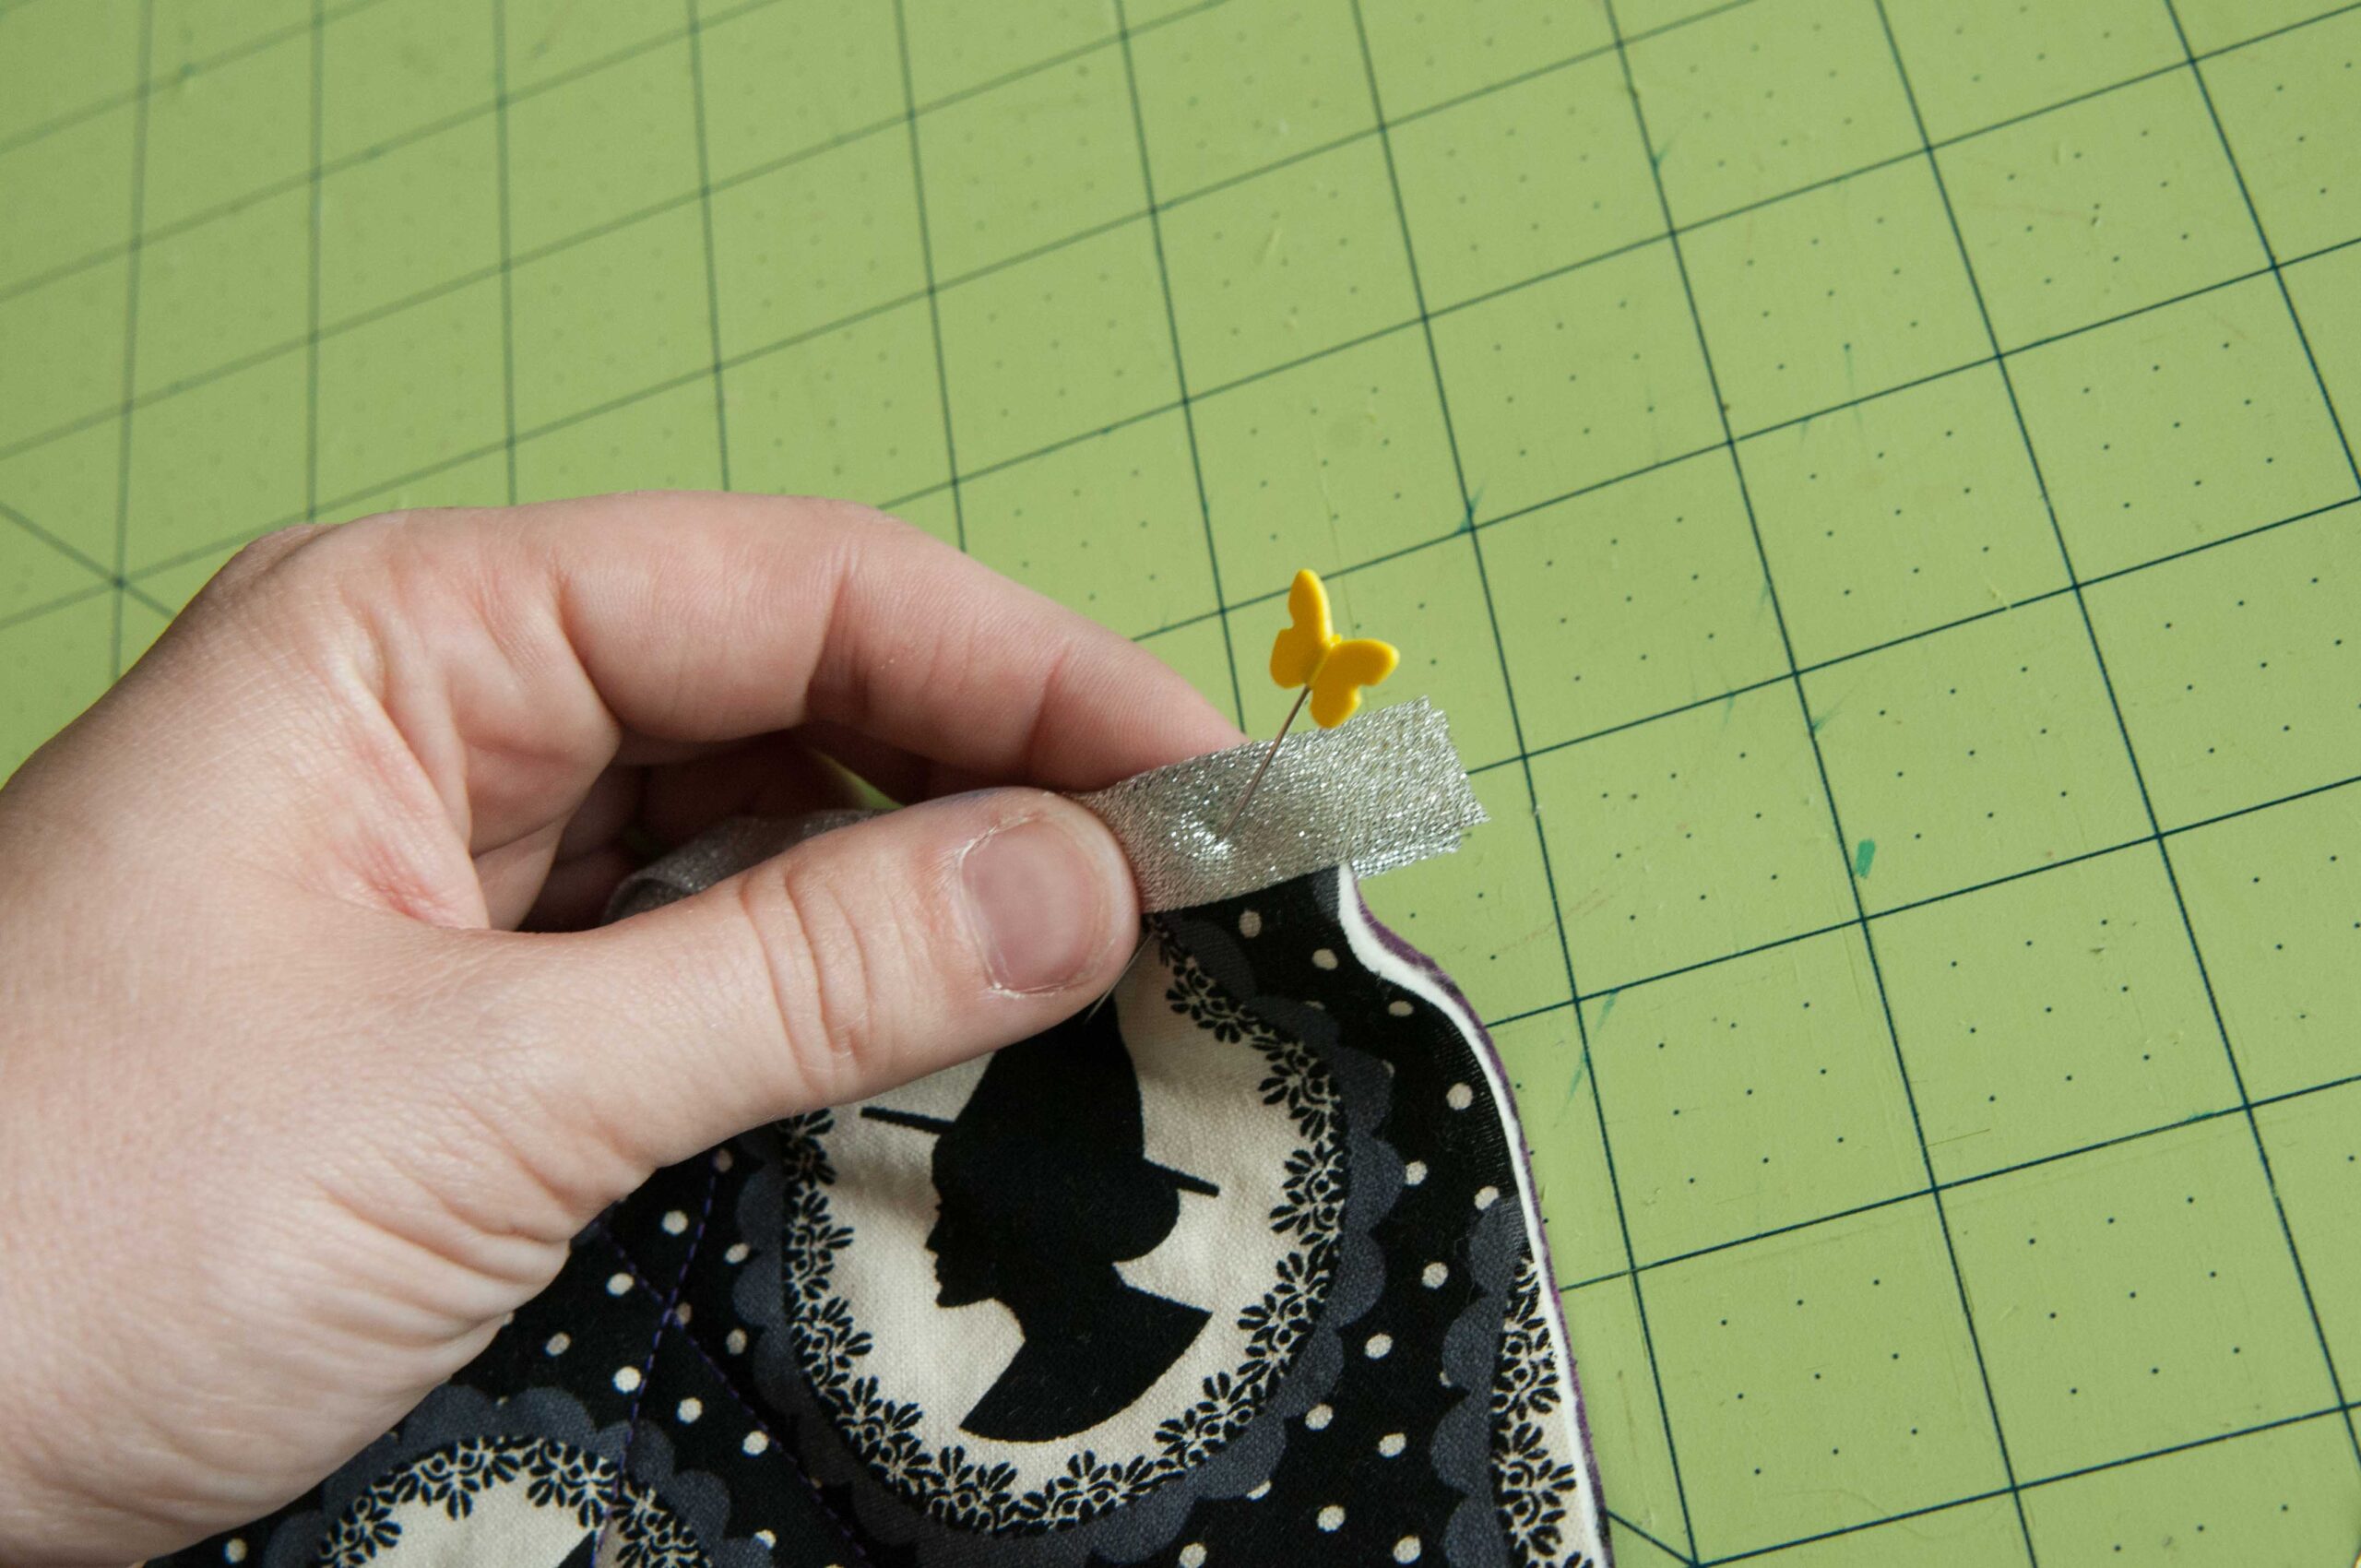
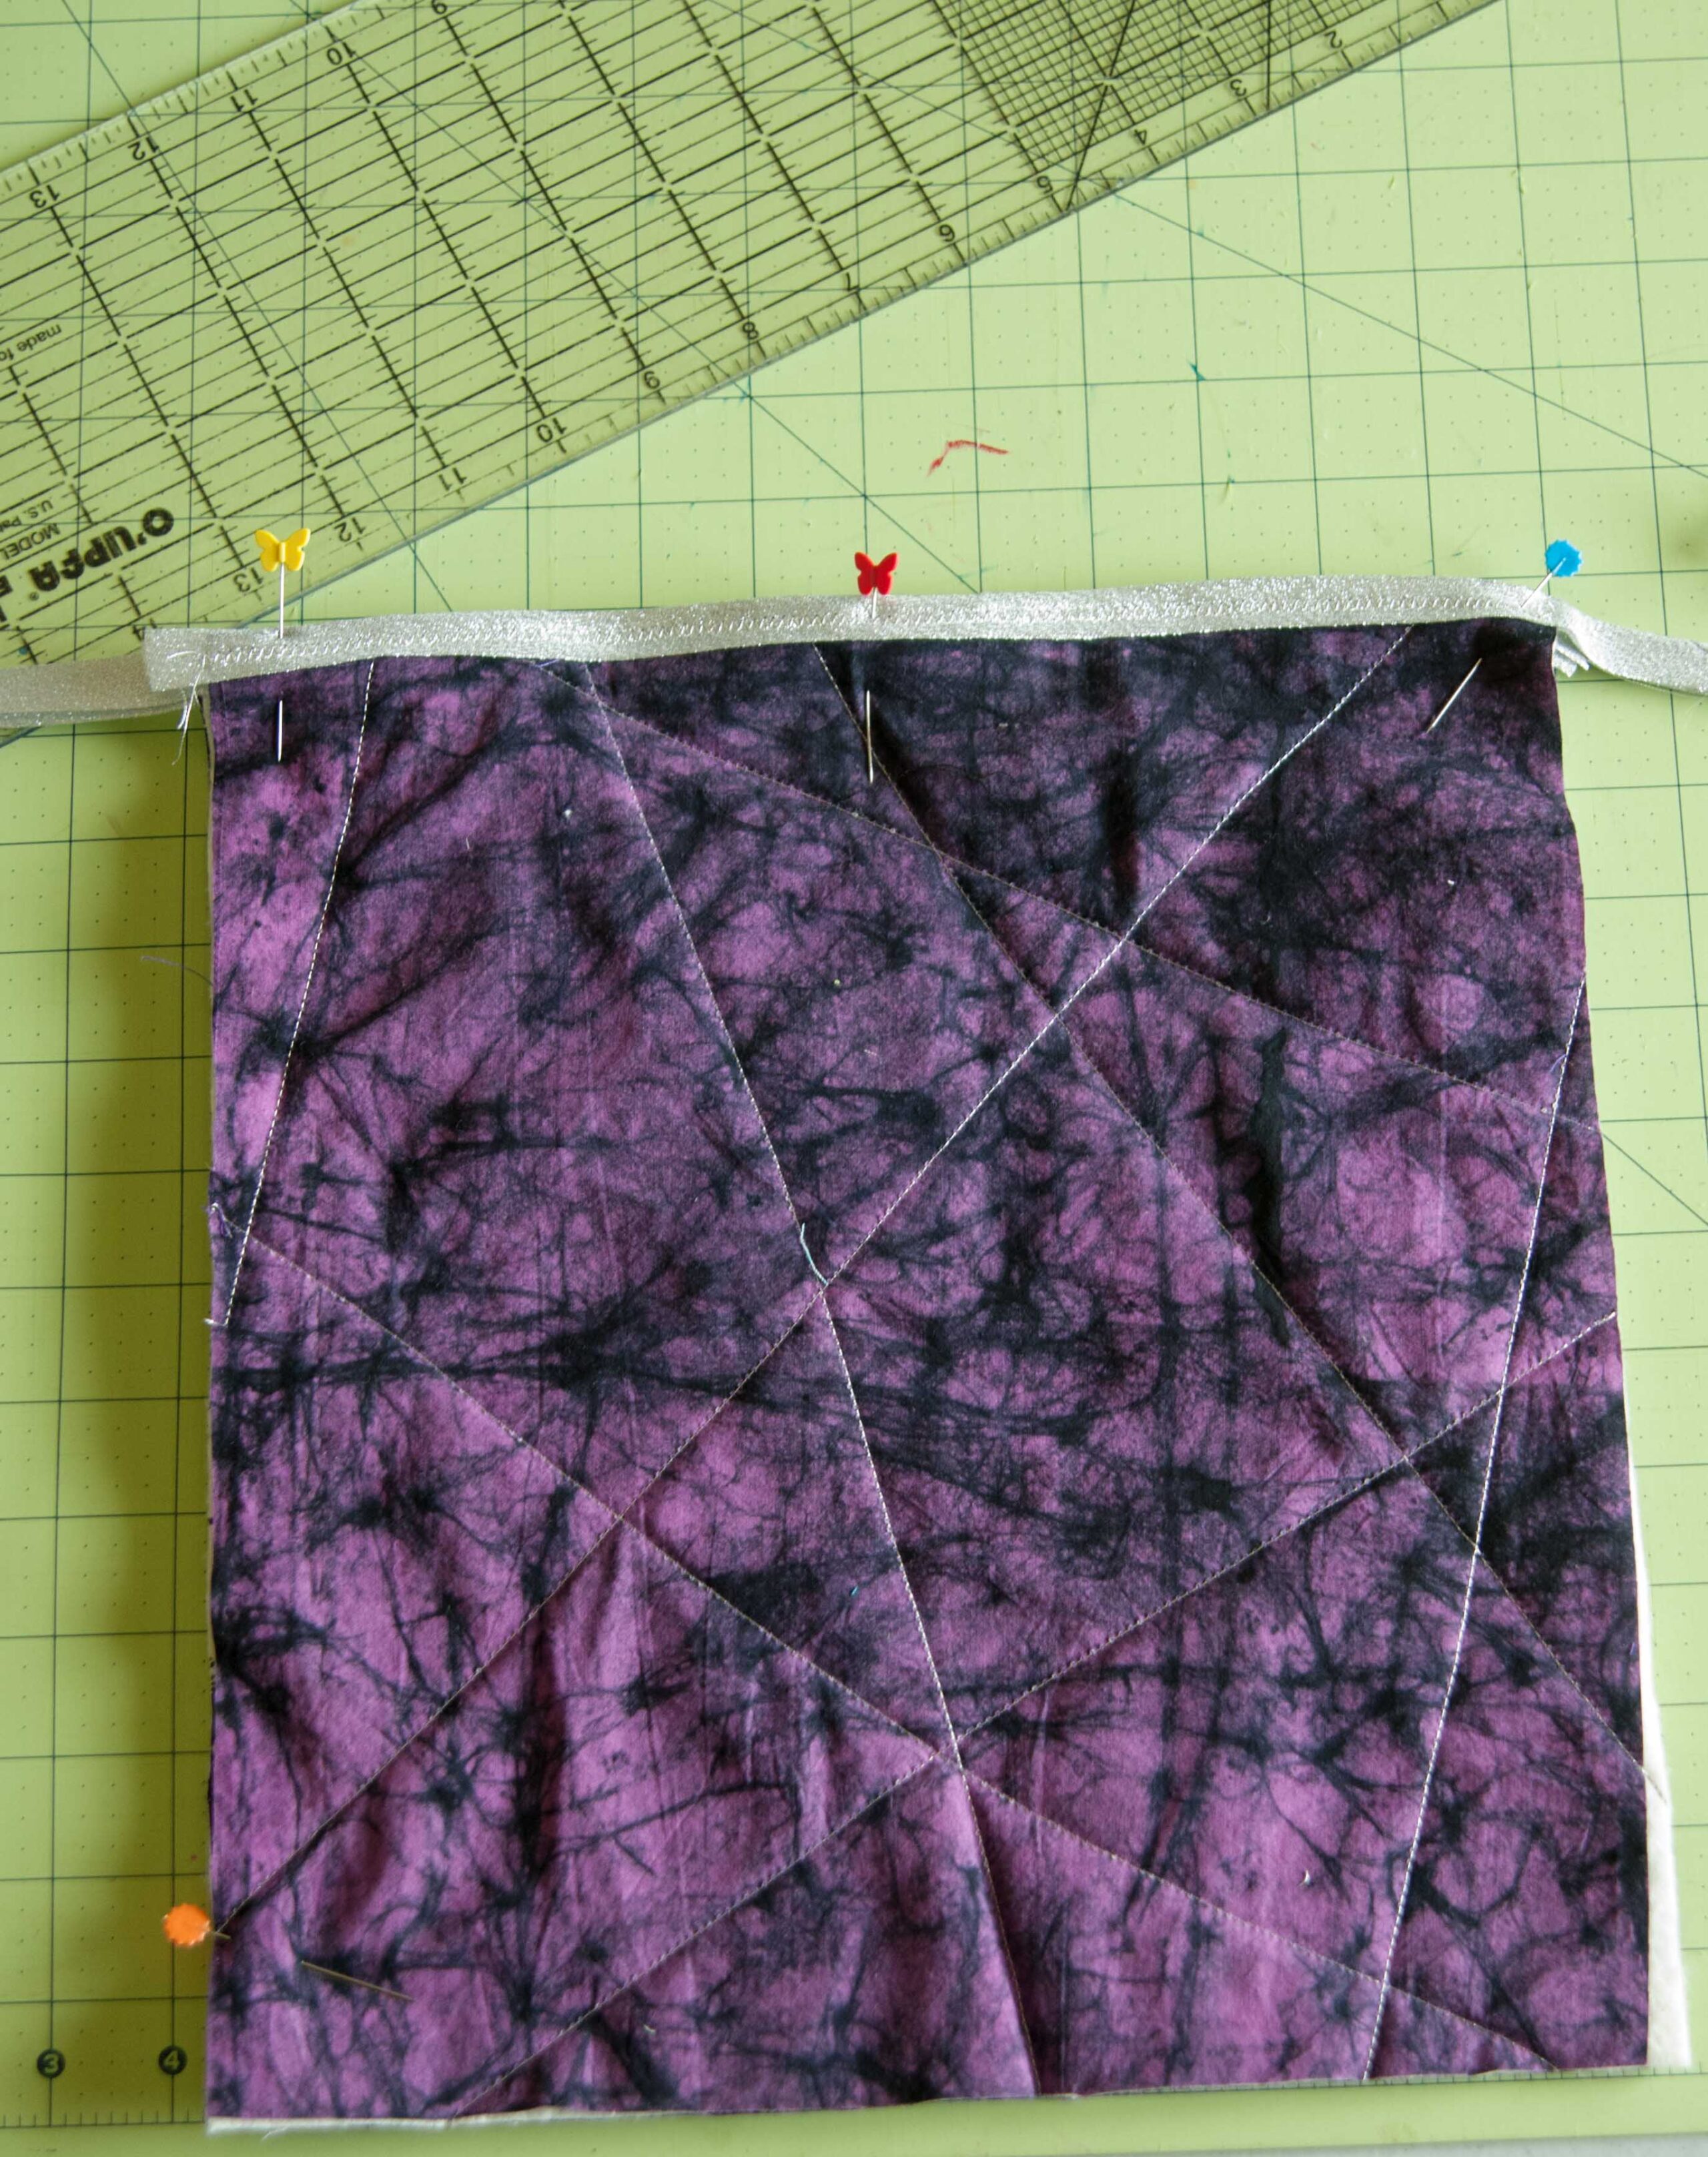
Step 8: Grab that bias tape and pin it along the tops of your sandwiches.
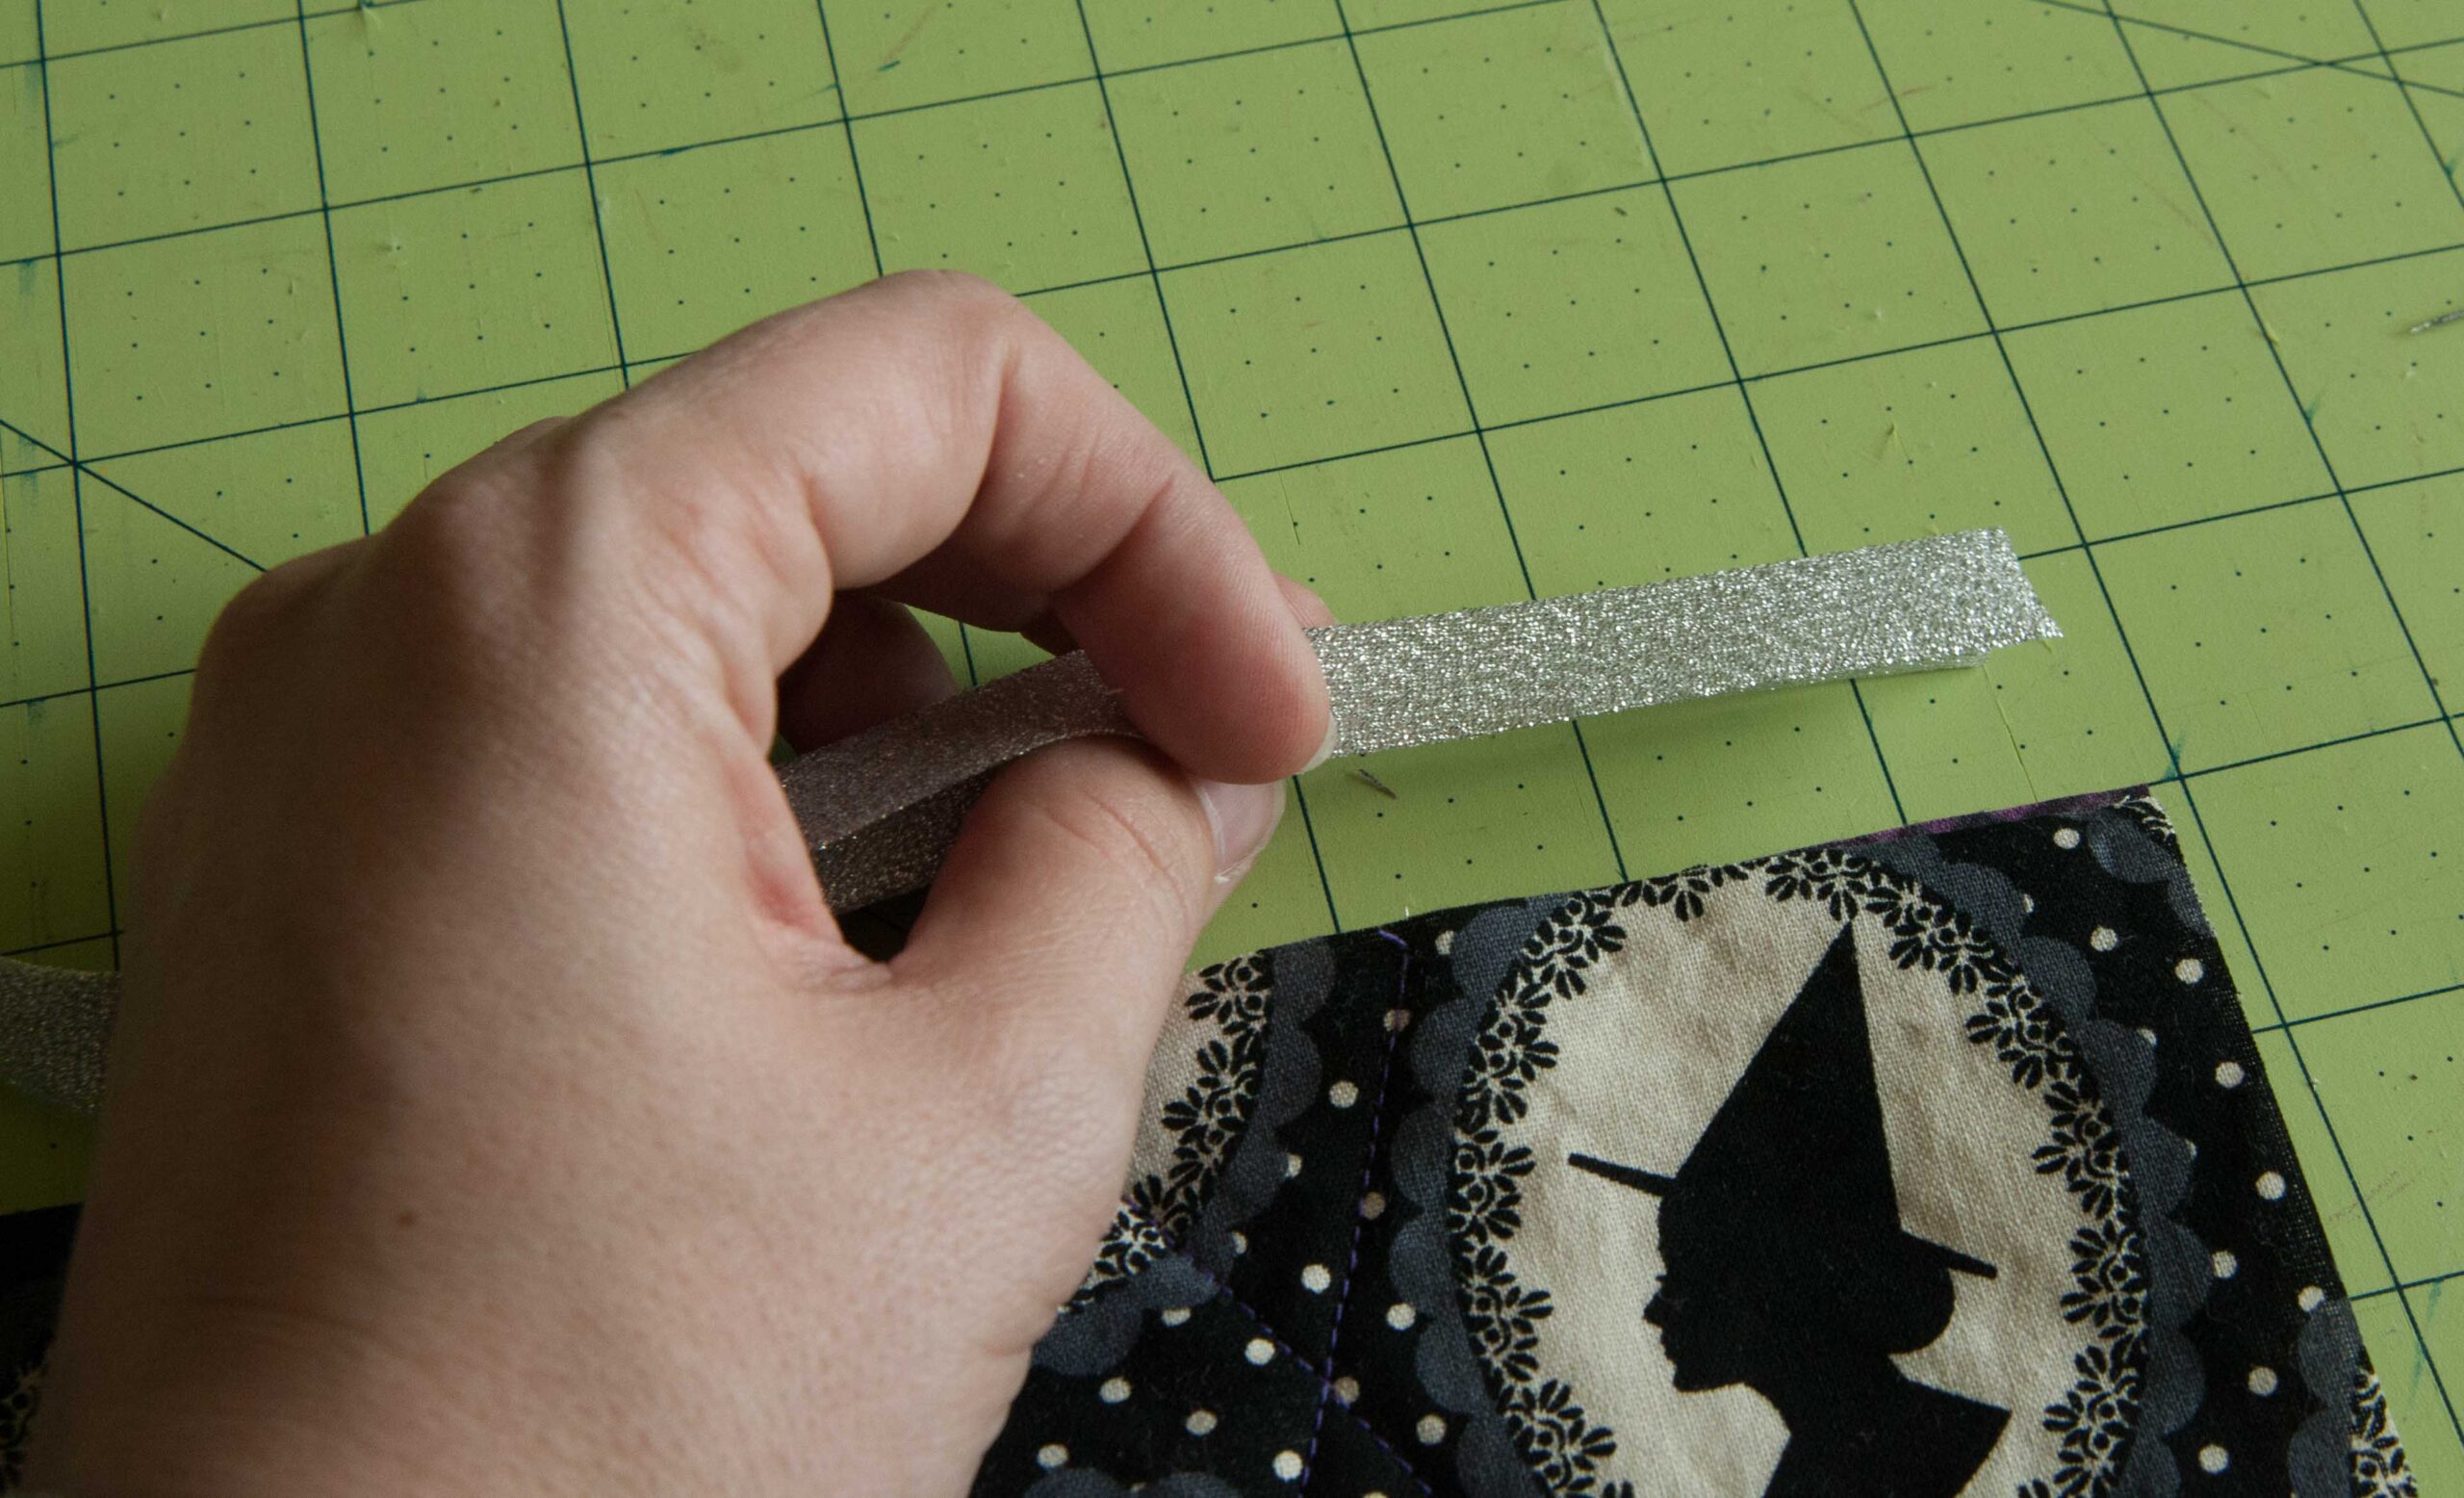
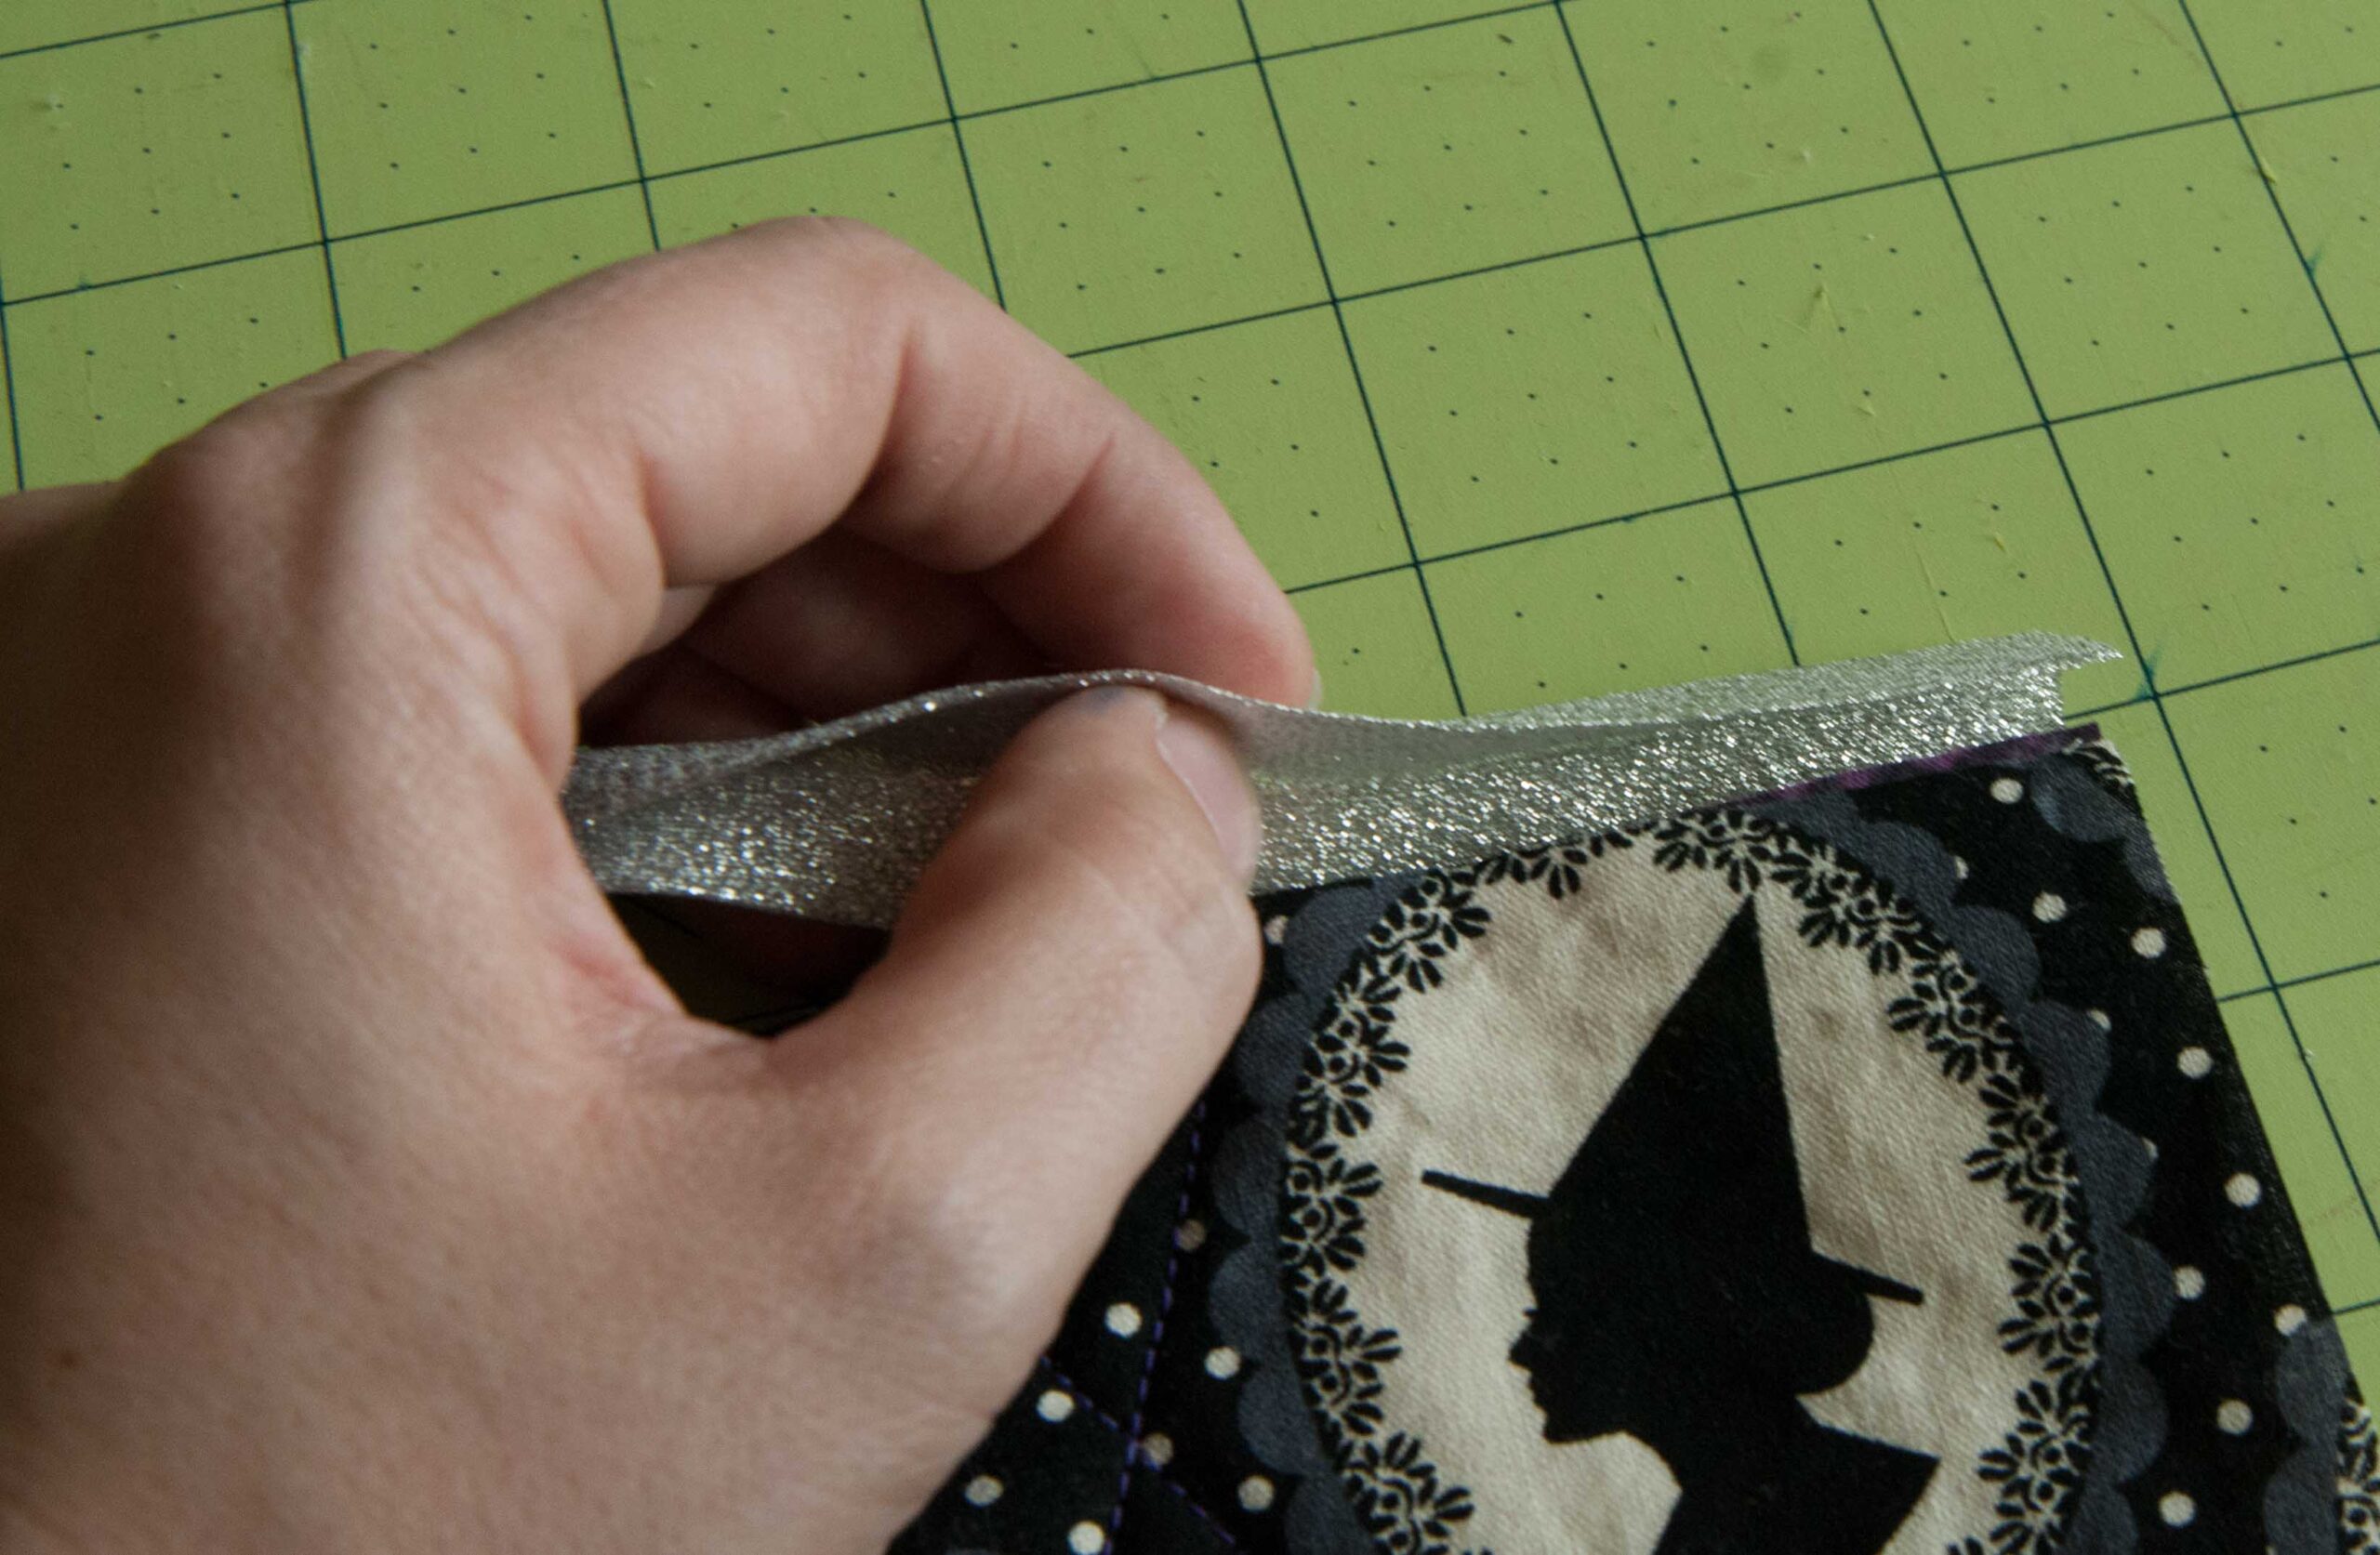
Be sure you are pinning both sides of the bias tape.

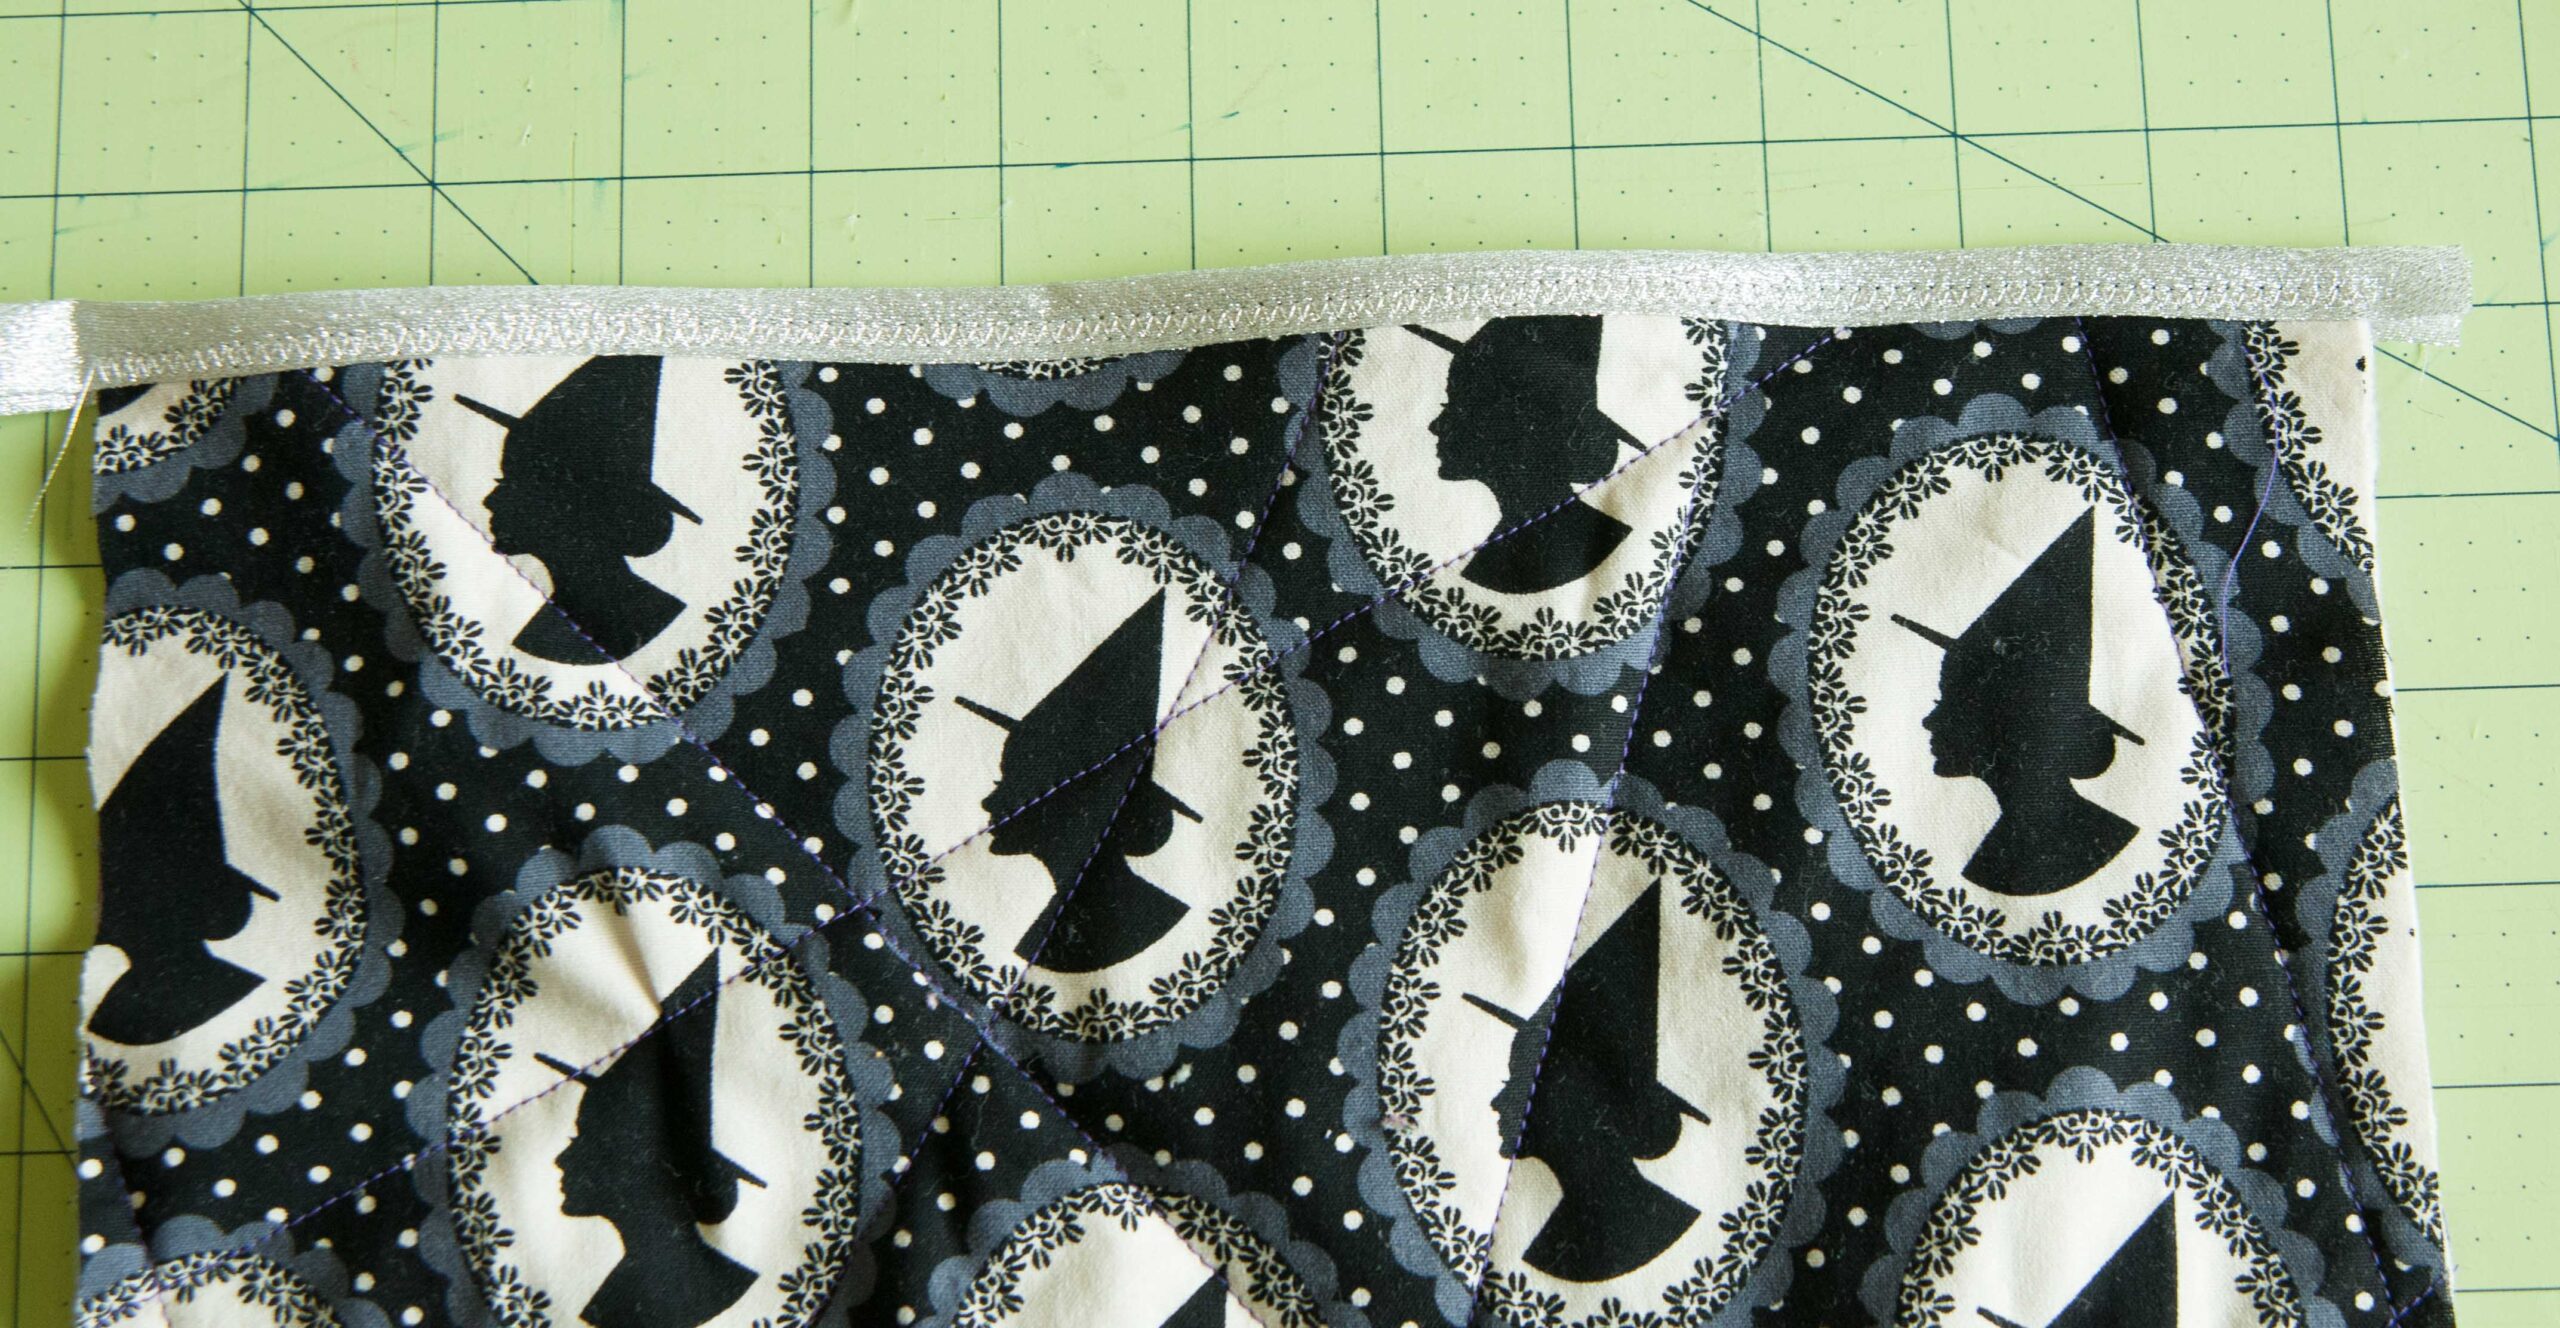
Step 9: Sew them down with a zig zag stitch. There will be tails and it’s ok, the serger will take care of them.
Step 10: Stack your quilt sandwiches right sides together and pin in a few places. Serge the ends on three sides (not the top with the bias tape). I used a ¼ inch seam allowance here, but if you need to go a bit bigger to get everything in there go ahead. Go SLOW! Your serger is working through six layers including the batting. If your thread is snapping or not catching, you may need to turn down the tension on the left needle. My machine is set at 3 4 4 4.

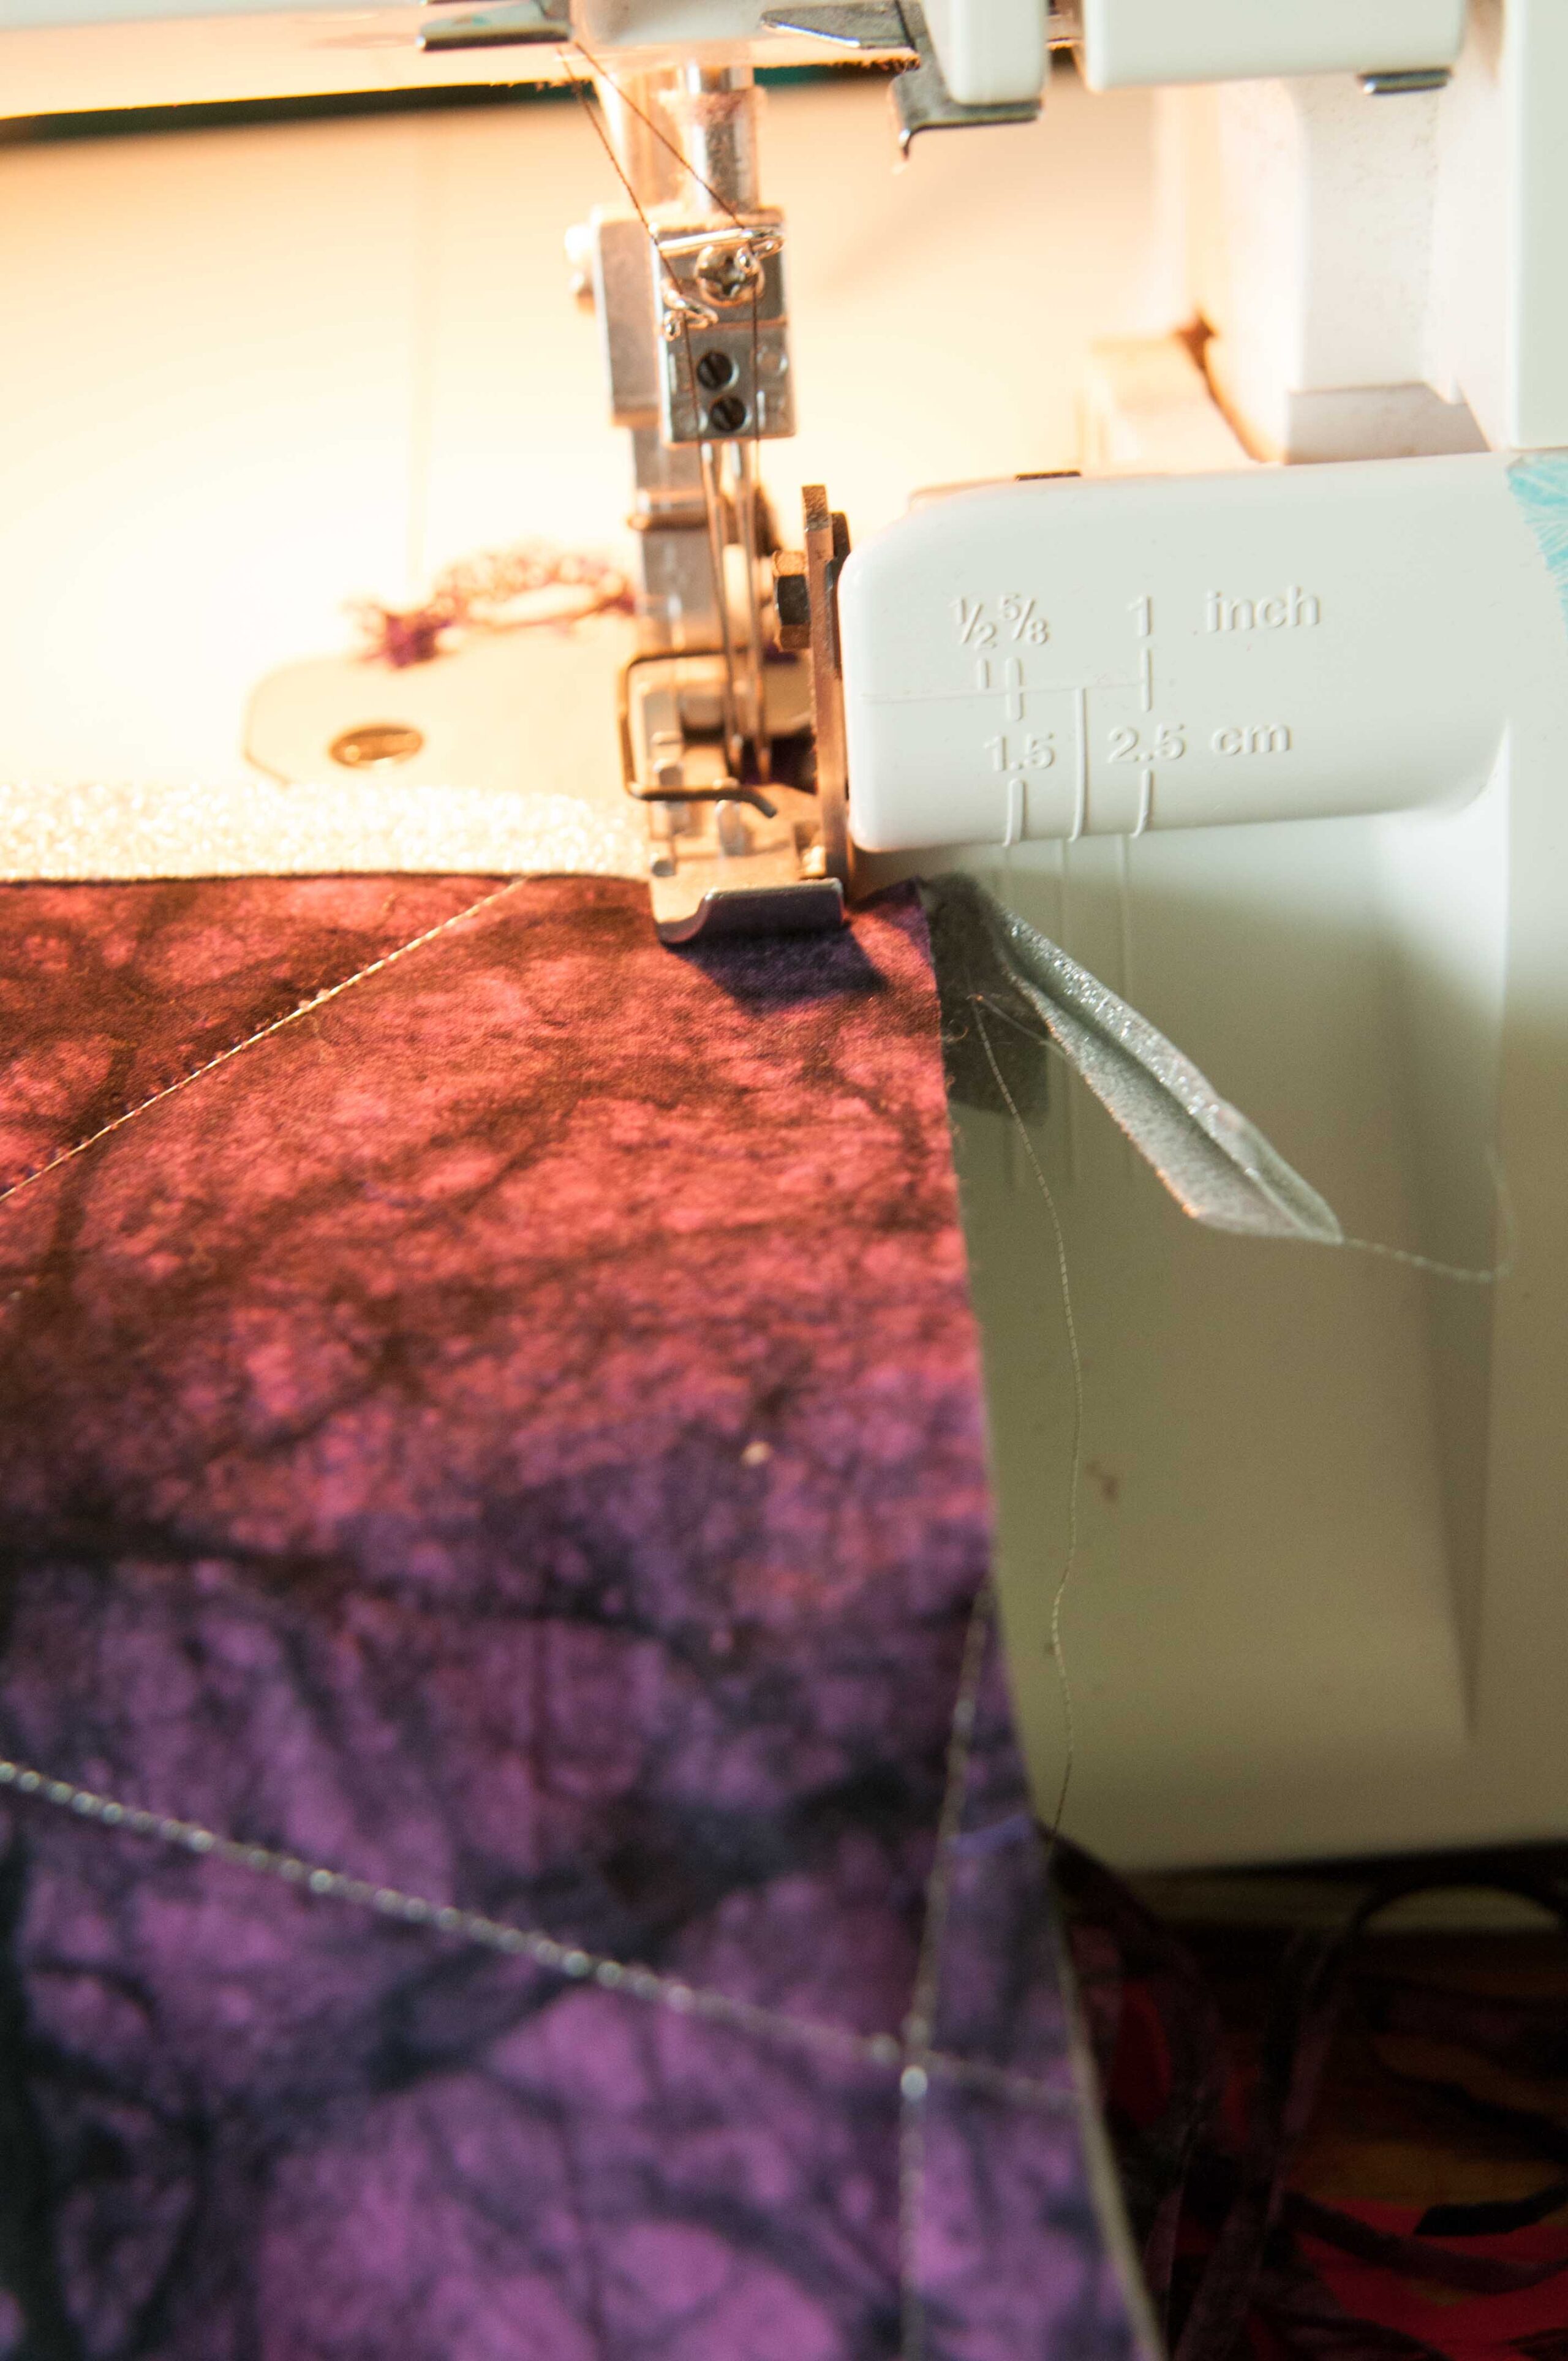

Step 11: If you don’t have a serger, you can zig-zag stitch over the edge of the bag.
Lay your bag on the cutting mat and trim the threads. At this point, my bag was 11 inches wide (lost a little trimming and using the serger). Find the middle of your bag and place your strap three inches from either side. There should be roughly three inches in the open space of your handle. Pin down the straps and flip the bag over and do the same thing. Make sure the length of the handle matches.
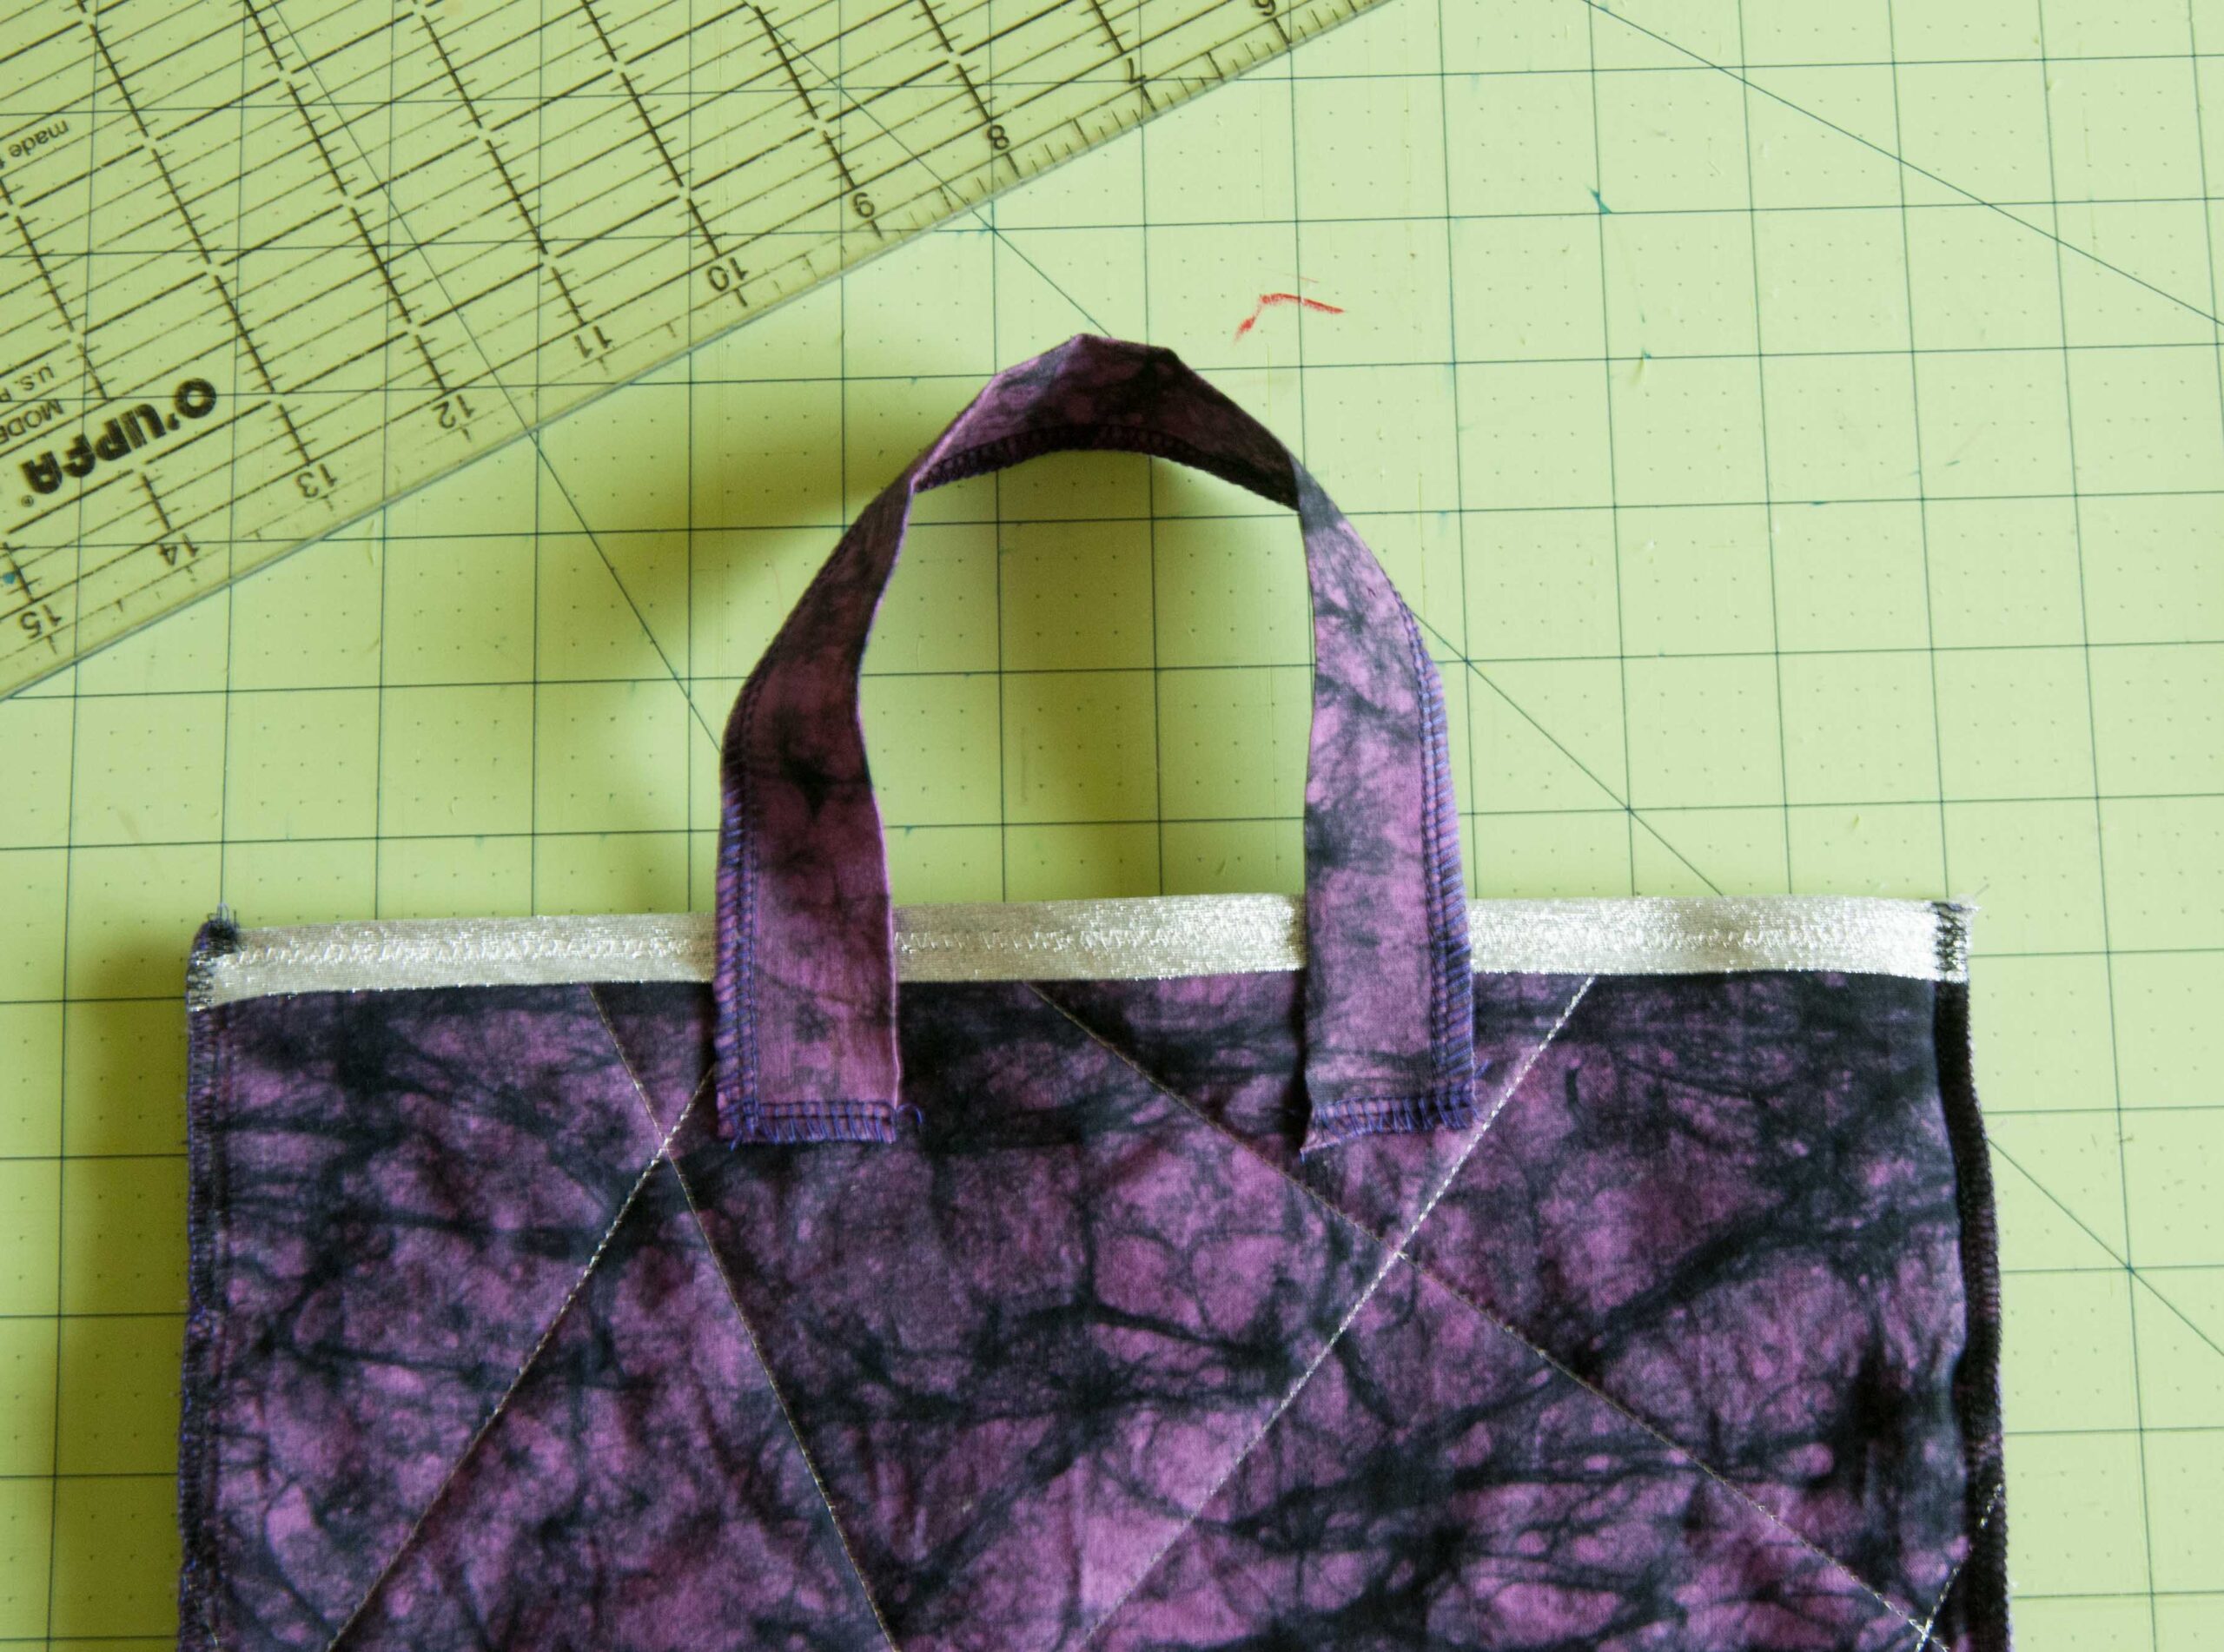
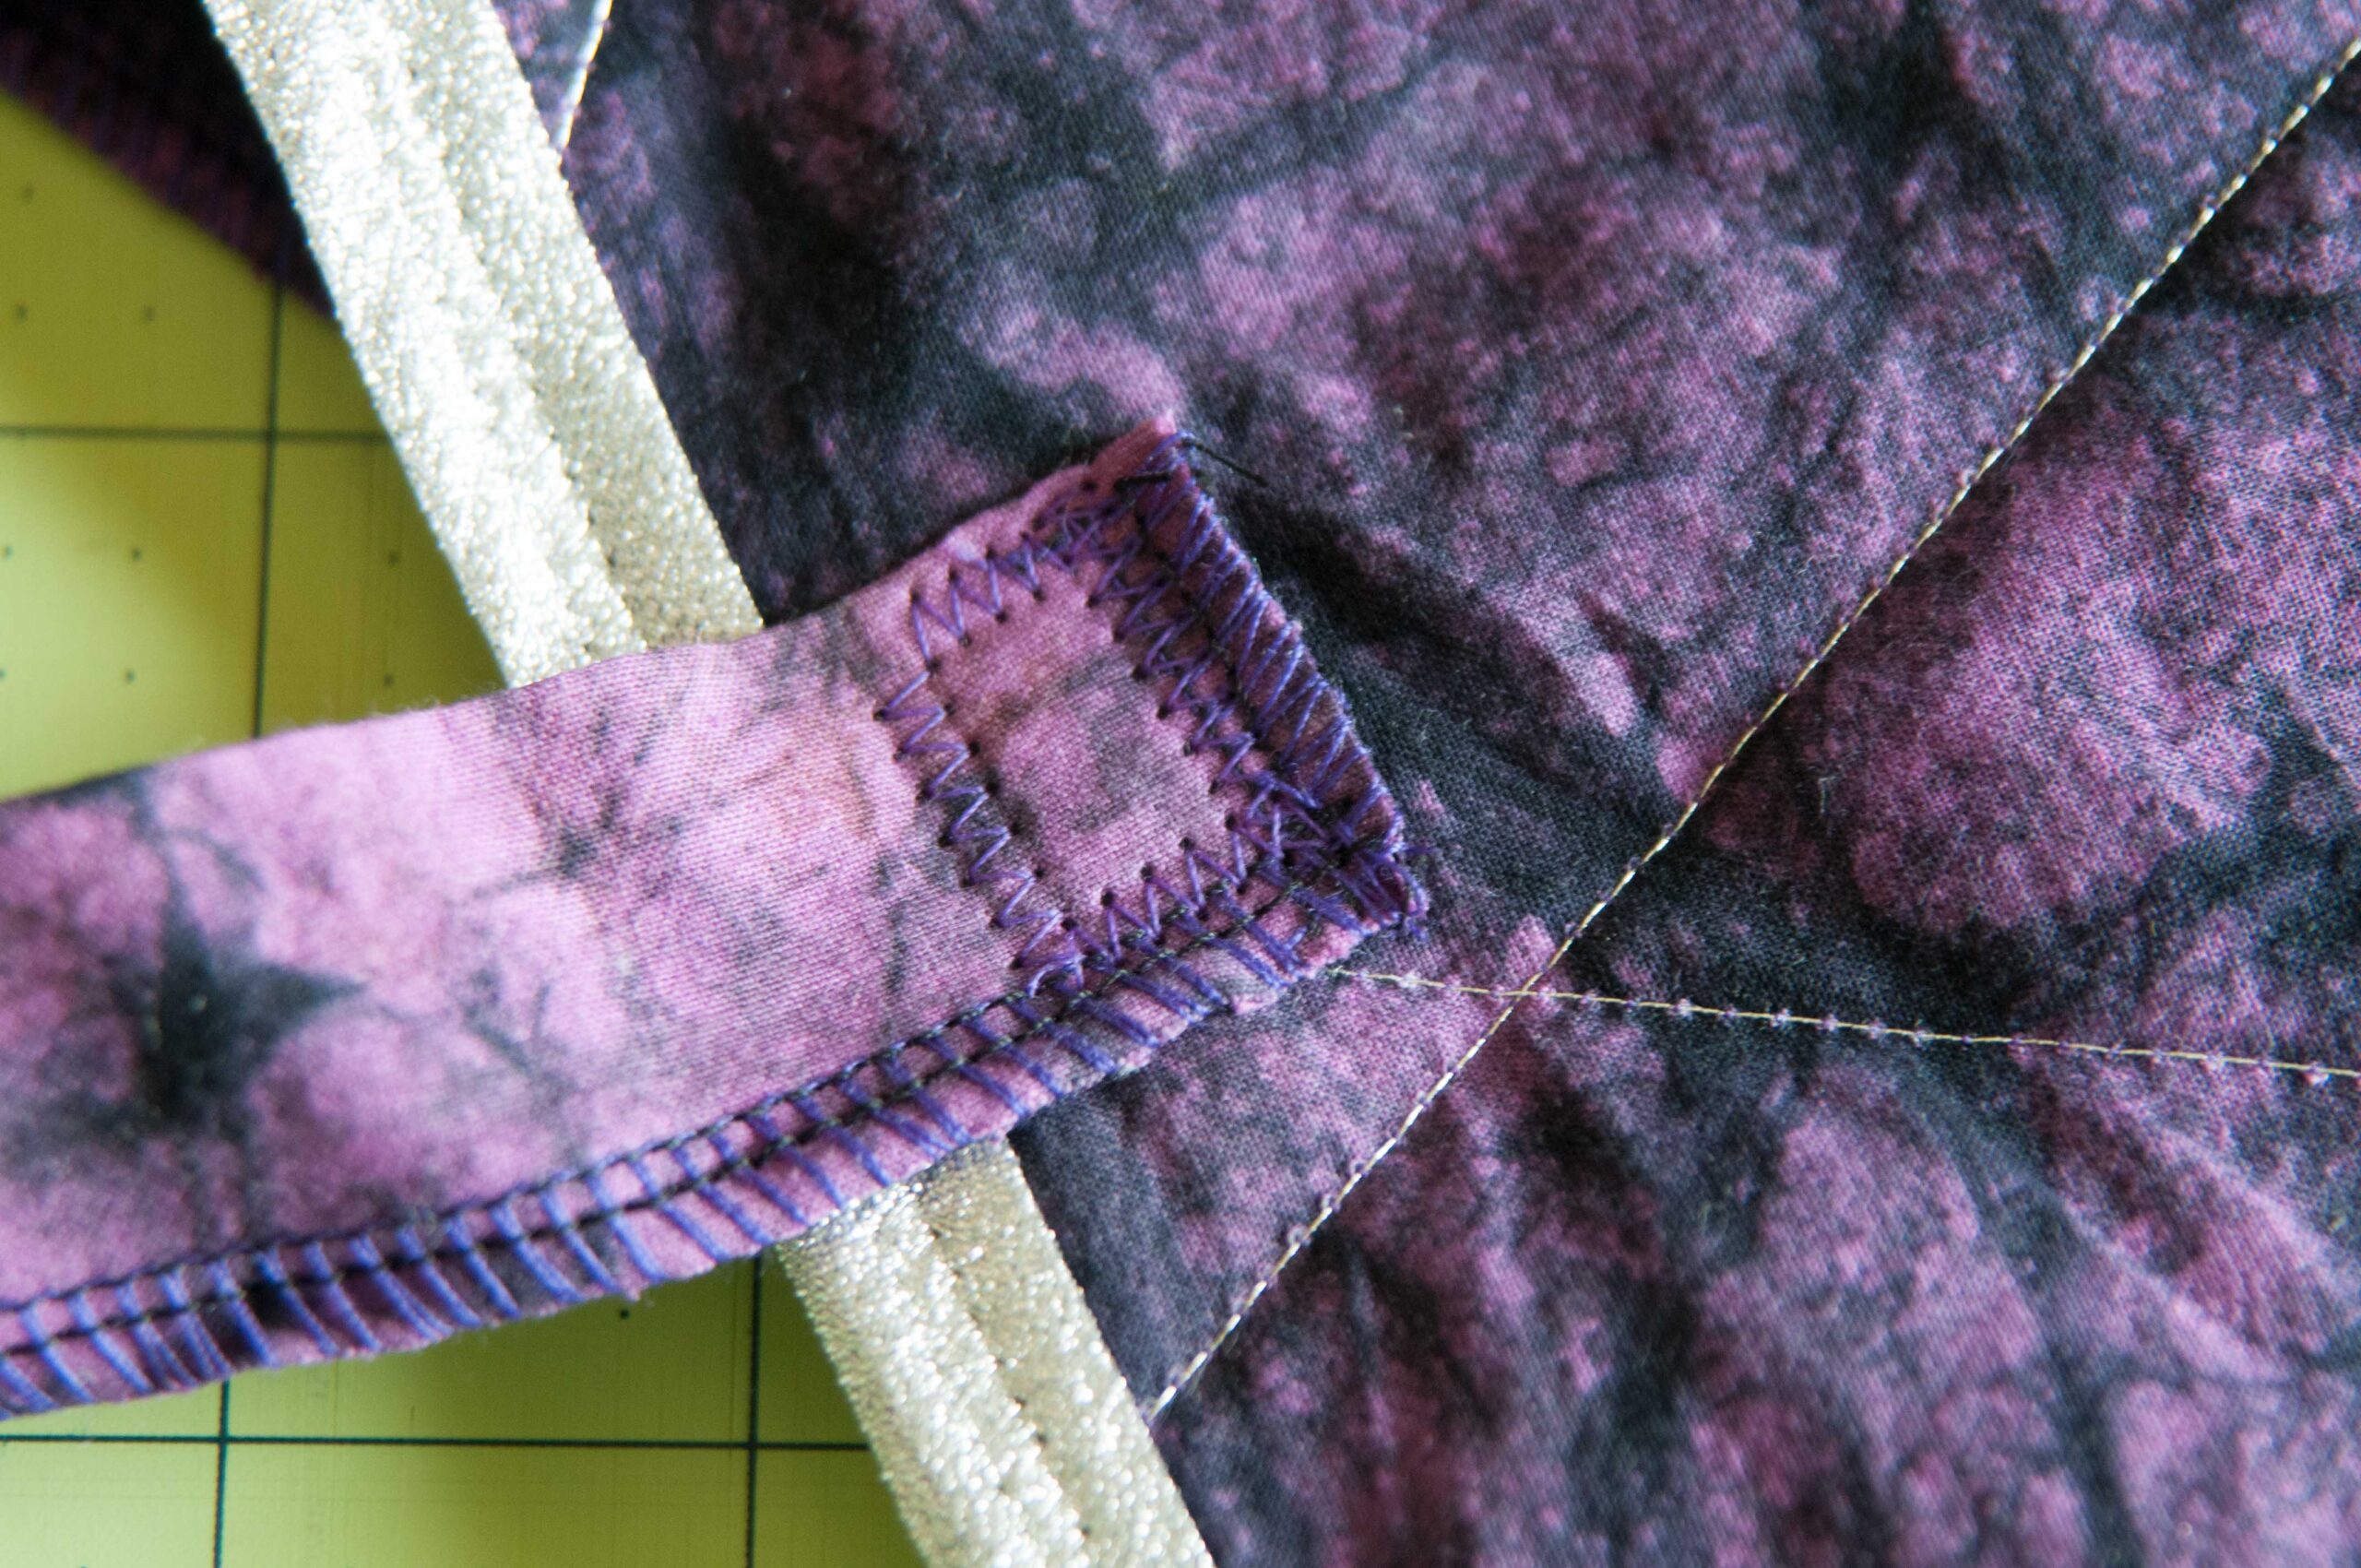
Step 12: Using a zig-zag stitch make a square to hold down your handles. Be sure to backstitch here so your handles don’t pop off when the bag is filled to the brim with candy.
Step 13: Turn your bag right side out and admire your handiwork! You are amazing!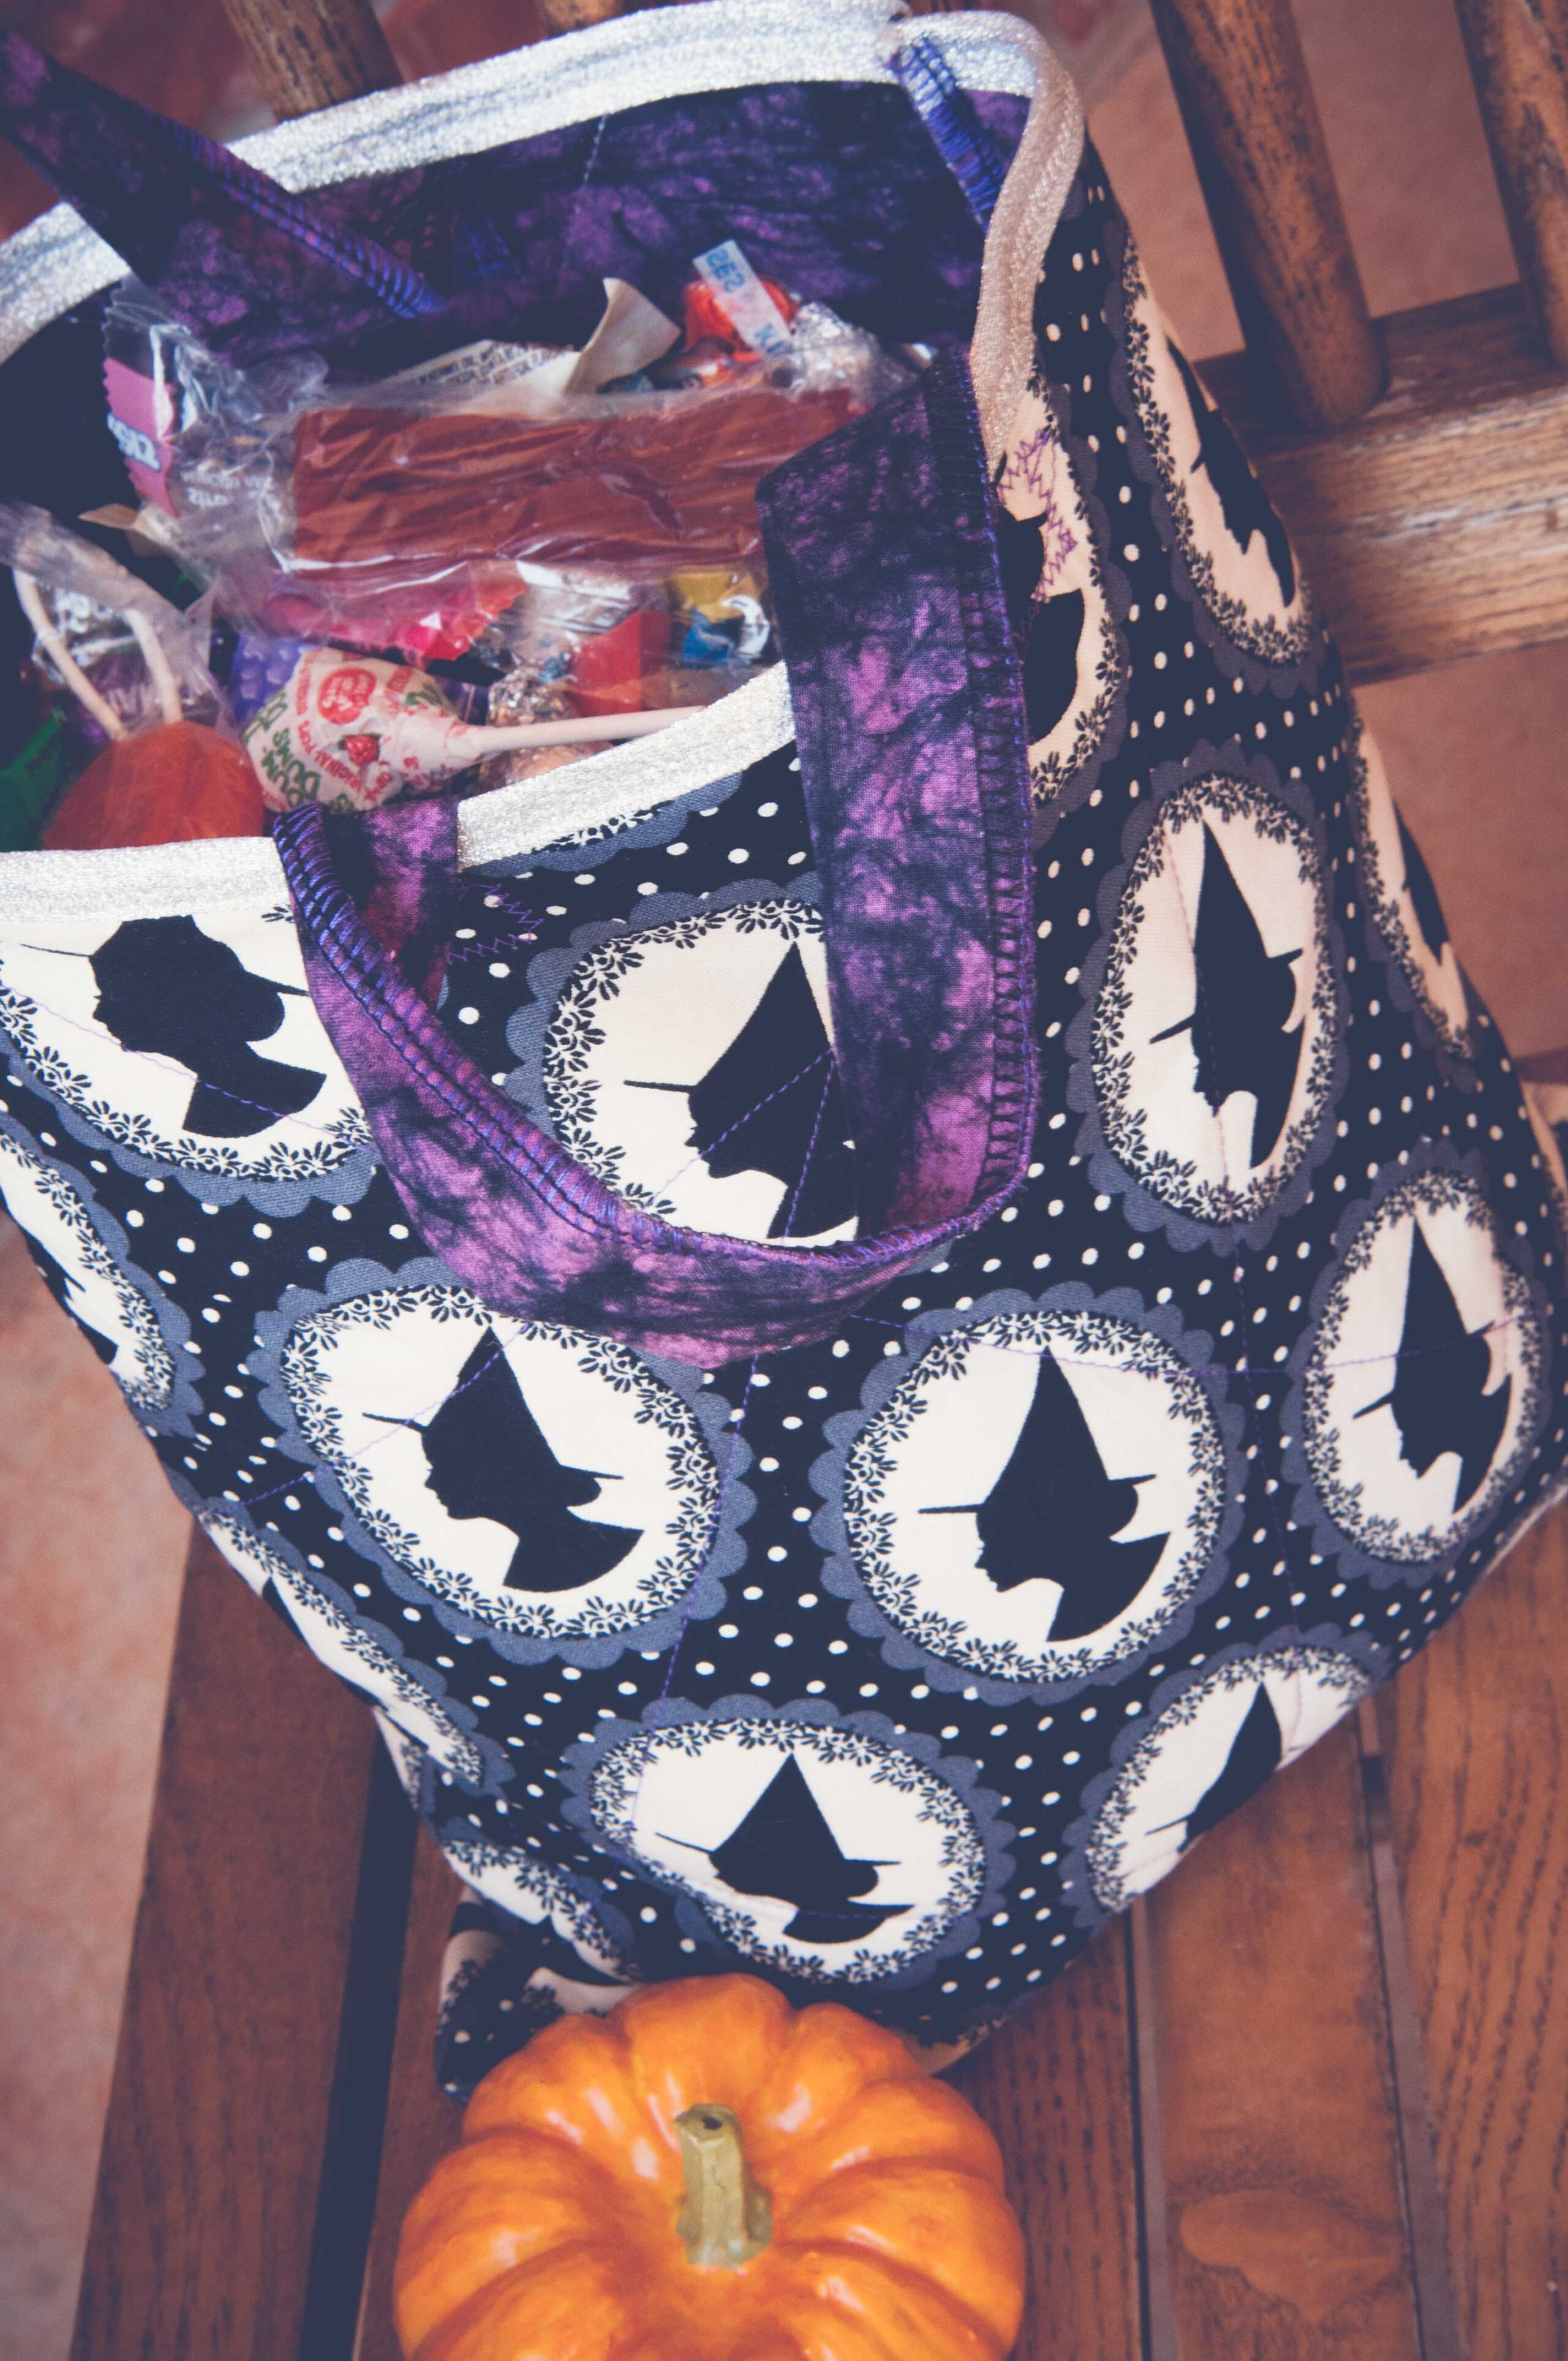
How can I customize my DIY Trick or Treat bag to make it unique?
To customize your DIY Trick or Treat bag and make it unique, you can add personal touches like hand-painted designs or iron-on patches. You can also use fabric markers or stencils to create fun and spooky designs. Adding glitter or embellishments can also give your bag a unique flair.
Way to go! Now, you can make the Reversible Quilted DIY Trick or Treat Bag in any size imaginable; but as a mom I like to make my treat bags this size so they fill up a little faster, my littles can carry them, and everyone feels like they got a TON of candy, when they maybe only got a half ton. This sure beats some plastic bag or black tote bag.
Be sure to post photos of your cuties with their treat bags and be on the lookout for my next tutorial in October featuring a sweet little costume to match this bag. Can you guess what it will be???
xoxo
b.
Thanks again Betty! These Halloween Trick or treat bags are sure a fun and easy craft with a nice simple pattern. Before you leave, make sure to also check out our DIY Halloween Treat Bags tutorial and all of our Costume Ideas that will be perfect to get you ready for a fun Halloween party. You can also join our Facebook Group or follow us on Instagram. Happy Sewing!