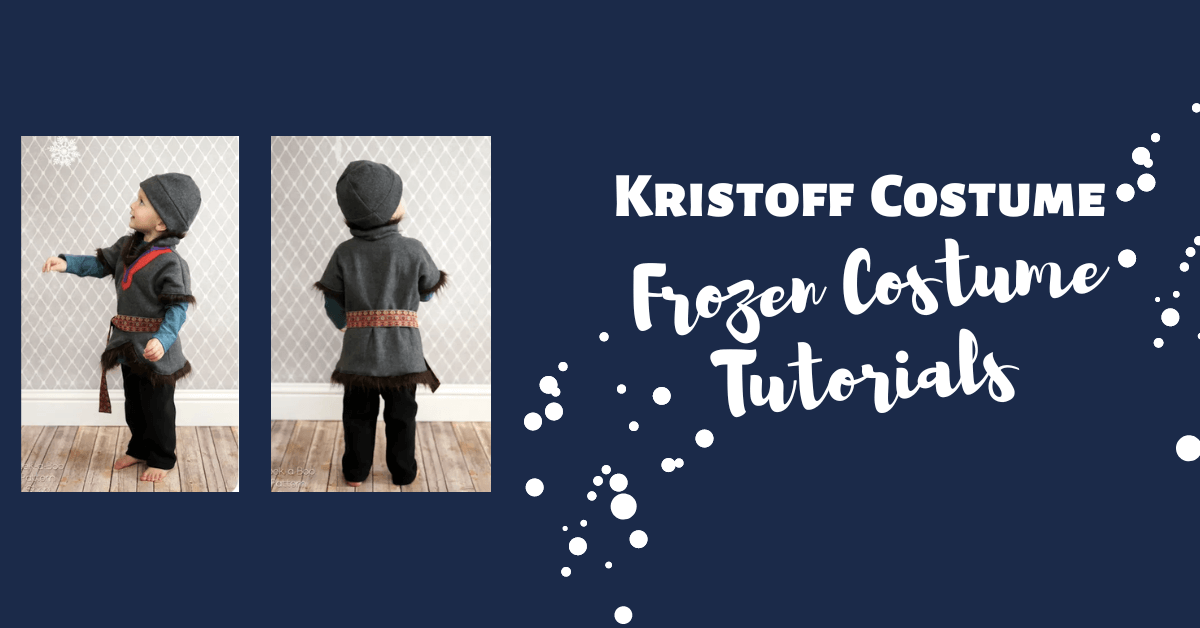
DIY Kristoff Costume for Kids | Frozen Costumes
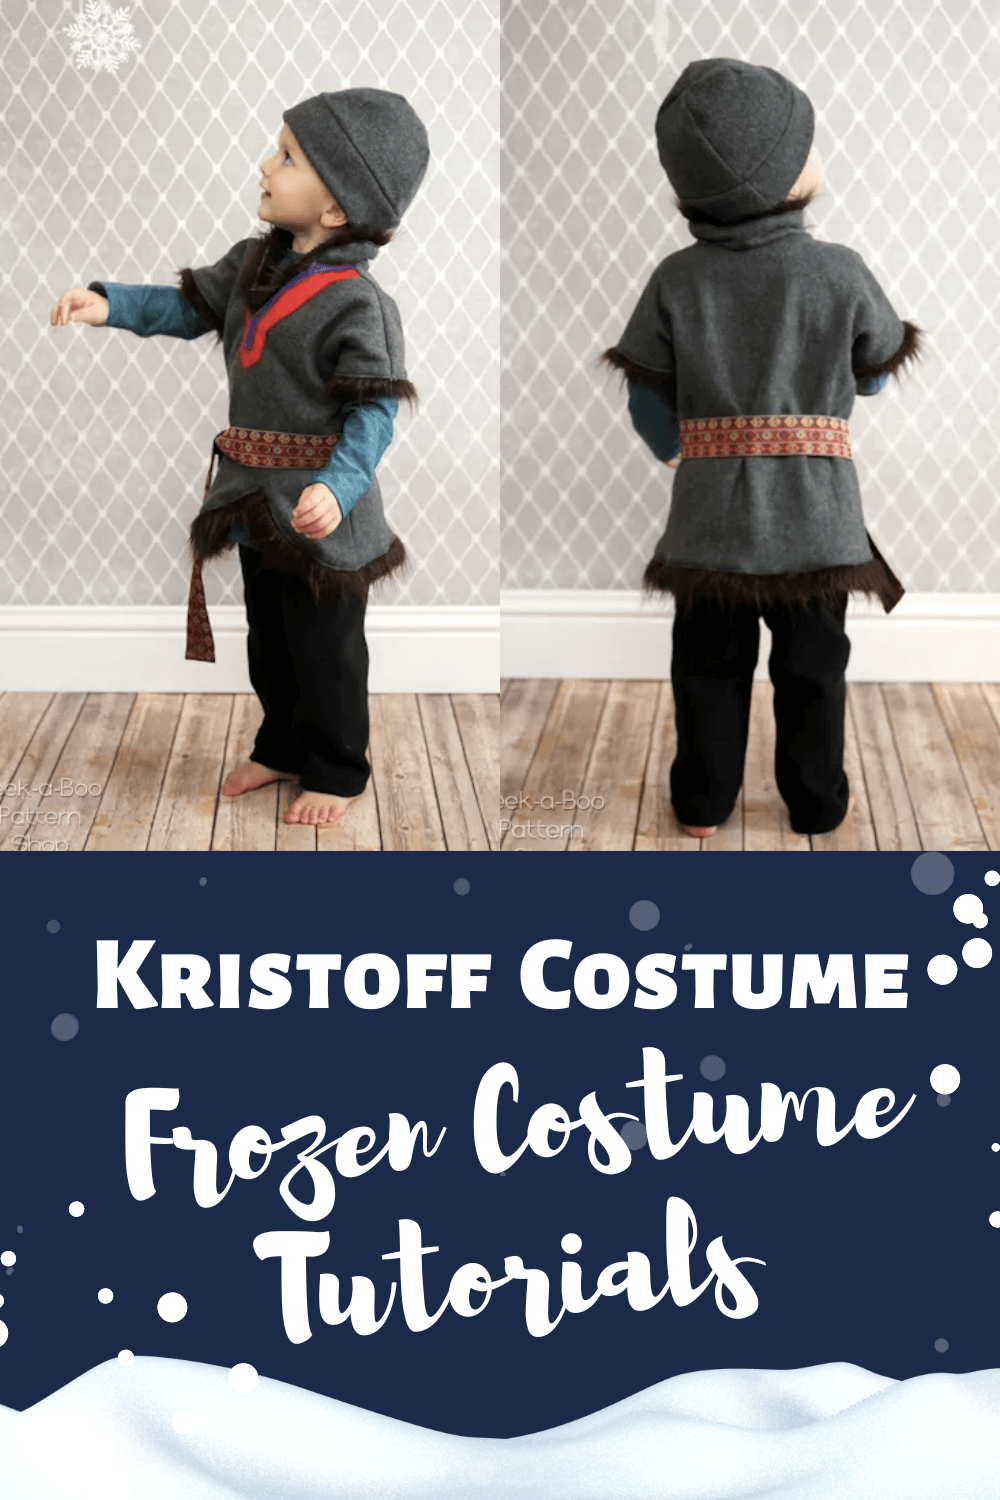
Don't leave out the boys in the Frozen fun! With this inspired DIY Kristoff Costume Tutorial, you'll have your little guy ready for Halloween or everyday dress-up fun in no time! This pattern only comes in one size but that's probably ok....it may take a little more convincing to get your older boys to dress up as Kristoff with their sister as Elsa.
Make this DIY Kristoff Costume
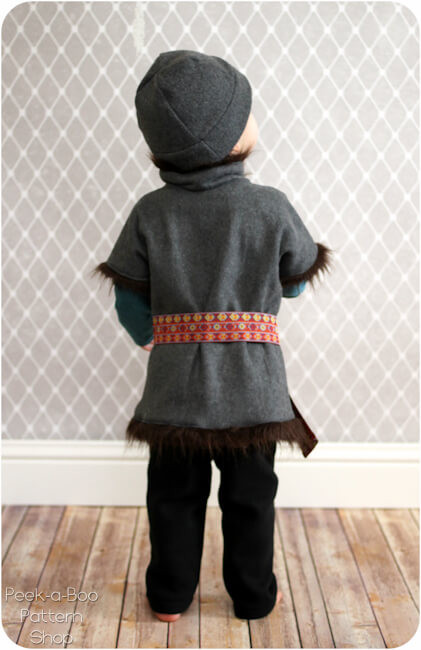
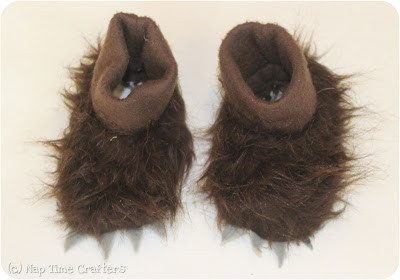
I just love this costume so much on my little blondie! Now little Kristoff just needs some boots...and a reindeer;)

Most of the Kristoff costume is fleece so it actually sews up really quickly! I made his whole costume in one day.
And really with that face how could I say no?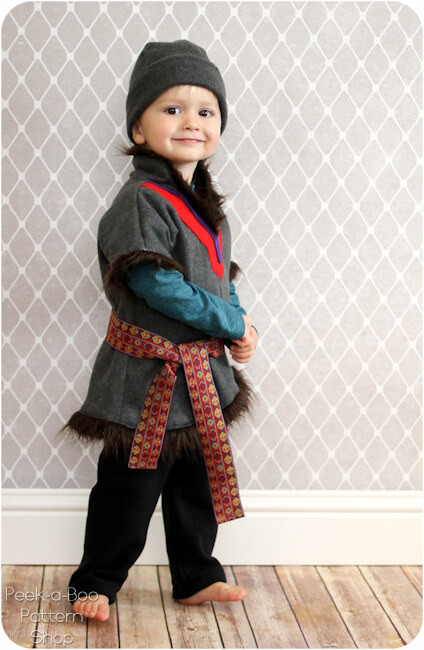
Let's get started with making Kristoff!
Patterns I Used to Make the Kristoff Costume
OK. First let's talk about the costume patterns:
- Nordic Tunic: I have a FREE pattern available for you in a size 2t. The tunic pattern is free when you Subscribe to our Newsletter or Join our Facebook Group. The Coupon Code is found in the New Subscriber E-mail and/or the first post in our Facebook Group. Download it here. Tutorial is below.
- Pants: I used the Lullaby Line Pants in black fleece for the costume. This is a super quick sew or if you already have black pants in the closet you're all set :)
- Shirt: I used the Grand Slam because it's fast but any shirt pattern will do or layer with something you already own.
- Frozen Hat: I used the Snow Day Hat in grey fleece for the costume. This is seriously a 10 minute sew and can be made with leftovers from the tunic.
- Sash: 1 1/3 yards trim found at Joanns to finish off Kristoff's look.
Kristoff Costume Materials for a size 2t tunic:
- 1/2 yard gray fleece fabric
- Scraps of red and purple felt for embellishing
- 1/8 fur for the trim
Tunic Step 1: Print out your DIY Kristoff costume pattern at 100% (make sure it's not set to "shrink to fit", etc.) and tape it together along the dashed lines. I didn't include a taping guide but the pieces tile like this for the front:
1 4
2 5
3 6
The back pieces just stack (1, 2, 3)
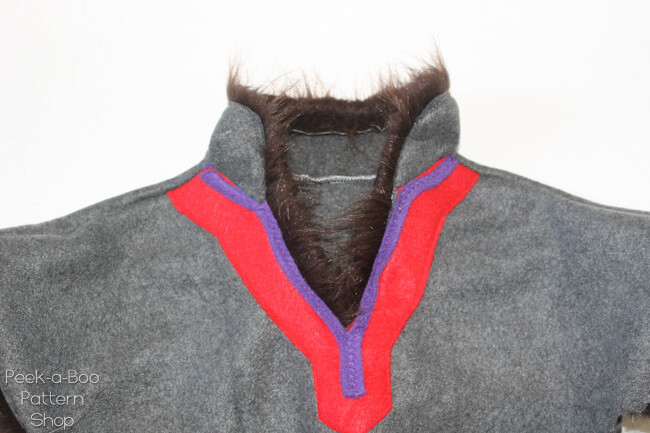
Tunic Step 2: Embellish the front of the costume with your felt. Leave a 1/2" seam allowance along the front neck (not v cut-out) for your seam allowance. I forgot to do this and had to move things over later.
Tunic Step 3: With right sides together (RST) sew the front and back of the costume together across the shoulder seams.
Tunic Step 4: Turn right side out and with RST sew the collar to the neckline.

Tunic Step 5: Cut a length of fur to 2" longer than the neckline and 2.5" wide. Fold the fur in half so the wrong sides are together. Position the fur on the wrong side of the neckline so the raw edges are hidden and the folded edge extends up. Topstitch in place with the ends overlapping at the v in the neckline. Trim any excess. This does have raw edges but my son didn't seem to mind at all and since it's just a costume I just left it. If the raw edges bother you, you can cut a 2nd collar piece and enclose things.

Tunic Step 6: Cut strips of fur for each sleeve and topstitch using the same method as in step 5.

Tunic Step 7: With RST sew up the side seam/sleeve inseam.

Tunic Step 8: Add fur trim to the bottom edge with the 2 ends overlapping at the point in front.

Tie on a sash and you're done with Kristoff's costume!

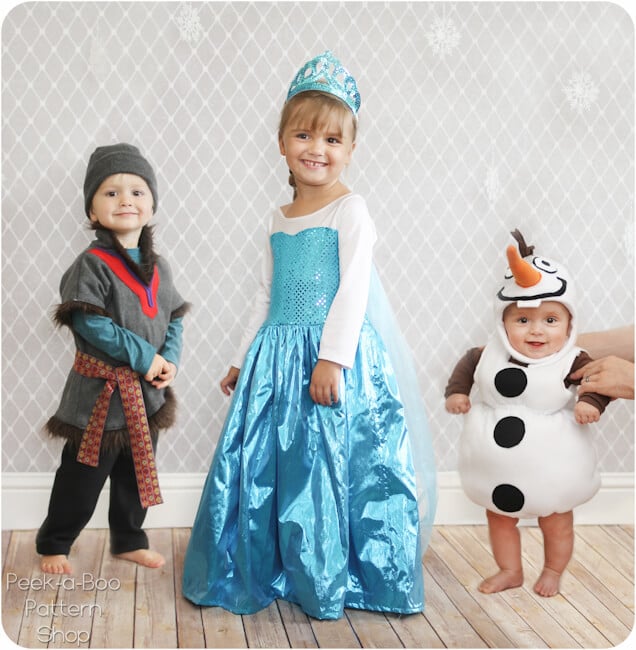
Frozen Family Halloween Costumes
Need to dress up a few more kiddos to make family Halloween costumes? Make sure to get the Olaf Tutorial and the Elsa Tutorial.
Thank you for joining us today. Before you leave, make sure to join our Facebook Group to share what you make, follow us on Instagram, and sign-up for our Newsletter below.
Happy Sewing :)